In the last tutorial, we started a new project using CouchDB and Ionic 2. We are working towards building a simple blogging application, and so far we have our CouchDB database set up, along with a CouchDB MapReduce view to retrieve all of the posts in the database by the date they were published, and a simple provider in Ionic 2 to pull that data in.
Although we have mentioned PouchDB, and how important it is, a few times throughout this series, we are yet to use it. Right now we have our database set up, and we are able to make requests to that database by firing off simple HTTP requests, so the use case for PouchDB may not be abundantly clear. In this tutorial, we are going to integrate PouchDB into the application and focus on what the role of PouchDB is when compared to CouchDB.
Before We Get Started
Before you go through this tutorial, you should have at least a basic understanding of Ionic 2 concepts. You must also already have Ionic 2 set up on your machine.
If you’re not familiar with Ionic 2 already, I’d recommend reading my Ionic 2 Beginners Guide first to get up and running and understand the basic concepts. If you want a much more detailed guide for learning Ionic 2, then take a look at Building Mobile Apps with Ionic 2.
You should also have already completed the previous CouchDB tutorial in this series.
Display Posts in a List
Before we integrate PouchDB we are going to extend the application a bit to actually display posts that are in the database in a list (rather than just having the provider log the values out). We’ve already done a lot of the work by setting up the call to the database and pulling that information into the database, so this won’t be too difficult.
Modify src/pages/home/home.ts to reflect the following:
import { Component } from '@angular/core';
import { Posts } from '../../providers/posts';
import { NavController } from 'ionic-angular';

@Component({
  selector: 'page-home',
  templateUrl: 'home.html'
})
export class HomePage {

	posts: any;

	constructor(public navCtrl: NavController, public postsService: Posts) {

	}

	ionViewDidLoad(){

		this.postsService.getPosts().subscribe((posts) => {

			this.posts = posts.rows.map(row => {
				return row.value;
			});

		});

	}

}
Modify src/pages/home/home.html to reflect the following:
<ion-header>
  <ion-navbar>
    <ion-title> Couch Blog </ion-title>
  </ion-navbar>
</ion-header>

<ion-content>
  <ion-list>
    <ion-item *ngFor="let post of posts"> {{post.title}} </ion-item>
  </ion-list>
</ion-content>
Now rather than just logging out the value we get back from the Posts service, we set up the posts as a member variable in the HomePage and then we loop through the posts in our template.
We do a little more than just get the posts and assign them to a member variable, though, we also run another map function here. When CouchDB returns the data to us it is returning rows from the view we created, and as you may recall, rows in a view are made up of a key and a value. So, our posts data that is returned to us looks like this:
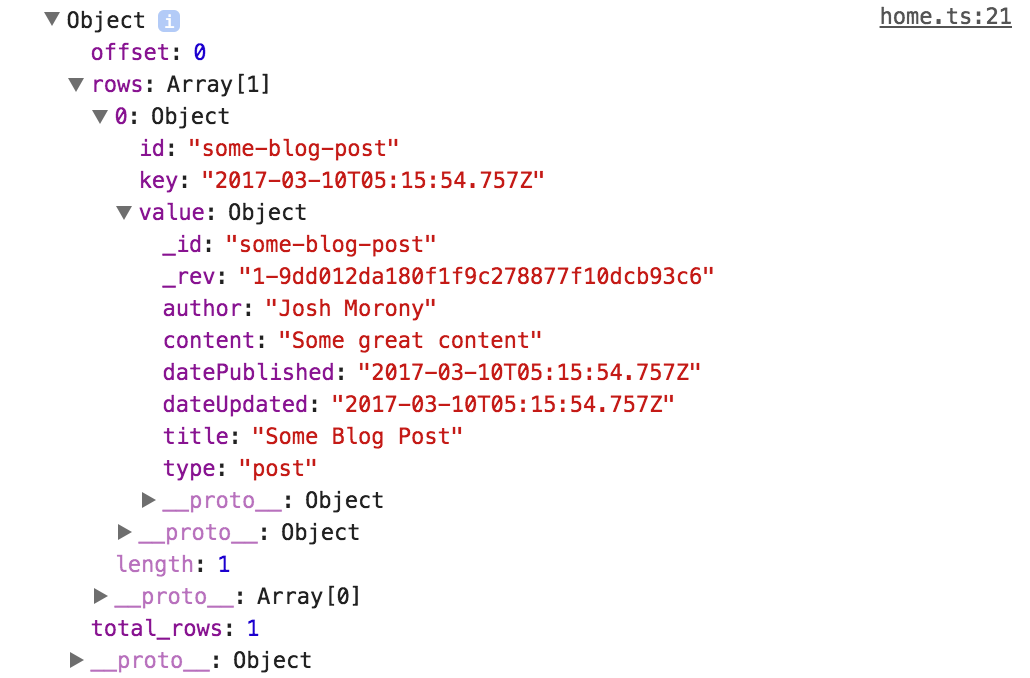
For each object in the array, the data we are actually interested in is nested inside of the value field. This would mean that in our template we would need to reference that data as:
{
{
post.value.title;
}
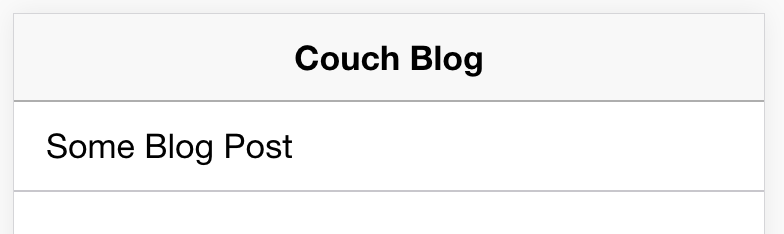
}Instead of doing that, we run a map function to convert the data so that each element in the array only contains the value data. We should now have our posts (or ‘post’, rather) displaying in a list on the HomePage:
Although it is very simple, we have a working application here. This will pull in data from a database and display it in a list. Now we are going to look at integrating PouchDB and seeing what that does for us.
What does PouchDB do for us?
Essentially, PouchDB is a CouchDB database that can be installed locally on a device. So, rather than sitting on a server somewhere “in the cloud”, the database is on the user’s device itself.
You can run a PouchDB database in complete isolation. If all you are interested in is local data storage, but the requirements of your application would benefit from the functionality that CouchDB provides, you can just install PouchDB and use it locally.
However, any database that uses the CouchDB protocol can be easily synced to any other database that uses the same protocol, so we can easily sync a local PouchDB database to a remote CouchDB database. Syncing means that any changes made to the local PouchDB database will automatically be reflected in the remote CouchDB database, and any changes made to the remote CouchDB database will be reflected in the local PouchDB database. This isn’t just limited to two databases either, you could have any number of local PouchDB databases synced to any number of remote CouchDB databases.
When building an Ionic 2 application, the two most noticeable benefits of using PouchDB (instead of just CouchDB) will likely be:
- The ability to provide offline data access with online syncing
- An easier API to interact with the CouchDB database – rather than making HTTP requests to the CouchDB database, we can just use PouchDB’s JavaScript API and it will handle the requests for us
Now that we understand a little bit about what PouchDB is all about, let’s actually implement it in our application.
Installing PouchDB
Setting up PouchDB in an Ionic 2 application is simple enough. First, you will need to install PouchDB itself with the following command:
npm install pouchdb --saveand you will also need to install the types for PouchDB, so that the TypeScript compiler doesn’t complain about not knowing what “PouchDB” is.
npm install @types/pouchdb --saveNow all we need to do is import it and use it wherever we want, which we will be doing in the next steps.
Attempting Offline Access
To demonstrate PouchDB’s capability to display data from the database while offline, we are going to attempt to access the data we currently have in the application before integrating PouchDB while offline. The CouchDB database we are using now is just running locally on the computer, so switching the WiFi off isn’t going to do much, so to simulate being “offline” we are just going to close down the CouchDB process.
You can do this by clicking the CouchDB and selecting Quit Apache CouchDB. If you try to view your application now, you should see something like this:
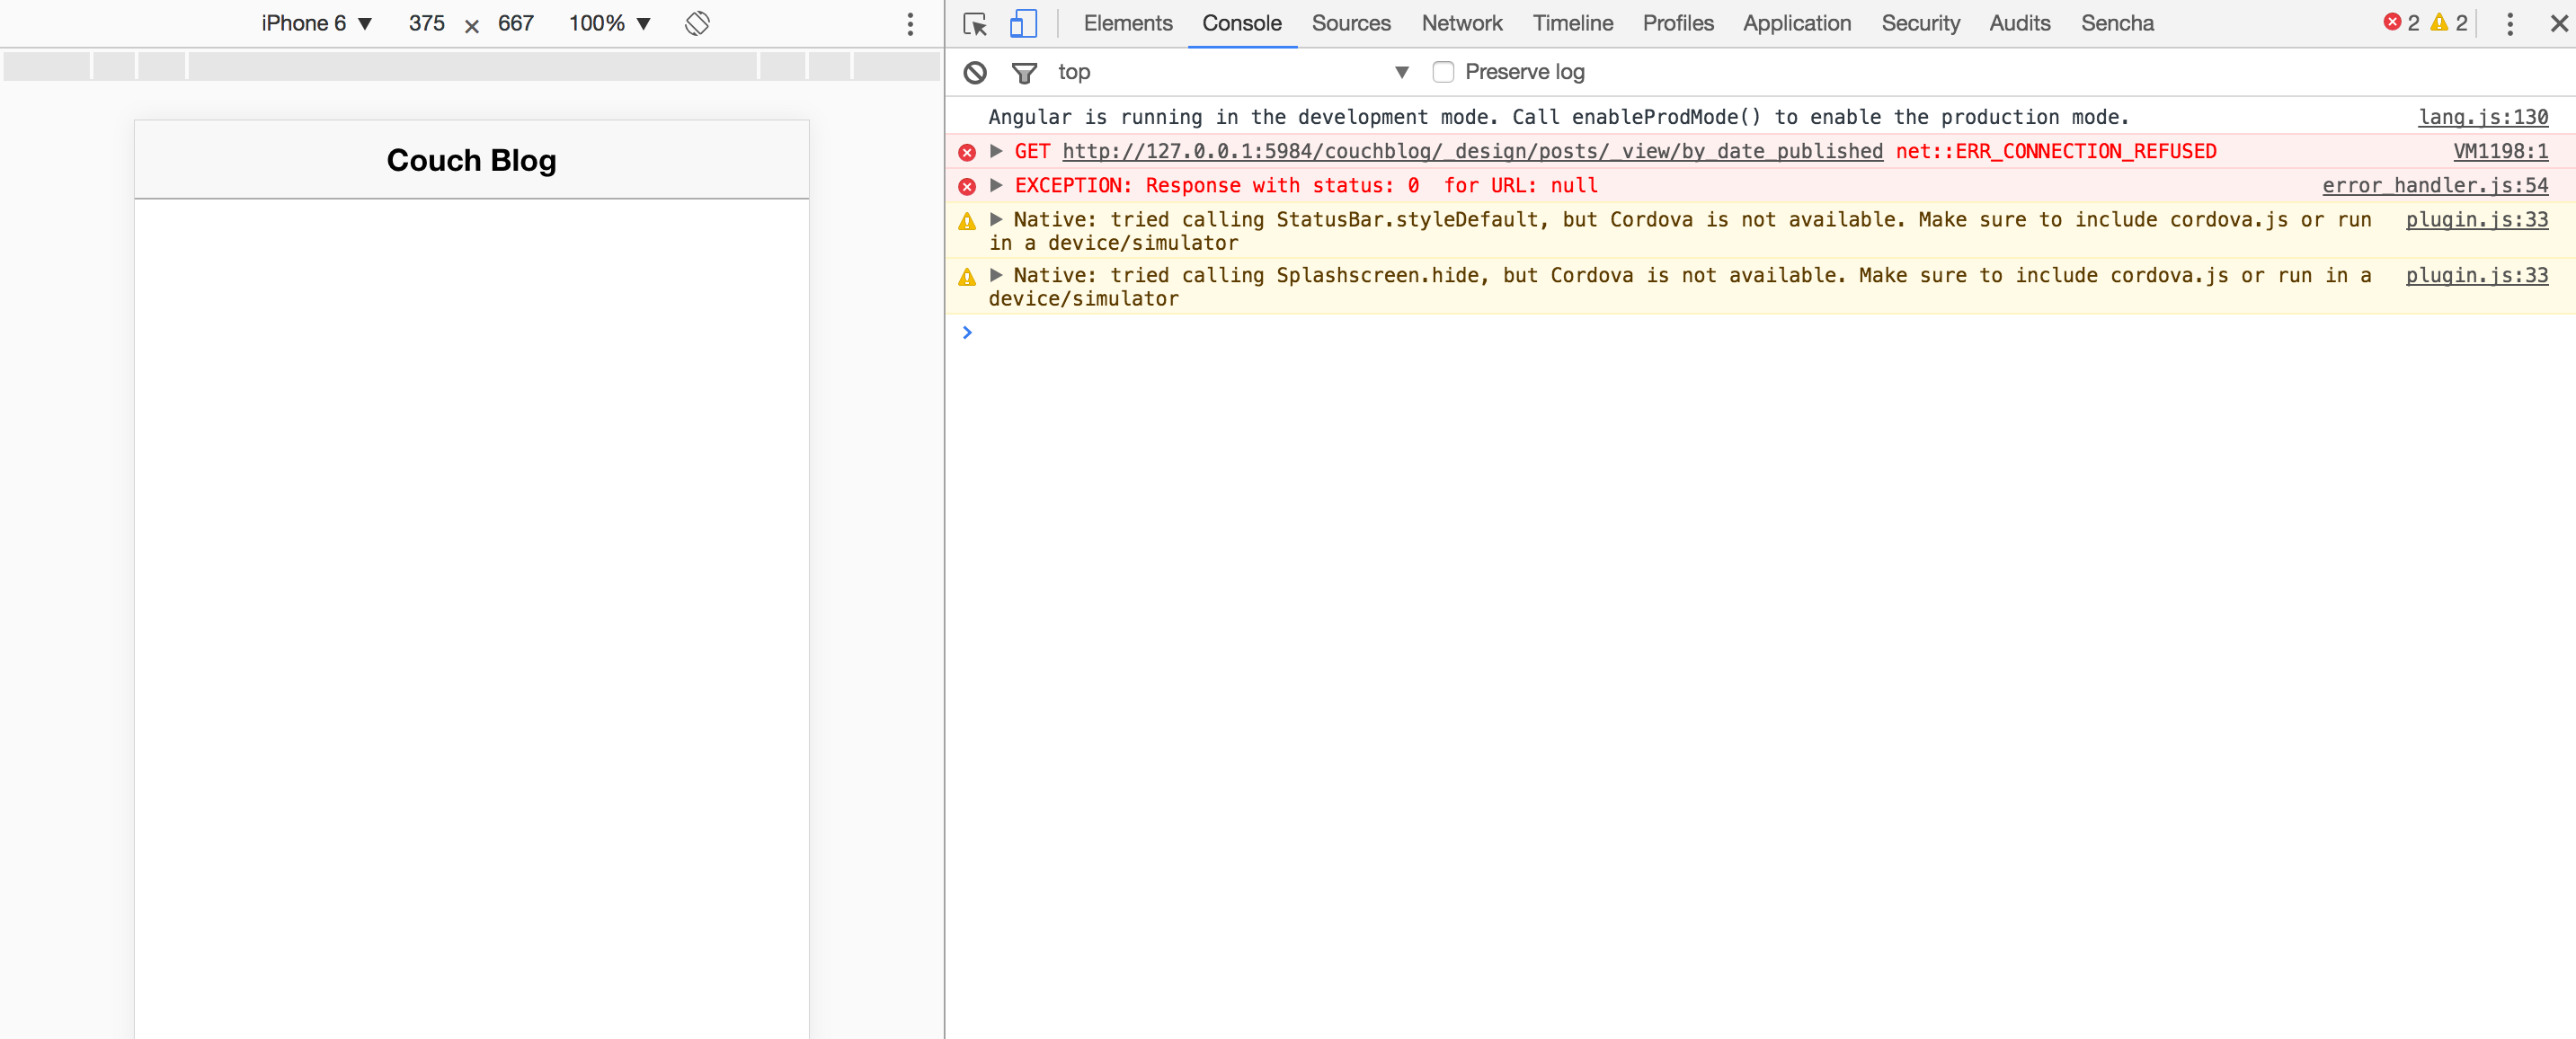
The request to the URL fails and our application is left with nothing to display. We are going to integrate PouchDB now, and then try to the same scenario again.
Make sure to start CouchDB again before continuing.
Integrating PouchDB
We are going to modify the Posts provider now to use a PouchDB database that syncs to our existing CouchDB database, rather than using the CouchDB database directly.
Modify src/providers/posts.ts to reflect the following:
import { Injectable } from '@angular/core';
import { Observable } from 'rxjs/Observable';
import PouchDB from 'pouchdb';
import 'rxjs/add/observable/from';

@Injectable()
export class Posts {
  db: any;
  remote: string = 'http://127.0.0.1:5984/couchblog';

  constructor() {
    this.db = new PouchDB('couchblog');

    let options = {
      live: true,
      retry: true,
    };

    this.db.sync(this.remote, options);
  }

  getPosts(): Observable<any> {
    //return this.http.get('http://127.0.0.1:5984/couchblog/_design/posts/_view/by_date_published').map(res => res.json());
    return Observable.from(this.db.query('posts/by_date_published'));
  }
}
The provider still performs the exact same role, we are just doing it in a different way now. We import PouchDB, as well as Observable and the from operator (which we will discuss in a second), and then we set up PouchDB in the constructor.
We set up a standard PouchDB database with the following line:
this.db = new PouchDB('couchblog');and if you only wanted to use a local PouchDB database, that is all you would need to do. But then we set up syncing to the CouchDB database with the following lines:
let options = {
  live: true,
  retry: true,
};

this.db.sync(this.remote, options);
All you need to do is supply the URL for the database you want to sync to and PouchDB will handle the rest, but we also provide a couple of options. The live option will emit events for any changes to the database as they happen, and the retry option will mean that any failed replications will be retried. These aren’t critical to this example, but we will be making use of this in the future.
Finally, we have modified our getPosts function to use PouchDB instead. Instead of making a HTTP request to our view, we just use the query method PouchDB provides, and we supply the name of our design document, and the view we want to access. This will return the same data that CouchDB did, except that it will return it as a Promise instead of an Observable. To avoid breaking our existing API, we use the from method with Observable so that we can convert the promise into an observable. Unlike the HTTP request to CouchDB, PouchDB returns us a formatted object by default, so there is no need to run the map function here to convert it.
Attempting Offline Access (again)
Now that PouchDB is set up, let’s see what happens when we try to access data “offline” again. Without your application and CouchDB running, if you close CouchDB and watch the console for your application, you will see PouchDB desperately trying to access the database since we specified the ‘live’ and ‘retry’ options.
If you refresh your application now, with CouchDB closed and unavailable, you will find that the data still displays just fine in your application. This is because it is stored in the local PouchDB database, and doesn’t require access to the remote database to retrieve the data.
Let’s take this a bit further. Let’s try adding some data to the CouchDB database whilst PouchDB can not reach it. Again, this is going to be a little difficult since we are running CouchDB locally, but we can make it work. Just follow these steps:
- Stop serving and close your application
- Start CouchDB again
- Add a new post to the
couchblogdatabase - Exit CouchDB again
Now we’ve added another post to the database, but our application doesn’t know about it because it wasn’t active whilst we had CouchDB running. This is to illustrate the effect of what would happen if the remote database is modified whilst the user is offline.
If we launch the application again now, we should see the same old post there:
But if you start CouchDB again and then refresh the application, the new post should be visible:

As soon as the remote CouchDB database becomes available again, PouchDB will attempt to sync with it. The end result is that whilst a user is offline they can continue using the data that PouchDB already knows about, and when they come online they will automatically gain access to any new data. In the future, we will set up some slightly more complex functionality so that the changes are reflected automatically without having to refresh the application, but this should serve well as an example of what PouchDB allows you to do.
Summary
I hope that this tutorial has illustrated some of the key benefits of using PouchDB – I think the distinction between PouchDB and CouchDB can be difficult to grasp at first.
This is only a limited example, but I think it’s clear that something like this:
this.db.query('posts/by_date_published');is a lot nicer to work with than this:
this.http
  .get('http://127.0.0.1:5984/couchblog/_design/posts/_view/by_date_published')
  .map((res) => res.json());
and the ability to provide offline access to data that can later by synced when the user comes back online is a huge benefit for mobile applications.