Over the past couple of weeks, I’ve been introducing some of the theory behind creating applications powered by CouchDB. As promised, this week we will finally start actually building something with it. Over the next few tutorials, we will be building a blogging application in Ionic 2 that uses CouchDB as its database and backend.
We will start off simple, and cover more complex concepts as we progress. I’ve mentioned previously that when using CouchDB in an Ionic application, we generally use PouchDB as well. PouchDB allows you to store a local version of your CouchDB database, and then sync with the remote CouchDB database when online – so it’s usually a no-brainer to include in your application.
For this first tutorial, I am intentionally leaving PouchDB out of it. We will start building the application just by using the CouchDB HTTP API directly, and then we will rewrite the application later to use PouchDB instead. The reason I am doing it this way is to demonstrate a few important concepts:
- PouchDB is not required when using CouchDB
- PouchDB and CouchDB are two completely separate databases that are synced together
- A CouchDB database can be integrated directly into your application by using its “RESTful” API
If you’re not familiar with REST (Representation State Transfer) APIs you’ve probably at least heard of it – let me try to sum it up briefly (of course, what REST is can’t be summed up into a single sentence). The basic idea is that different HTTP methods are used to perform different actions on the same URL. Making a POST request to /api/todos would create a todo, a GET request to api/todos would load some todos, making a DELETE request to /api/todos would delete a todo, and making a PUT request to /api/todos would update a todo. The desired action is implied by the type of request that is being made, rather than by using a different URL or adding parameters to the end of the URL.
So, to interact with our CouchDB we can simply fire off some HTTP requests to save and retrieve data.
Before We Get Started
Before you go through this tutorial, you should have at least a basic understanding of Ionic 2 concepts. You must also already have Ionic 2 set up on your machine.
If you’re not familiar with Ionic 2 already, I’d recommend reading my Ionic 2 Beginners Guide first to get up and running and understand the basic concepts. If you want a much more detailed guide for learning Ionic 2, then take a look at Building Mobile Apps with Ionic 2.
You should already have CouchDB installed on your computer, if you haven’t you should download it from the CouchDB website before continuing. If you haven’t already read through the tutorials prior to this, and you are not that familiar with CouchDB, I would recommend reading them first.
1. Creating the CouchDB Database
The first thing we are going to do is create the database and add some data to it that we can play around with (we will just add data manually, for now, we will add it dynamically using the Ionic application later).
Once you have CouchDB installed on your computer, you should be able to access the Futon interface by going to the following URL:
http://127.0.0.1:5984/_utils/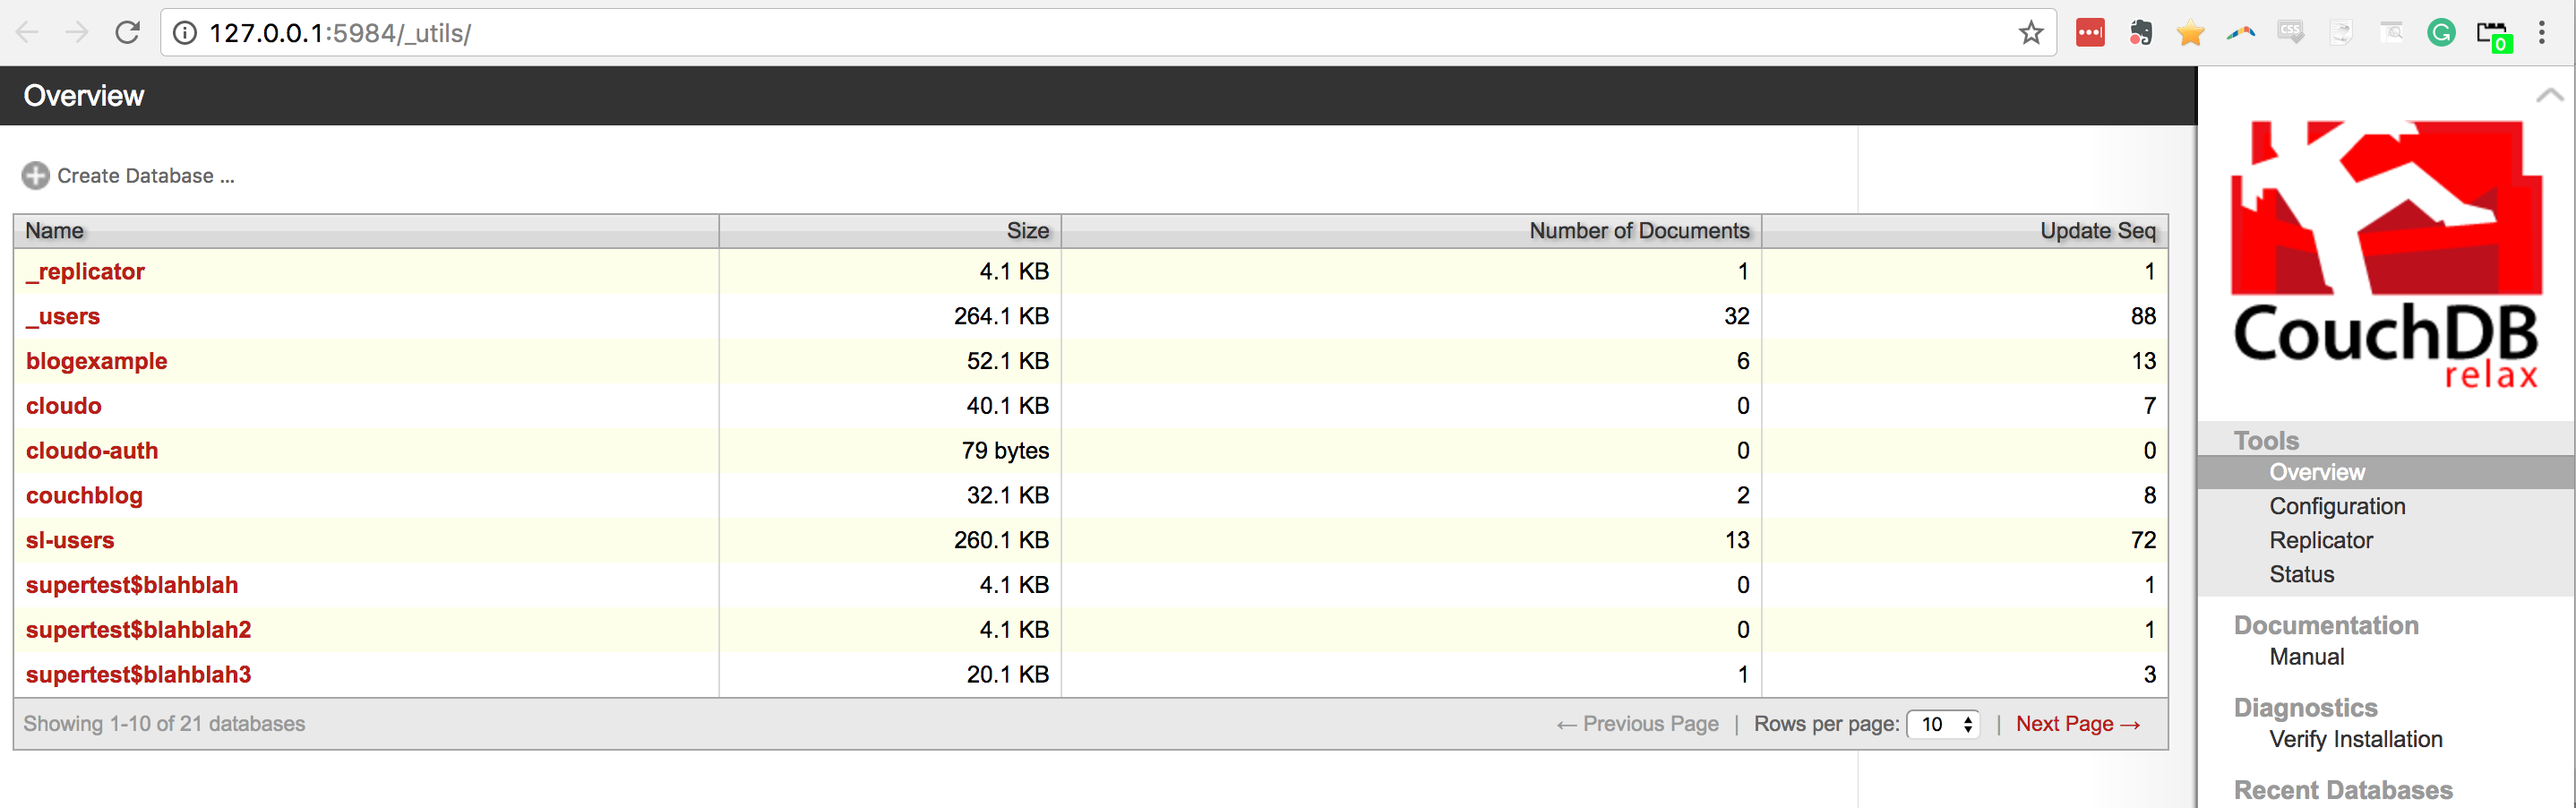
You will see an interface like in the image above, except, you likely won’t have a bunch of junk databases in yours. You can create a new database by clicking the Create Database button in the top left.
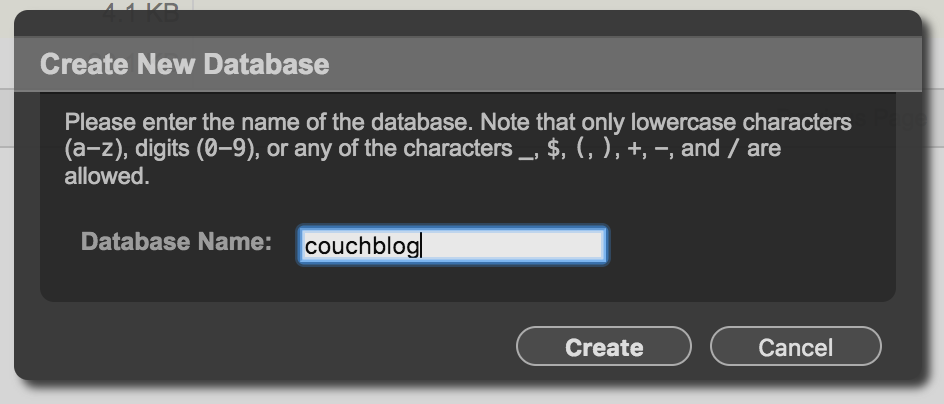
Create a new database called couchblog
You should see couchblog added to the list of databases, and you will be able to click it to enter into the database.
2. Add a Post to the Database
Now that we have our database set up, we are just going to add a single blog post to kick things off. Since CouchDB doesn’t require a pre-defined schema for the database, we can just start adding documents right away. We don’t want to just jump into things blindly, though, we should first put some thought into what the overall structure of our data is going to look like. Even though we can change the data structure later, it’s much easier to just get things right from the beginning.
We will be using a common structure for blogging applications in CouchDB, where every post and comment is stored as its own document. This is not the only way to do it, you could store comments inside of the posts document if you wanted, but this approach works well because:
- The original post document does not need to be modified every time a new comment is added (which could cause some issues if there are a lot of people commenting at the same time)
- It’s quite easy to create a view that will allow us to retrieve all of the comments for a particular post (even if we will be using an extra HTTP request to do it)
Let’s take a look at what those documents might look like:
posts
{
    "_id": "the-post-name",
    "type": "post",
    "title": "The Post Name",
    "content": "The post content"
    "author": "Josh Morony"
    "datePublished": "'2017-03-10'T05:15:54.757Z"
    "dateUpdated": "'2017-03-10'T05:15:54.757Z"
}
comments
{
    "type": "comment",
    "post": "the-post-name",
    "content": "the content",
    "author": "Some Person",
    "datePublished": "'2017-03-10'T05:15:54.757Z"
}
We’ve done a couple of interesting things here, so let’s talk through them. First, we use a “slug” as the id for the blog post – basically, you take the title, change it to lowercase, and replace spaces with hyphens. This “slug” usually goes in the URL for the blog post, and since we retrieve CouchDB documents by using its id, we can easily grab the document for any post.
We use that same post id in the post field in the comment, this is what ties a comment to a particular post and it is what we will use later to create a view that allows us to retrieve all of the comments for a particular post.
Also, notice that we add a type field to the documents. Since we are storing different types of data as documents, we need a way to tell them apart. It is not always necessary to include a type field, we could just infer what a document is by the data that it stores (i.e. if a document has a title field then we know that it is a post and not a comment), but including a type field can simplify things a great deal.
Finally, we are storing the date fields as an ISO string which can be sorted in chronological order automatically by CouchDB (this will come in handy later).
Now that we know what our data is going to look like, let’s actually add a post to the database.
Click ‘New Document’ inside of your database, add the following document, and then save it:
{
    "_id": "the-post-name",
    "type": "post",
    "title": "The Post Name",
        "content": "The post content"
        "author": "Josh Morony"
    "datePublished": "'2017-03-10'T05:15:54.757Z"
    "dateUpdated": "'2017-03-10'T05:15:54.757Z"
}
3. Create a View with a MapReduce Function
We have a post now, and we could send a request to CouchDB to grab it and pull it into our application (and we will shortly). Once we start adding some comments, though, if we just grab all of the documents we have stored in CouchDB we are going to get all of the blog posts and all of the comments. We could do this and then sort through it on the client side… that’s a bit messy though and we could be pulling in a ton of data we don’t need (we don’t want to pull in 1,000 comments for a blog post we aren’t even going to look at).
We also would want to display posts based on their published data, but by default, the documents are going to be ordered by their id (which is just the title, so sorting by that would be kind of irrelevant).
A view can solve both of these problems. I discussed what a view is and how you might create them in this tutorial, but to recap: a view allows us to create a list of data based on some criteria that we can query. It’s almost like creating a new mini database with only the documents we want. We can grab data from a list in a view by using its key, and it is also sorted by the key, and since we get to decide what the key should be we can do all sorts of fancy things.
We want to create a view for our posts that will look like this:
By using the datePublished field as the key, all of the posts will automatically be sorted by the date, and then we are just supplying the document itself as the value so we can grab all of the information for that post. If you were only interested in the author of the post, you could instead just use the author as the value, instead of the entire document.
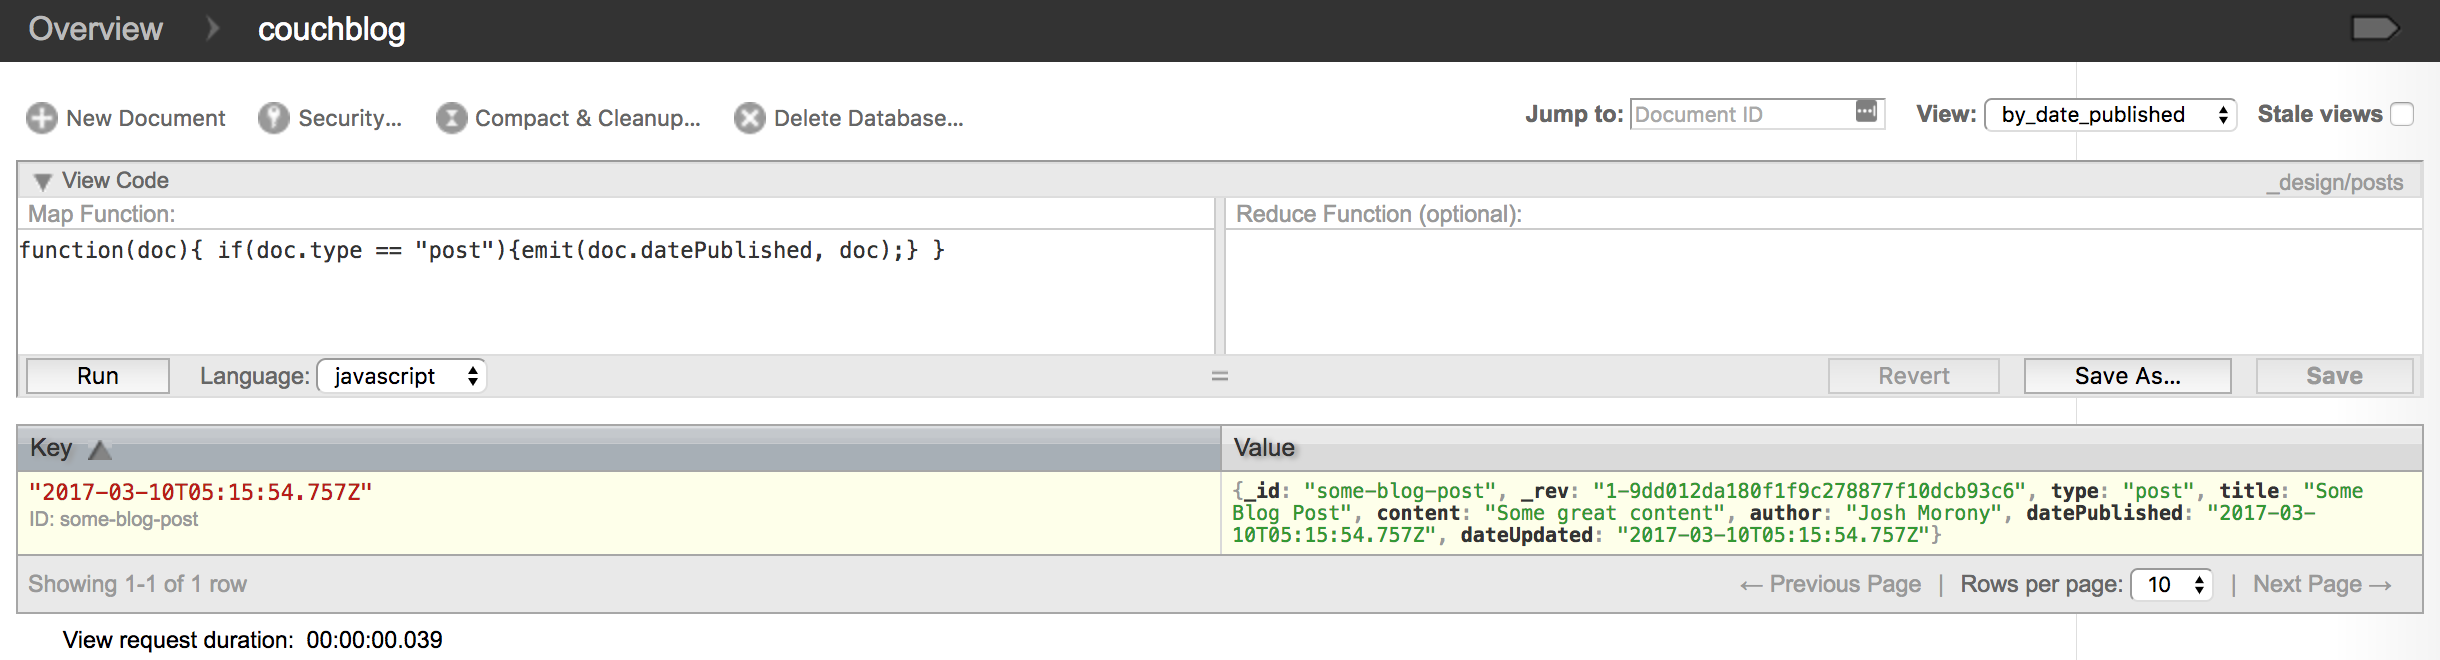
Let’s create that view now. In the previous tutorial, I showed you how to create a temporary view using a map function inside of the Futon interface. This is great for playing around with, but this time we are going to create the view “for real” by adding it to a design document.
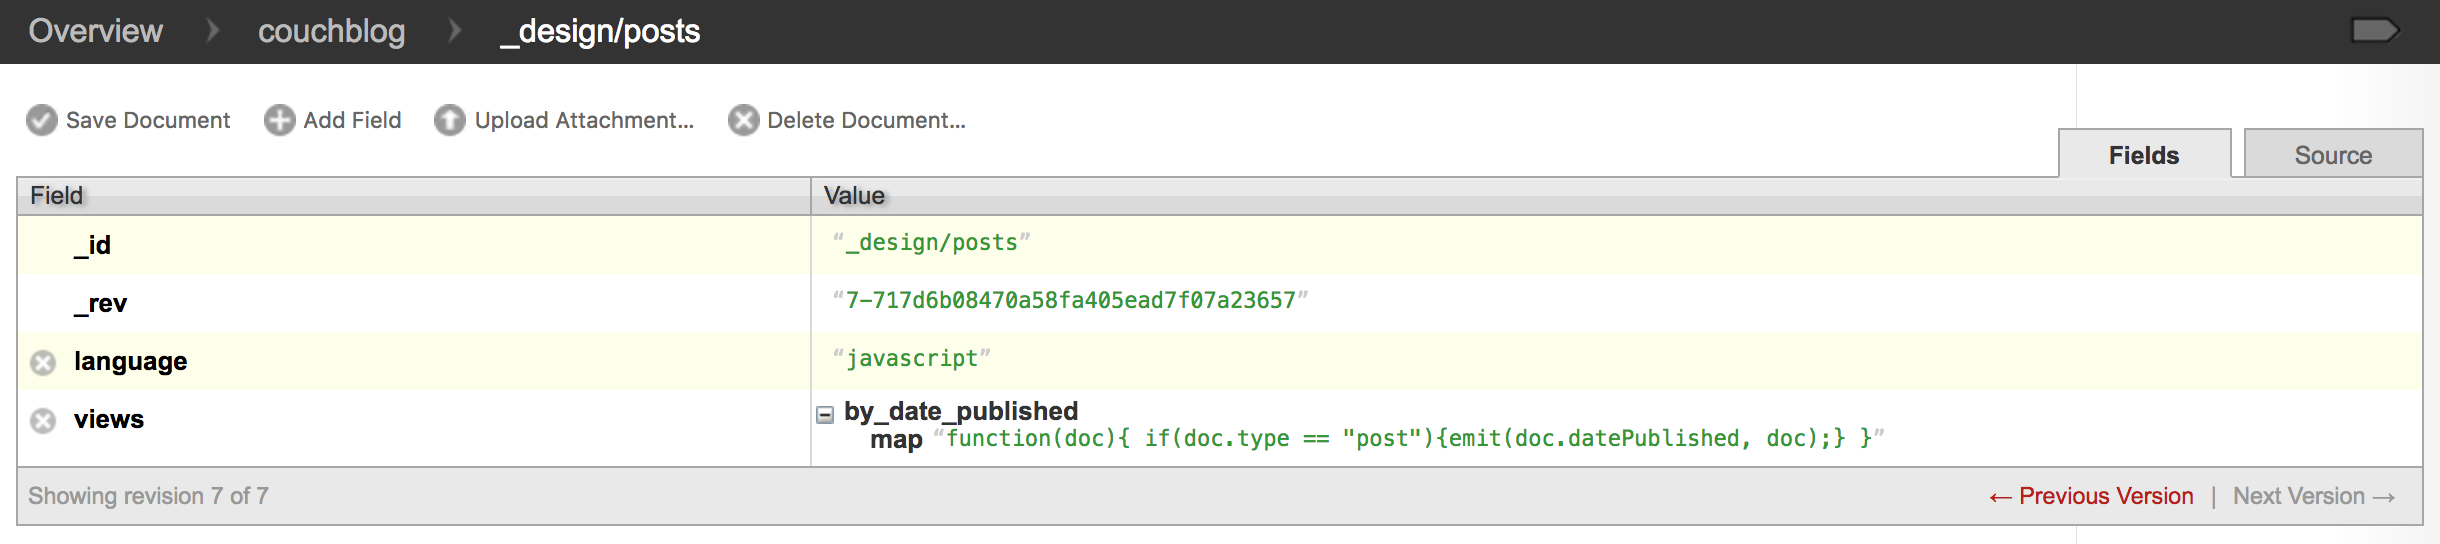
A design document is added to the database just like any other document, except that its id will start with _design. We can add any “views” we want to create by defining them inside of this document. Rather than adding a map function to the interface in Futon, we can define the map function directly in the design document.
Create the following document in your database:
{
    "_id": "_design/posts",
    "language": "javascript",
    "views": {
        "by_date_published": {
            "map": "function(doc){ if(doc.type == \"post\"){emit(doc.datePublished, doc);} }"
        }
    }
}
This creates a view called by_date_published that will run the following map function across all of the documents in the database:
function(doc){
    if(doc.type == "post"){
        emit(doc.datePublished, doc);
    }
}
So, if the document is a post we add it to the view by using the datePublished field as the key, and the entire document as the value. If you wanted, you could also define a reduce function inside of the view as well.
Once you have created this design document, you will be able to retrieve the data from that view by going to the following URL:
http://127.0.0.1:5984/couchblog/_design/posts/_view/by_date_publishedand you will also be able to view it directly through the Futon interface. Notice that the structure above is DATABASE_NAME/_design/DESIGN_DOC_NAME/_view/VIEW_NAME.
Later we will create another view for comments – in the case of comments, we would instead use the posts id as the key, that way we can easily grab all of the comments for a single post id (but we will get to that later).
4. Query the View to Retrieve the Post Data
Now all we have to do in our Ionic application to pull in the post data is to create a provider like this:
import { Injectable } from '@angular/core';
import { Http } from '@angular/http';
import 'rxjs/add/operator/map';

@Injectable()
export class Posts {

    constructor(public http: Http) {

    }

    getPosts(){
        return this.http.get('http://127.0.0.1:5984/couchblog/_design/posts/_view/by_date_published').map(res => res.json());
    }

}
There are more complex requests we could make, that allow you to only grab specific rows from a view, or order data in a certain way, but that’s not much fun with only one post to work with, so we will get into that later.
Summary
We have the basic structure for our CouchDB powered blog in Ionic 2 set up now, in future tutorials we will expand on this and start building out the Ionic 2 application itself.