

In the last tutorial we started building a word searching game in Phaser. We set up the tile grid and a dictionary so that we could check if any particular word actually exists or not (or according to the dictionary we are using at least).
In this tutorial we are going to extend on that and allow the player to select a run of tiles from the grid (horizontally, vertically and diagonally) in an attempt to create a word. If they guess a word successfully it will increase their score.
We will also be creating a timer that will end the game when it reaches 0 (rather than going to a game over screen it will just restart the game for now). Basically, at the end of this tutorial the core functionality of the game will be completed, it will just be lacking a coat of polish to make it look nice:
Before we get started
If you haven’t already been through Part 1 then I would highly recommend you do that tutorial first. This code builds heavily on what we did last time, so it won’t make much sense without it.
You can also download the source code for both Part 1 and Part 2 separetely by entering your email address below. So you can either follow a long from Part 1 and code along with me, or just grab the completed code.
Detecting a Word Selected by the Player
The main bit of functionality we are going to create is a way to detect which tiles the player has selected. To select a word, the user will start pressing one particular tile, then they will drag along the word they are trying to create.
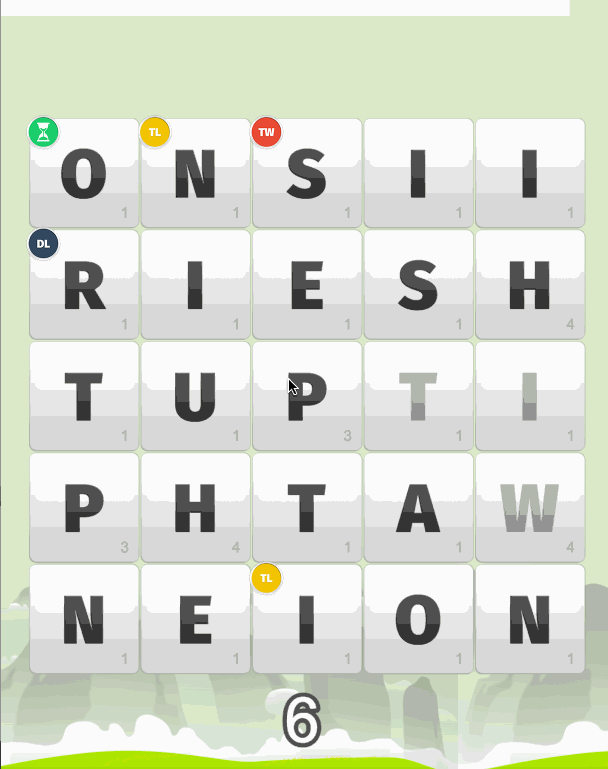
This animation of the completed and extended version of this game should help to show what I mean:
You’ve probably seen a similar mechanic in other games. The logic will basically be:
- Detect when the player starts pressing down
- While the player is pressing down, record any tiles that they hover over
- Once the player stops pressing down, create a word based on all the tiles the user hovered over (in order)
Most of this logic will be handled in our update method. Before we add that though, there’s a bit of setting up we need to do.
Add the following variables to your create method in main.js
me.guessing = false;
me.currentWord = [];
me.correctWords = [];
We need a few new variables to keep track of things. These will enable us to:
- Detect when the user is “guessing” i.e. when they are pressing down
- Keep track of the current word, which will consist of various tiles the user has hovered over
- Keep track of all the words the user has previously guessed correctly, so that they can’t use the same word again
To toggle the guessing boolean on and off you will need to set up a listener to detect when the user taps or clicks the screen, and when they release or stop tapping the screen.
Add the following code to the create method in main.js
me.game.input.onDown.add(function () {
  me.guessing = true;
}, me);
me.game.input.onUp.add(function () {
  me.guessing = false;
}, me);
Now when the user clicks or taps me.guessing will be set to true, and when they release me.guessing will be set to false.
The final thing we need to set up is a “select buffer”. When a user is selecting tiles we want them to be able to select diagonally as well. If a tile is selected whenever the user hovers over any portion of the tile, then it would be nearly impossible to select diagonally without hitting the horizontal and vertical tiles as well. To get over this, we add a “buffer” that will define an area along the edges of a tile that is unselectable.
Add the buffer variable after tileWidth and tileHeight in the create method in main.js
//Set the width and height for the tiles
me.tileWidth = 150;
me.tileHeight = 150;

//A buffer for how much of the tile activates a select
me.selectBuffer = me.tileWidth / 8;
When we make use of this, an area 1/8th the width of the tile along the edge of the tile will not trigger a selection.
Now here’s where things get fun. The code to determine where the user is hovering on the screen, what section that translates to on the tile grid, whether it was inside or outside of the buffer and so on is quite complex (well, it’s more long than complex really). I’ve added comments directly to the code, but I will also walk through it as well.
Modify the update function in main.js to reflect the following
update: function() {

        var me = this;

        if(me.guessing){

            //Get the location of where the pointer is currently
            var hoverX = me.game.input.x;
            var hoverY = me.game.input.y;

            //Figure out what position on the grid that translates to
            var hoverPosX = Math.floor((hoverX - me.leftBuffer)/me.tileWidth);
            var hoverPosY = Math.floor((hoverY - me.topBuffer)/me.tileHeight);

            //Check that we are within the game bounds
            if(hoverPosX >= 0 && hoverPosX < me.tileGrid[0].length && hoverPosY >= 0 && hoverPosY < me.tileGrid.length){

                //Grab the tile being hovered over
                var hoverTile = me.tileGrid[hoverPosX][hoverPosY];

                //Figure out the bounds of the tile
                var tileLeftPosition = me.leftBuffer + (hoverPosX * me.tileWidth);
                var tileRightPosition = me.leftBuffer + (hoverPosX * me.tileWidth) + me.tileWidth;
                var tileTopPosition = me.topBuffer + (hoverPosY * me.tileHeight);
                var tileBottomPosition = me.topBuffer + (hoverPosY * me.tileHeight) + me.tileHeight;

                //If the player is hovering over the tile set it to be active. The buffer is provided here so that the tile is only selected
                //if the player is hovering near the center of the tile
                if(!hoverTile.isActive && hoverX > tileLeftPosition + me.selectBuffer && hoverX < tileRightPosition - me.selectBuffer
                    && hoverY > tileTopPosition + me.selectBuffer && hoverY < tileBottomPosition - me.selectBuffer){

                    //Set the tile to be active
                    hoverTile.isActive = true;

                    console.log(hoverTile.tileLetter);

                    //Push this tile into the current word that is being built
                    me.currentWord.push(hoverTile);
                }

            }

        }
        else {

            if(me.currentWord.length > 0){

                var guessedWord = '';

                //Build a string out of all of the active tiles
                for(var i = 0; i < me.currentWord.length; i++){
                    guessedWord += me.currentWord[i].tileLetter;
                    me.currentWord[i].isActive = false;
                }

                //Check to see if this word exists in our dictionary
                if(me.game.cache.getText('dictionary').indexOf(' ' + guessedWord + ' ') > -1 && guessedWord.length > 1){

                    //Check to see that the word has not already been guessed
                    if(me.correctWords.indexOf(guessedWord) == -1){

                        console.log("correct!");

                        //Add this word to the already guessed word
                        me.correctWords.push(guessedWord);

                    }

                }
                else {
                    console.log("incorrect!");
                }

                //Reset the current word
                me.currentWord = [];

            }

        }

    },
The overal process here is…
1. If the user is currently guessing
- Get the coordinates of where the user is clicking on the screen
- Translate this into a position on our 6 x 6 grid (i.e column 2, row 3)
- Make sure the user is selecting within the bounds of the game grid
- Select the tile the user is hovering over
- If the user is close enough to the center of the tile to avoid hitting the “buffer” add it to the currentWord array
2. If the user is not currently guessing
If the user is is not currently guessing and we have tiles in the currentWord array, then it means they have guessed a word but it hasn’t been processed yet, so we:
- Build a string of the guessed word by grabbing the tileLetter from each tile in the currentWord array
- See if that word exists in the dictionary
- See if that word has already been guessed
- If all is well, we have a correct guess!
- Reset the currentWord array to be blank, because we’ve finished processing it now
If you launch the game in your browser now and try dragging over some words, you should see the letters you’re selecting being output to the console, and it should also tell you whether your guess was correct or incorrect when you let go.
Add Scoring to the Game
Games like this would be pretty boring if there was no scoring system. We could build a pretty complex scoring system for this, where certain letters will give certain points, and maybe we could throw some bonus tiles into the mix. But for now, we are just going to create a basic scoring system.
Add the following variables to the create method in main.js
//Keep track of the users score
me.score = 0;
me.scoreBuffer = 0;
The reason we have a scoreBuffer is becausae rather than just adding all of the score immediately, we are going to give it an animated effect. So we will initially add score to be added to the scoreBuffer and this will quickly “drain” into the actual score.
Add the following to functions to main.js
incrementScore: function(){
var me = this;
me.score += 1;
me.scoreLabel.text = me.score;
},
createScore: function(){
var me = this;
var scoreFont = "100px Arial";
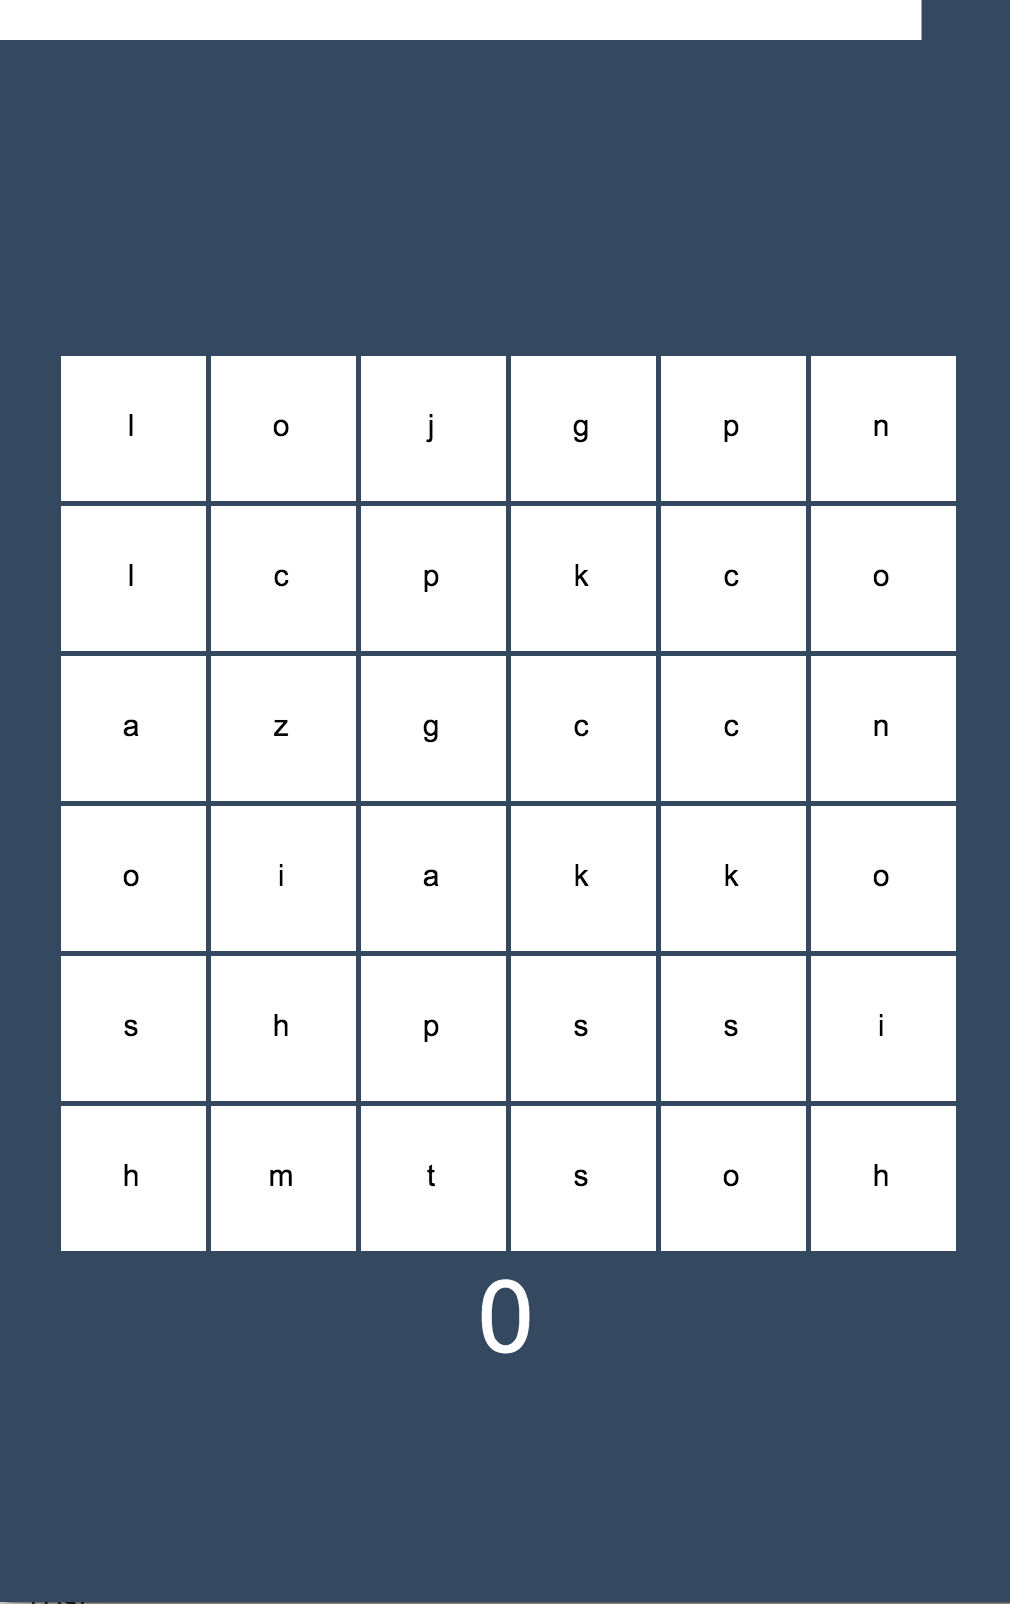
me.scoreLabel = me.game.add.text(me.game.world.centerX, me.topBuffer + 10 + me.tileGrid.length * me.tileHeight, "0", {font: scoreFont, fill: "#ffffff", stroke: "#535353", strokeThickness: 15});
me.scoreLabel.anchor.setTo(0.5, 0);
me.scoreLabel.align = 'center';
},The incrementScore function handles adding to the score and updating the score label. The createScore function actually creates the score label and adds it to the screen.
Now you will need to make a call from your create method to render the score label on the screen.
Add the following code to the create method in main.js:
me.createScore();and you will also need to handle that “draining” effect from the scoreBuffer to the score by adding some code to the update method.
Add the following code to the update method in main.js:
if (me.scoreBuffer > 0) {
  me.incrementScore();
  me.scoreBuffer--;
}
So now, whenever there is anything in the score buffer, the score buffer will be decreased by one and the score will be increased by one. Since this sits within the update loop it will continually be called until there is no longer any score left in the score buffer.
Now all you have to do is add to the scoreBuffer whenever you want to add to the users score.
Modify the following section in the update method in main.js:
if (me.correctWords.indexOf(guessedWord) == -1) {
  console.log('correct!');

  me.scoreBuffer += 10 * guessedWord.length;

  //Add this word to the already guessed word
  me.correctWords.push(guessedWord);
}
Add a Timer to the Game
The final bit of functionality we are going to add is a timer. Once this timer runs out, the game will be over. Rather than creating a typical time display, we are going to create a bar that slowly decreases as time runs out.
Once again, we are going to create some new variables to keep track of this functionality.
Add the following variables to the create method in main.js:
me.remainingTime = 6000;
me.fullTime = 6000;
The reason we are keeping track of the fullTime as well is so that we can calulate the percentage of time left, which we will use to draw our time bar. Let’s create that time bar by creating a new function.
Add the following functions to main.js:
createTimer: function(){

            var me = this;

            me.timeBar = me.game.add.bitmapData(me.game.width, 50);

            //make white and have a blue background
            me.timeBar.ctx.rect(0, 0, me.game.width, 50);
            me.timeBar.ctx.fillStyle = '#ffffff';
            me.timeBar.ctx.fill();

            me.timeBar = me.game.add.sprite(0, 0, me.timeBar);
            me.timeBar.cropEnabled = true;

        },

        updateTimer: function(){

            var me = this;

            me.remainingTime -= 10;

            var cropRect = new Phaser.Rectangle(0, 0, (me.remainingTime / me.fullTime) * me.game.width, me.timeBar.height);
            me.timeBar.crop(cropRect);

        }
The first function renders the time bar on the screen. We use bitmap data so that we can draw the bar, rather than using an image sprite for it. We set cropEnabled to true because we will decrease the size of the bar by cropping it.
The second function handles this cropping. It creates a new rectangle based on the percentage of time that has elapsed, and then uses that to crop the original time bar.
Of course we will need to make some calls to these functions, so let’s do that now.
Add the following code to the create method in main.js
me.createTimer();

me.gameTimer = game.time.events.loop(100, function () {
  me.updateTimer();
});
This will create a loop that runs every 100ms, and every 100ms our time will be decreased by 10. So if we start with a total time of 6000 it needs to be decremented 600 times to reach 0, so the total game time will run for 60,000ms or 60 seconds (woo, math!). Now we just need to detect when time runs out
Add the following code to the update method in main.js
if (me.remainingTime < 1) {
  me.game.state.restart();
}
Now when the time runs out, the game will be restarted.
Summary
The core functionality for the game is basically done now, and you could probably use this as a template to build most games in this genre. It’s far from enjoyable now though, there’s a few obvious improvements and bits of polish to add like, which could be things like:
- Make active tiles a different colour or somehow indicate that they have been selected
- Create the Game Title and Game Over states
- Add in sound effects
- Create more interesting scoring (bonus tiles etc.)
- Making the game more juicy with animations
I’ve taken this game quite a bit further in my spare time, to the point where I’ll likely be releasing it on iOS and Android soon, so here’s an example of how you might take the game further:
I’ve added quite a bit of complexity to the game and I think it would be quite hard to turn it into a cohesive tutorial, but if you’re interested in any of the features I’ve added let me know and I’ll see what I can do.