
I’ve spent the last week reading through Sarah Drasner’s new book SVG Animations, which has pretty much changed my line of thinking from SVGs seem pretty cool to…
If you want a good introduction to SVGs you should go read her book, but in this tutorial, I’ll just be running through a basic example of how you might use an animated SVG in your Ionic applications. We will walk through how to:
- Create an SVG
- Add an SVG to an Ionic Application
- Animate an SVG
Here’s what we will be building:
A Quick Introduction to SVG
As I mentioned, if you want an in-depth introduction to SVGs I would recommend checking out Sarah’s content, I will, however, give you a quick introduction.
SVG stands for Scalable Vector Graphic, and that is a pretty good description of what it is. Unlike standard raster based images which are composed of pixels, vector graphics are defined mathematically. If you wanted to scale up a raster image, as you will likely have done at some point in the past, it will lose quality and become blurry as it expands – as the image expands beyond a number of pixels it had originally, the blank pixels need to be filled in but there isn’t any data that defines what the image should look like at that size. If you scale up a vector graphic there is no loss in quality, because no matter what size the image is, we have the data to define what it should look like.
The vector format is not something specific to SVGs. The defining characteristic of SVGs is that they are defined using an XML format and are supported by browsers. This means they can be embedded right into a web page, and we can even interact with the components of an SVG like we would any normal DOM element.
Here’s a very simple example of what an SVG may look like:
<svg width="100" height="100">
  <circle
    cx="50"
    cy="50"
    r="40"
    stroke="green"
    stroke-width="4"
    fill="yellow"
  />
</svg>
This defines a yellow circle with a green border. Since we are defining this circle this way, we could easily scale that up to have a radius of 20,000px without losing any quality. The fact that the SVG above is 100×100 is irrelevant to the size that we may actually want to display it as.
This simple example just implements a circle, but you can also define other shapes within an SVG and even complex paths. So, you can quite easily write an SVG yourself, but if you want to start creating more complex shapes it may be helpful to design them in a program like Adobe Illustrator (as we will be doing in this tutorial).
Before We Get Started
Last updated for Ionic 3.1.0
Before you go through this tutorial, you should have at least a basic understanding of Ionic concepts. You must also already have Ionic set up on your machine.
If you’re not familiar with Ionic already, I’d recommend reading my Ionic Beginners Guide or watching my beginners series first to get up and running and understand the basic concepts. If you want a much more detailed guide for learning Ionic, then take a look at Building Mobile Apps with Ionic.
1. Generate a New Ionic Application
We’re going to start by generating a new blank Ionic application, to do that just run the following command:
ionic start ionic-svg-animation blankOnce that has finished generating, you should make it your working directory:
cd ionic-svg-animationWe will just be adding the SVG animation to the Home Page which is automatically generated, so there is no more set up required.
2. Create the SVG
As you’ve seen above, you can just write out the XML for an SVG yourself, but if you’re building anything more than simple shapes you will probably want to use some kind of program to generate the SVG for you. Adobe Illustrator is a great way to do this, it’s the program that is typically used by designers to create vector graphics and it has built-in support for SVG. It is a paid program, however, and there are free alternatives available. I will be using Illustrator for this tutorial.
I just wanted to create some simple design that might look cool with an animation, so I’ve just created this strange logo with no particular meaning:
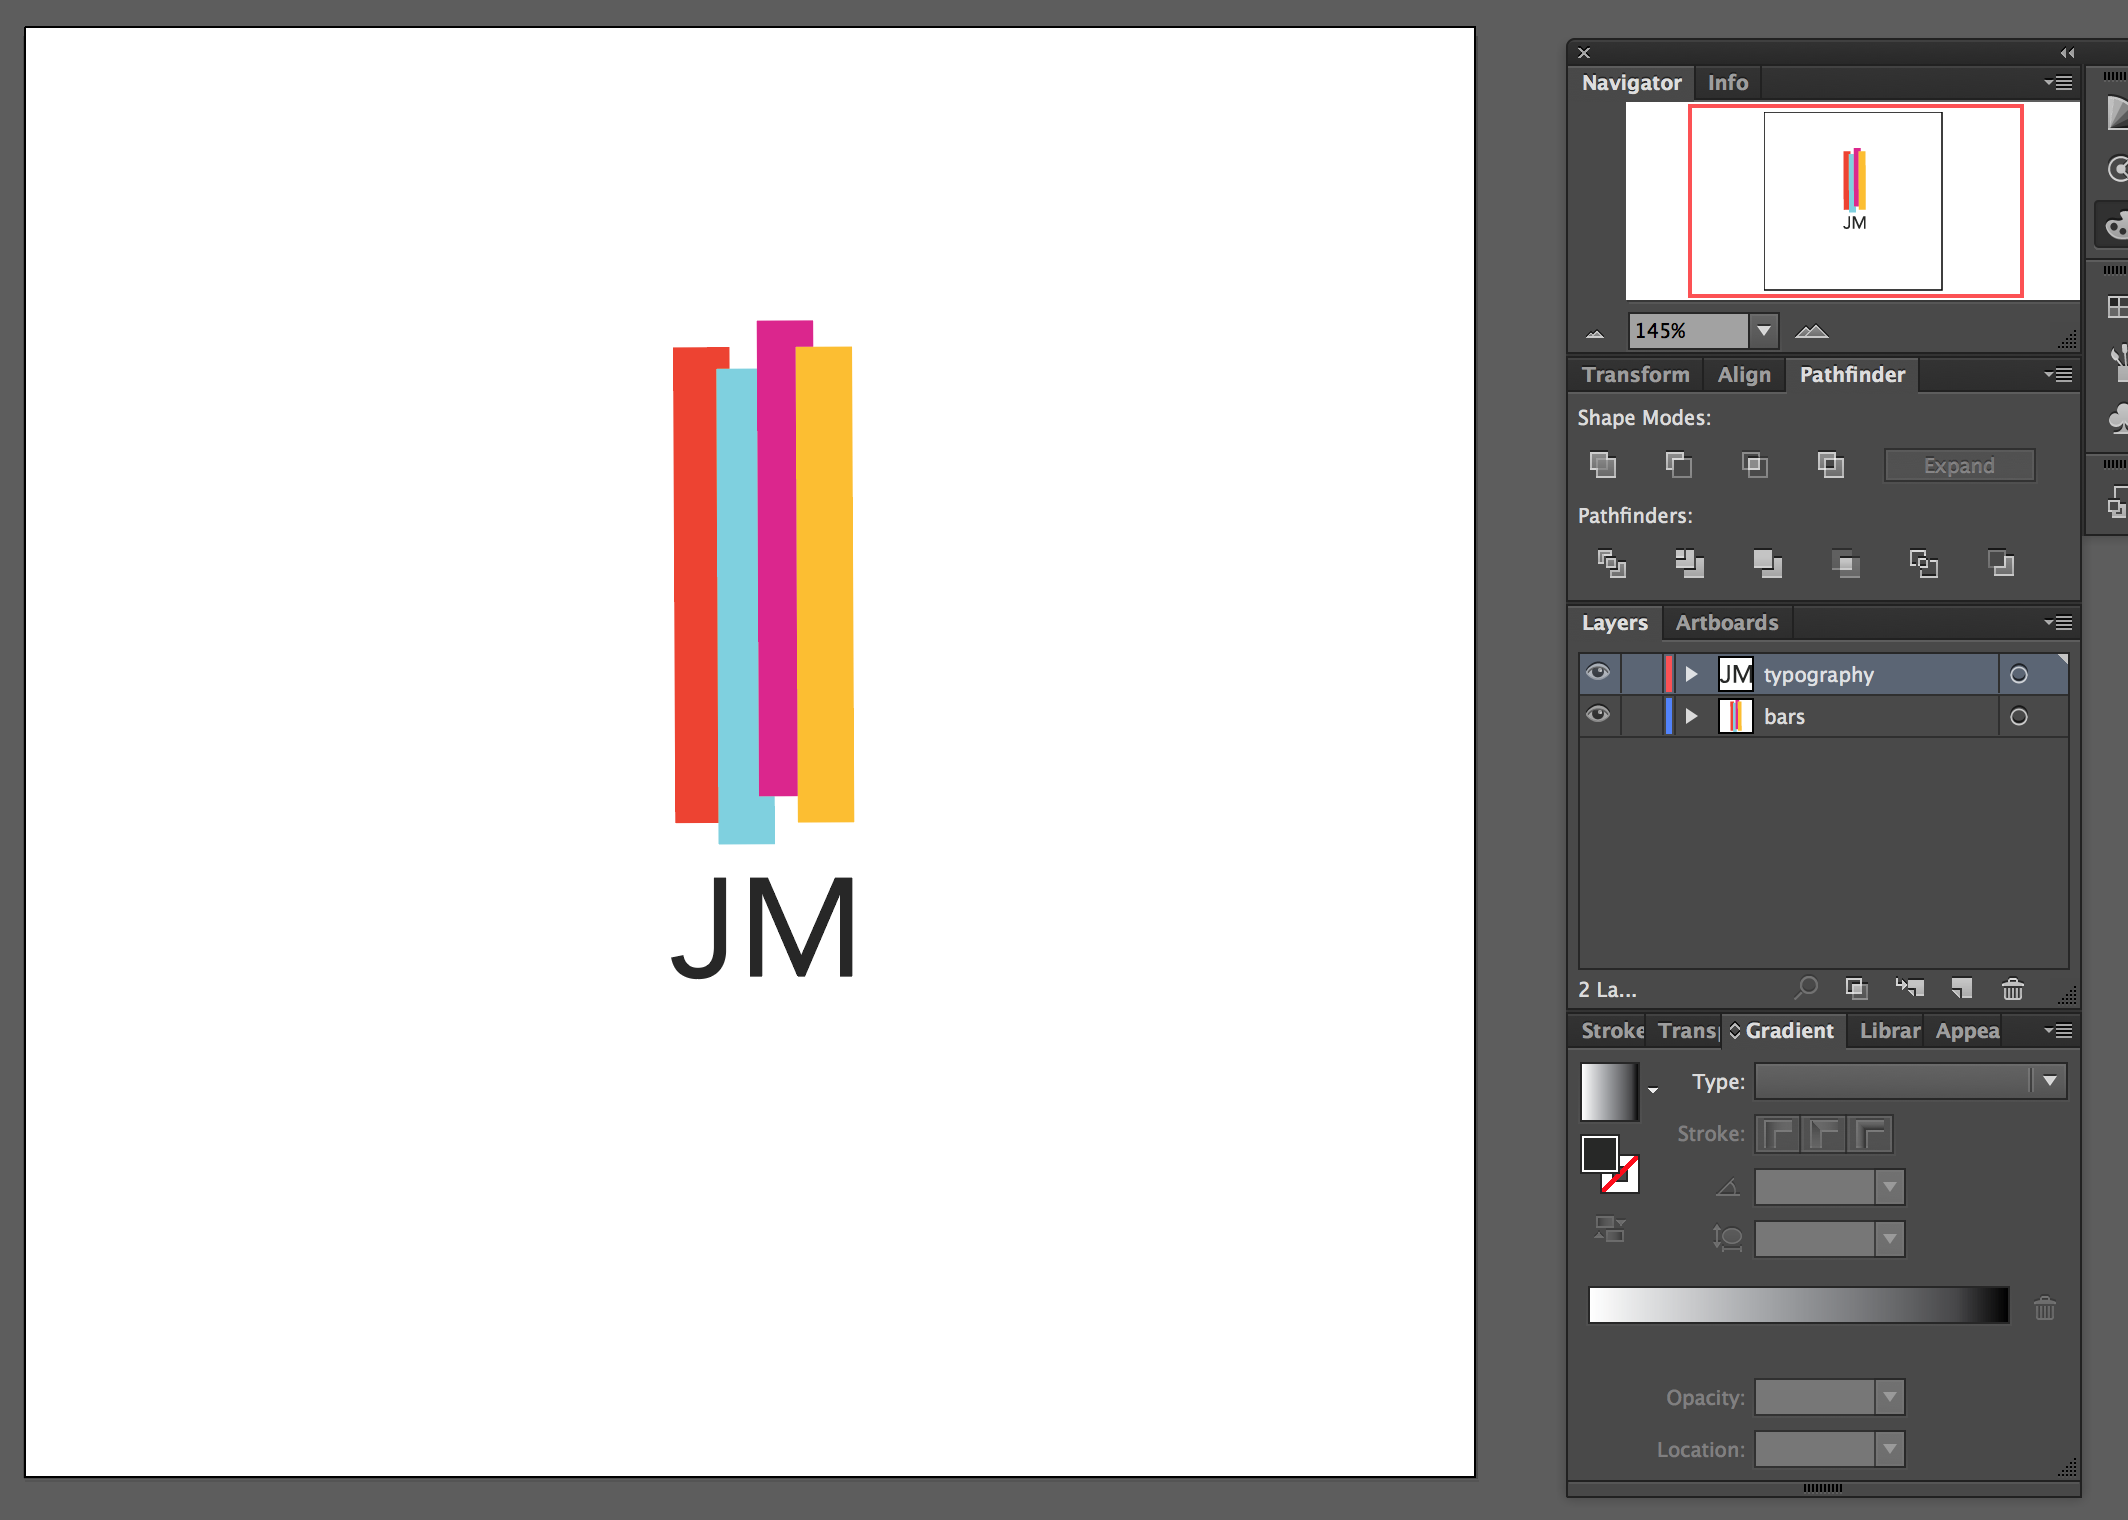
The SVG itself isn’t all that relevant to the tutorial, we just need something to work with. However, you should keep in mind that the more complex the vector you create is, the larger and more complex the resulting SVG will be.
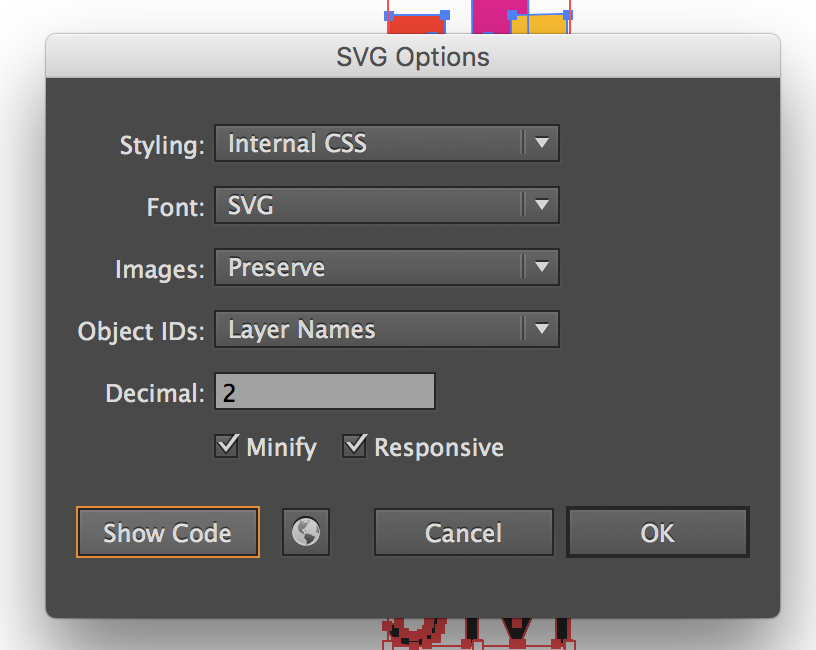
In order to export an SVG from Illustrator, we can just select the shapes that we are interesting in exporting and then go to:
File > Export SelectionWe can then choose to save it as an .svg and some options will pop up that will allow us to save it, and to view the code for it directly:
Here’s the resulting code for this particular SVG:
<svg id="bars" xmlns="http://www.w3.org/2000/svg" viewBox="0 0 63.15 224.35">
  <defs>
    <style>
      .cls-1 {
        fill: #dd238c;
      }
      .cls-2 {
        fill: #ef4328;
      }
      .cls-3 {
        fill: #7dd0df;
      }
      .cls-4 {
        fill: #febf12;
      }
      .cls-5 {
        fill: #282828;
      }
    </style>
  </defs>
  <title>jmlogo</title>
  <rect class="cls-1" x="27.22" width="20.06" height="163.78" />
  <rect class="cls-2" y="4" width="20.06" height="163.78" />
  <rect class="cls-3" x="13.9" y="13.1" width="20.06" height="163.78" />
  <rect class="cls-4" x="43.1" y="7.45" width="20.06" height="163.78" />
  <path
    class="cls-5"
    d="M243.5,323a12,12,0,0,1-.5,3.43,8.88,8.88,0,0,1-1.63,3.1,8.24,8.24,0,0,1-3,2.26,10.8,10.8,0,0,1-4.58.86,9.63,9.63,0,0,1-6-1.82,8.48,8.48,0,0,1-3.07-5.47l4-.82a5.64,5.64,0,0,0,1.66,3.19,4.86,4.86,0,0,0,3.43,1.18,5.71,5.71,0,0,0,2.83-.62,4.53,4.53,0,0,0,1.7-1.63,7,7,0,0,0,.84-2.33,15.15,15.15,0,0,0,.24-2.71V297.82h4V323Z"
    transform="translate(-224.04 -108.31)"
  />
  <path
    class="cls-5"
    d="M252,297.82h6l11.52,26.64h0.1l11.62-26.64H287v34h-4V303.29h-0.1L270.72,331.8h-2.45l-12.19-28.51H256V331.8h-4v-34Z"
    transform="translate(-224.04 -108.31)"
  />
</svg>
Isn’t that cool? I don’t know why I find that so satisfying, but I love that a logo with complex shapes can be expressed with just a few lines of code. What we’re about to do is way more impressive, though.
The SVG we have created is reasonably simple, you can tell mostly from the code what it is. We have the four rectangles defined with rect and then we have two paths defined with path that make up the JM text – obviously defining these paths is a bit more complicated because it is comprised of a lot of different curves (and I have converted the text to shapes, which makes them a little more complex to define).
You may also notice that there are CSS rules defined using classes, and those classes are attached to the various shapes in the SVG. The auto-generated class names aren’t particularly great, but you could easily rename these if you wanted. You can probably see at this point how easy it would be to control this SVG using the CSS of your application (it would be very simple to overwrite the fill property for example), and we will be taking advantage of this shortly to create our animation.
3. Add the SVG to the Application
Now that we have an SVG created, we can add it to the application. You can do this either by embedding the code as it is above directly into a template, or you could add the .svg file to your assets folder and reference it like a normal image:
<img src="assets/images/logo.svg" />We are going to use the former.
Modify src/pages/home/home.html to reflect the following:
<ion-header no-border>
  <ion-navbar color="primary">
    <ion-title> Ionic Blank </ion-title>
  </ion-navbar>
</ion-header>

<ion-content padding>
  <svg id="bars" xmlns="http://www.w3.org/2000/svg" viewBox="0 0 63.15 224.35">
    <defs>
      <style>
        .cls-1 {
          fill: #dd238c;
        }
        .cls-2 {
          fill: #ef4328;
        }
        .cls-3 {
          fill: #7dd0df;
        }
        .cls-4 {
          fill: #febf12;
        }
        .cls-5 {
          fill: #282828;
        }
      </style>
    </defs>
    <title>jmlogo</title>
    <rect class="cls-1" x="27.22" width="20.06" height="163.78" />
    <rect class="cls-2" y="4" width="20.06" height="163.78" />
    <rect class="cls-3" x="13.9" y="13.1" width="20.06" height="163.78" />
    <rect class="cls-4" x="43.1" y="7.45" width="20.06" height="163.78" />
    <path
      class="cls-5"
      d="M243.5,323a12,12,0,0,1-.5,3.43,8.88,8.88,0,0,1-1.63,3.1,8.24,8.24,0,0,1-3,2.26,10.8,10.8,0,0,1-4.58.86,9.63,9.63,0,0,1-6-1.82,8.48,8.48,0,0,1-3.07-5.47l4-.82a5.64,5.64,0,0,0,1.66,3.19,4.86,4.86,0,0,0,3.43,1.18,5.71,5.71,0,0,0,2.83-.62,4.53,4.53,0,0,0,1.7-1.63,7,7,0,0,0,.84-2.33,15.15,15.15,0,0,0,.24-2.71V297.82h4V323Z"
      transform="translate(-224.04 -108.31)"
    />
    <path
      class="cls-5"
      d="M252,297.82h6l11.52,26.64h0.1l11.62-26.64H287v34h-4V303.29h-0.1L270.72,331.8h-2.45l-12.19-28.51H256V331.8h-4v-34Z"
      transform="translate(-224.04 -108.31)"
    />
  </svg>
</ion-content>
The weight for this particular SVG is only 4KB – not bad for something that can be scaled infinitely without losing clarity. Before we attempt to view the SVG in the browser, we are going to add a couple of styles to the home page:
Modify src/pages/home/home.scss to reflect the following:
.ios,
.md {
  page-home {
    .scroll-content {
      display: flex;
      justify-content: center;
      align-items: center;
    }

    #bars {
      height: 80%;
    }
  }
}
This will just set the SVG to take up 80% of the height of the page, and we’ve also set a flex layout to align the SVG into the center of the page both vertically and horizontally.
If you were to load up the application in the browser now, you should see your SVG in all it’s vector-y glory.
4. Animate the SVG
One of the cool things about SVGs is that we can treat them just like any other DOM elements. This means that we can apply CSS animations to an SVG, as a whole and to the individual components that make up the SVG, just as we would to any other element.
In order to do this, we are just going to create a simple CSS keyframe animation that we will apply to various components of the SVG – we will be animating the bars separately to the text. If you aren’t already familiar with using CSS keyframe animations, I would recommend reading Create a Sliding Item Animation with a Directive in Ionic first.
Modify src/pages/home/home.scss to reflect the following:
.ios,
.md {
  page-home {
    .scroll-content {
      display: flex;
      justify-content: center;
      align-items: center;
    }

    #bars {
      height: 80%;

      .cls-1 {
        opacity: 0;
        transform: rotate3d(1, 1, 0, 50deg);
        animation: 1s 0.2s ease fadeInAndSpin;
        animation-fill-mode: forwards;
      }

      .cls-2 {
        opacity: 0;
        transform: rotate3d(1, 1, 0, 50deg);
        animation: 1s 0.4s ease fadeInAndSpin;
        animation-fill-mode: forwards;
      }

      .cls-3 {
        opacity: 0;
        transform: rotate3d(1, 1, 0, 50deg);
        animation: 1s 0.6s ease fadeInAndSpin;
        animation-fill-mode: forwards;
      }

      .cls-4 {
        opacity: 0;
        transform: rotate3d(1, 1, 0, 50deg);
        animation: 1s 0.8s ease fadeInAndSpin;
        animation-fill-mode: forwards;
      }

      .cls-5,
      .cls-6 {
        opacity: 0;
        animation: 2s 1.5s linear fadeIn;
        animation-fill-mode: forwards;
      }
    }
  }
}

@keyframes fadeInAndSpin {
  100% {
    opacity: 1;
    transform: rotate3d(1, 1, 0, 0deg);
  }
}

@keyframes fadeIn {
  100% {
    opacity: 1;
  }
}
At the bottom of this file, we have created 2 keyframe animations. The fadeInAndSpin animation will transition the element to full opacity, and it will also transition the rotation back to 0 degrees (i.e. its normal position). The fadeIn animation is pretty much the same, except it does not include the rotation.
We give all of the bar classes (that is classes 1 through to 4) the fadeInAndSpinAnimation and we also set the opacity to 0 initially, as well as giving them a 50-degree rotation (so that they will animate into their normal position). All of the animations are set to take one second, but we are also staggering the animations by giving them a delay of between 0.2s and 0.8s – this will cause the animations to start one after the other which creates a pretty cool effect. Having the animation-fill-mode set to forwards will ensure that the SVG will retain the properties that we are animating to once the animation has completed (otherwise it would just go back to “ opacity again).
We also apply an animation to the text classes (5 and 6), but we just give it the simple fadeIn animation. The end result should be something that looks like this:
Pretty cool!
Summary
Hopefully, this tutorial highlights how useful an SVG can be in an application, and this is only just the beginning. Since SVGs can be treated like a normal DOM element, you have the power to work with them with either CSS or Javascript just like you would anything else in your application. We have just used a simple keyframe animation here, but you can manipulate SVGs in many more ways.