

In previous articles I’ve broadly covered some local storage options for HTML5 mobile applications and more recently backend options for HTML5 mobile applications. Now I’m going to get a little more specific and cover a real world example of how to use PouchDB with Ionic 2, which encompasses both local storage and remote data storage.
A Quick Background on PouchDB and NoSQL
PouchDB is an in browser NoSQL database that was inspired by the CouchDB project. Its biggest feature is that it allows for data storage offline, and it can automatically sync to a remote database when the application comes back online.
If you’re not familiar with NoSQL, I’d recommend checking out this post. To give you a really quick background, NoSQL databases usually store data in a JSON like key value style format, instead of the relational style tables that traditional SQL uses. The two approaches are completely different, the way you use them is different and the way you need to think about them is different.
If your application is just storing simple data then you will easily see how to go about using the NoSQL database PouchDB provides – as you can pretty much just use it as a simple key-value storage system (which doesn’t really require you to understand NoSQL at all). But if you’re building a more complex database then you should invest some time into learning how data should be structured with NoSQL, so that the way you are storing data makes sense and is easy to retrieve later.
In this tutorial we’re going to cover how to set up PouchDB in an Ionic 2 application, how to store and retrieve data locally, and how to sync the local database with a remote database hosted on Cloudant, which is part of IBM Bluemix.
Before We Get Started
Before you go through this tutorial, you should have at least a basic understanding of Ionic 2 concepts. You must also already have Ionic 2 installed on your machine.
If you’re not familiar with Ionic 2 already, I’d recommend reading my Ionic 2 Beginners Guide first to get up and running and understand the basic concepts. If you want a much more detailed guide for learning Ionic 2, then take a look at Building Mobile Apps with Ionic 2.
Set up Cloudant on IBM Bluemix
Before we start building the application, we’re going to set up our backend on Cloudant through IBM Bluemix. Bluemix gives you access to IBM’s Open Cloud Architecture and can be used to create, deploy and manage cloud-based applications. It provides a bunch of services you can use and one of those is Cloudant.
Cloudant is a NoSQL DBaaS (Database as a Service) so it’s an easy way for us to get our remote backend set up for PouchDB, but there are many other ways you can implement a backend for PouchDB. If you’d like you can set up CouchDB (which is the protocol Cloudant implements) on your own server, this tutorial explains how you can go about doing this.
Ok, let’s get started with setting up Cloudant. First you will need to create an IBM Bluemix account. Once you have created your account and logged in, you should see a screen like this:
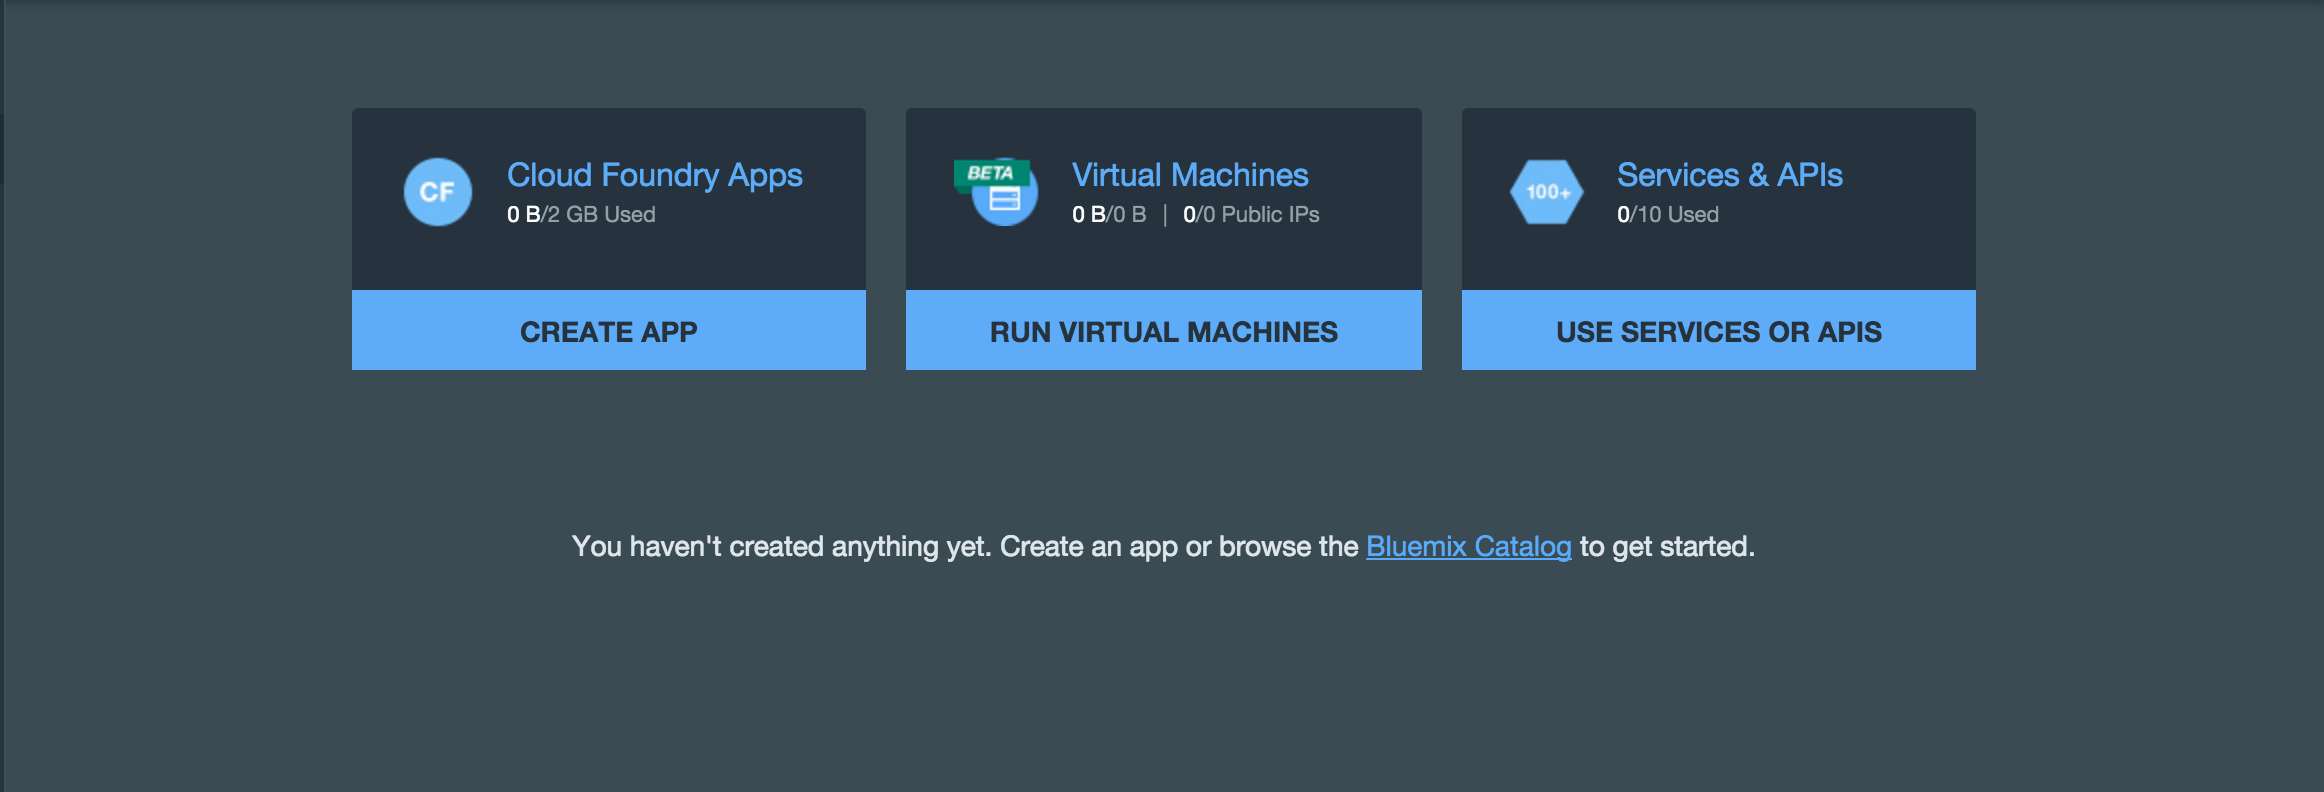
Choose the Create App option, choose Mobile, name your application and then click Finish. After that you should see a screen like this:
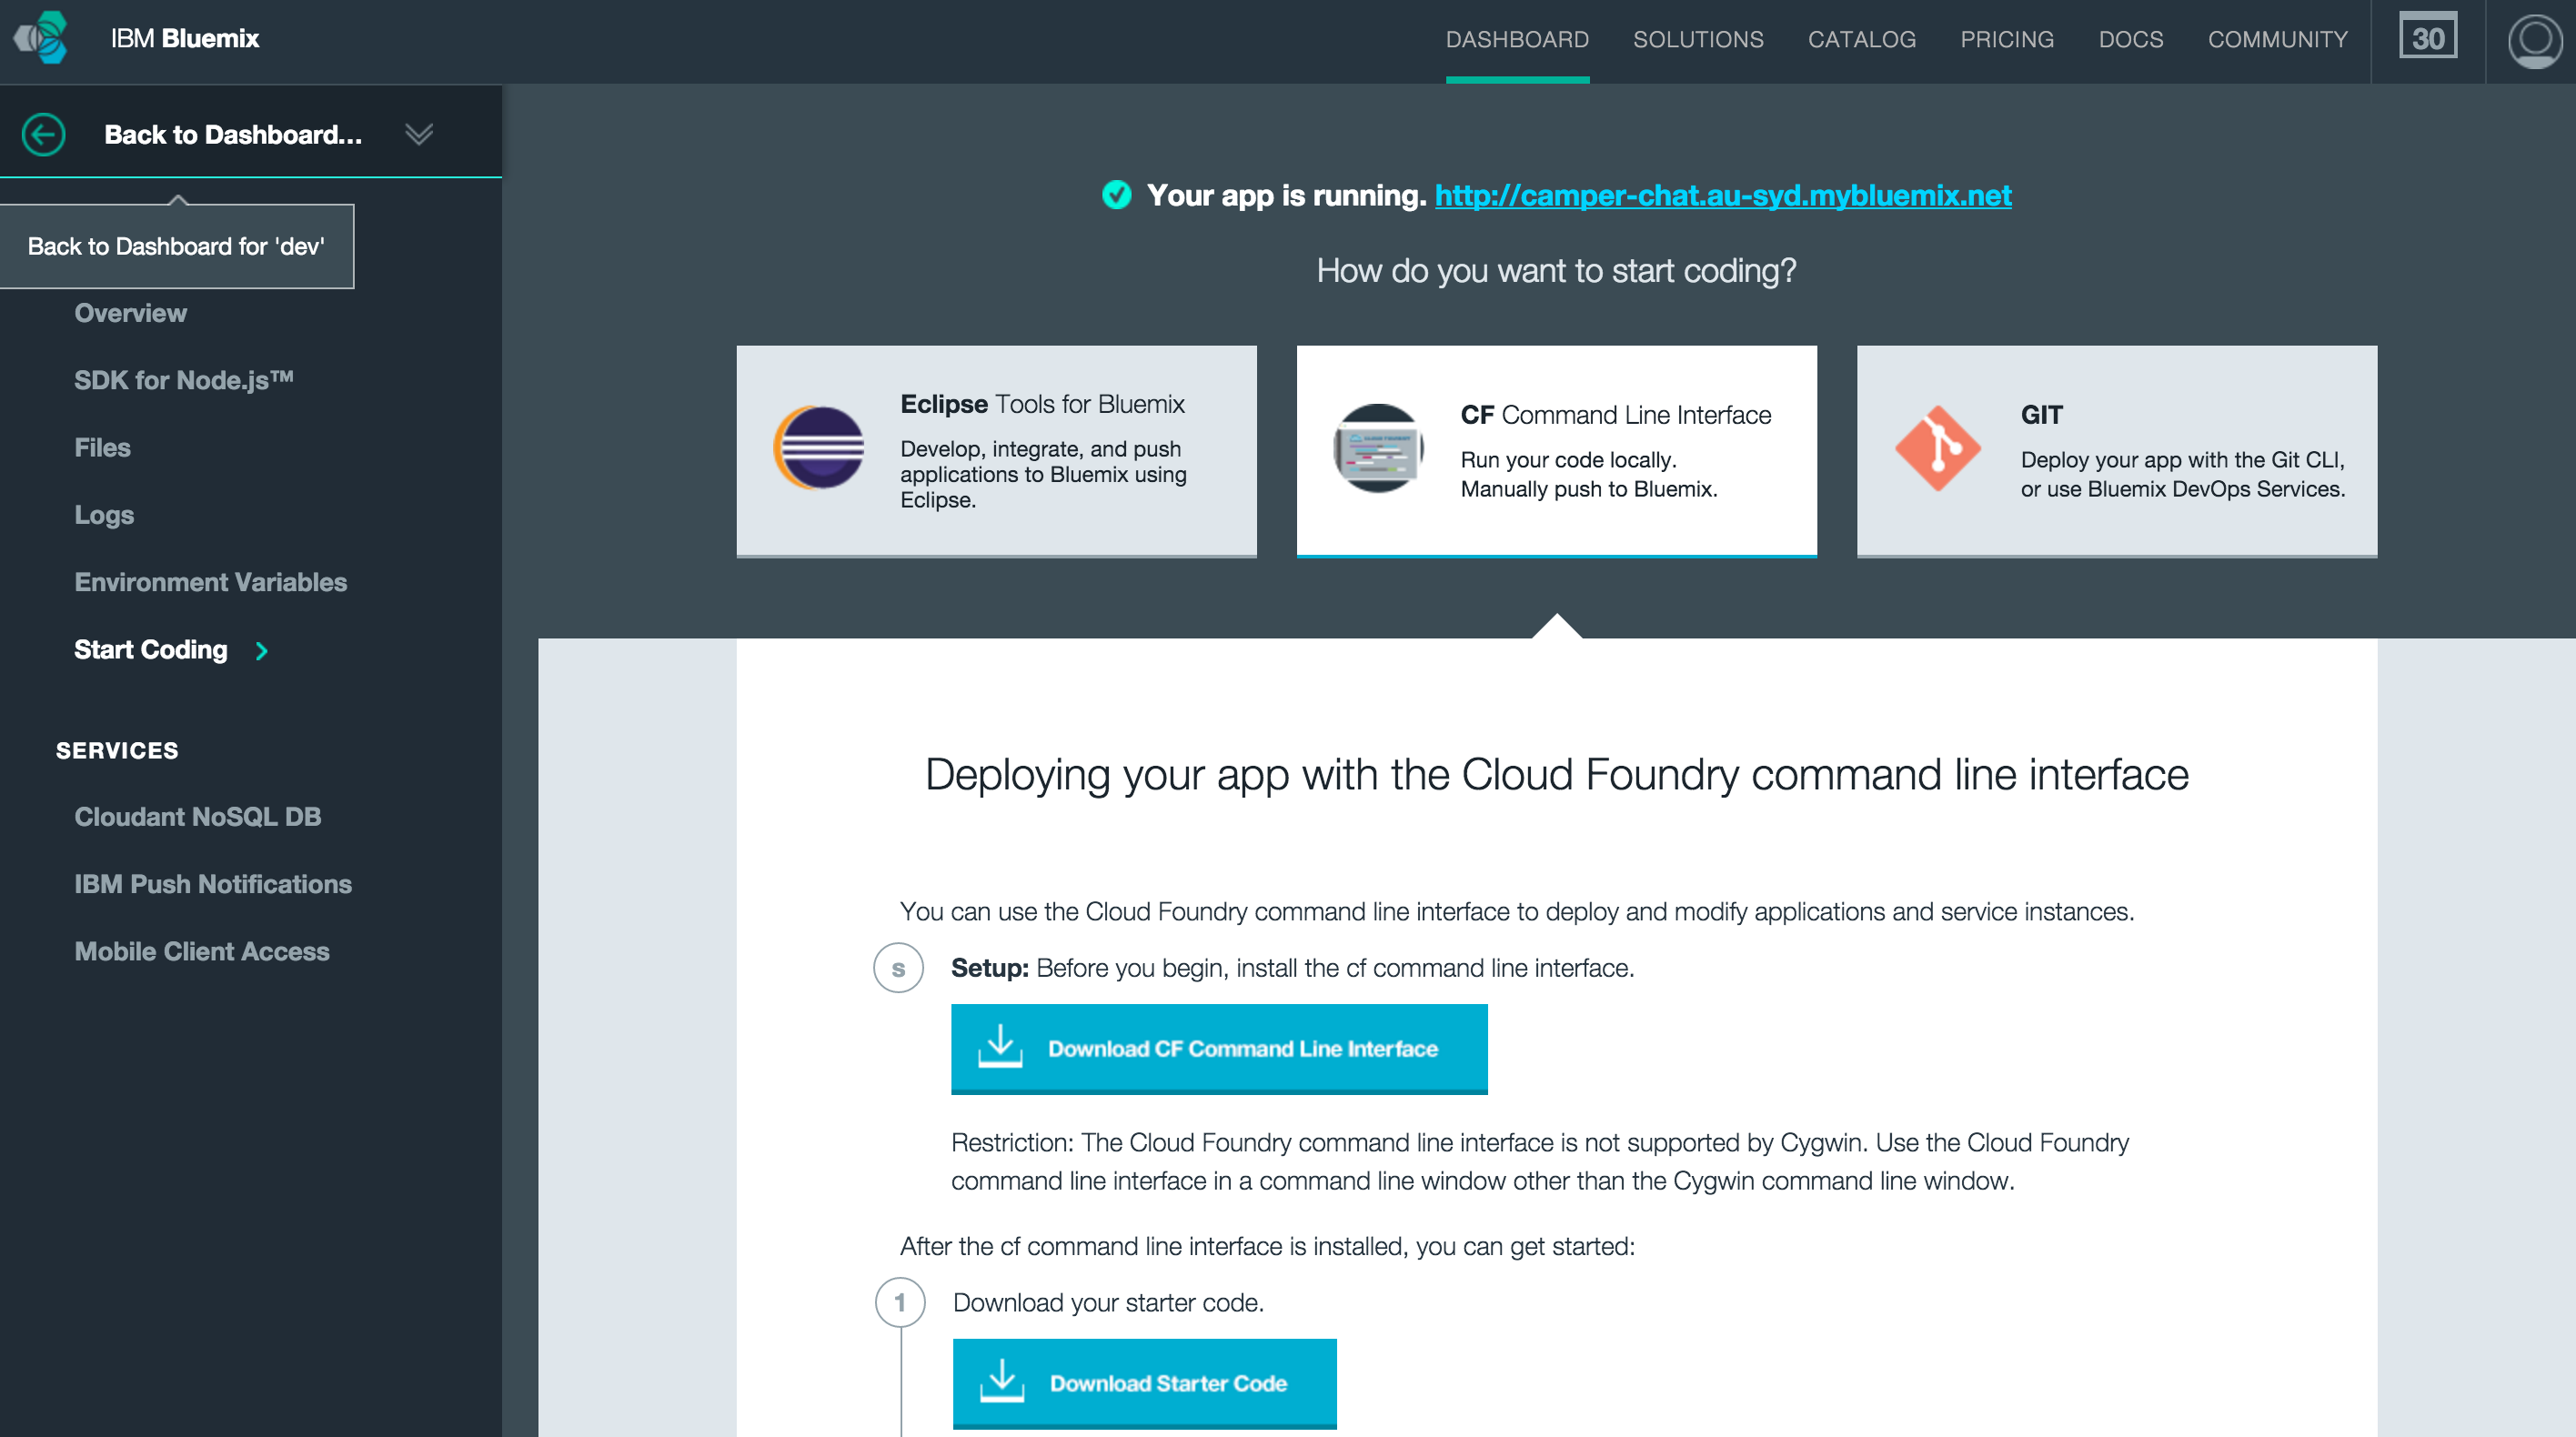
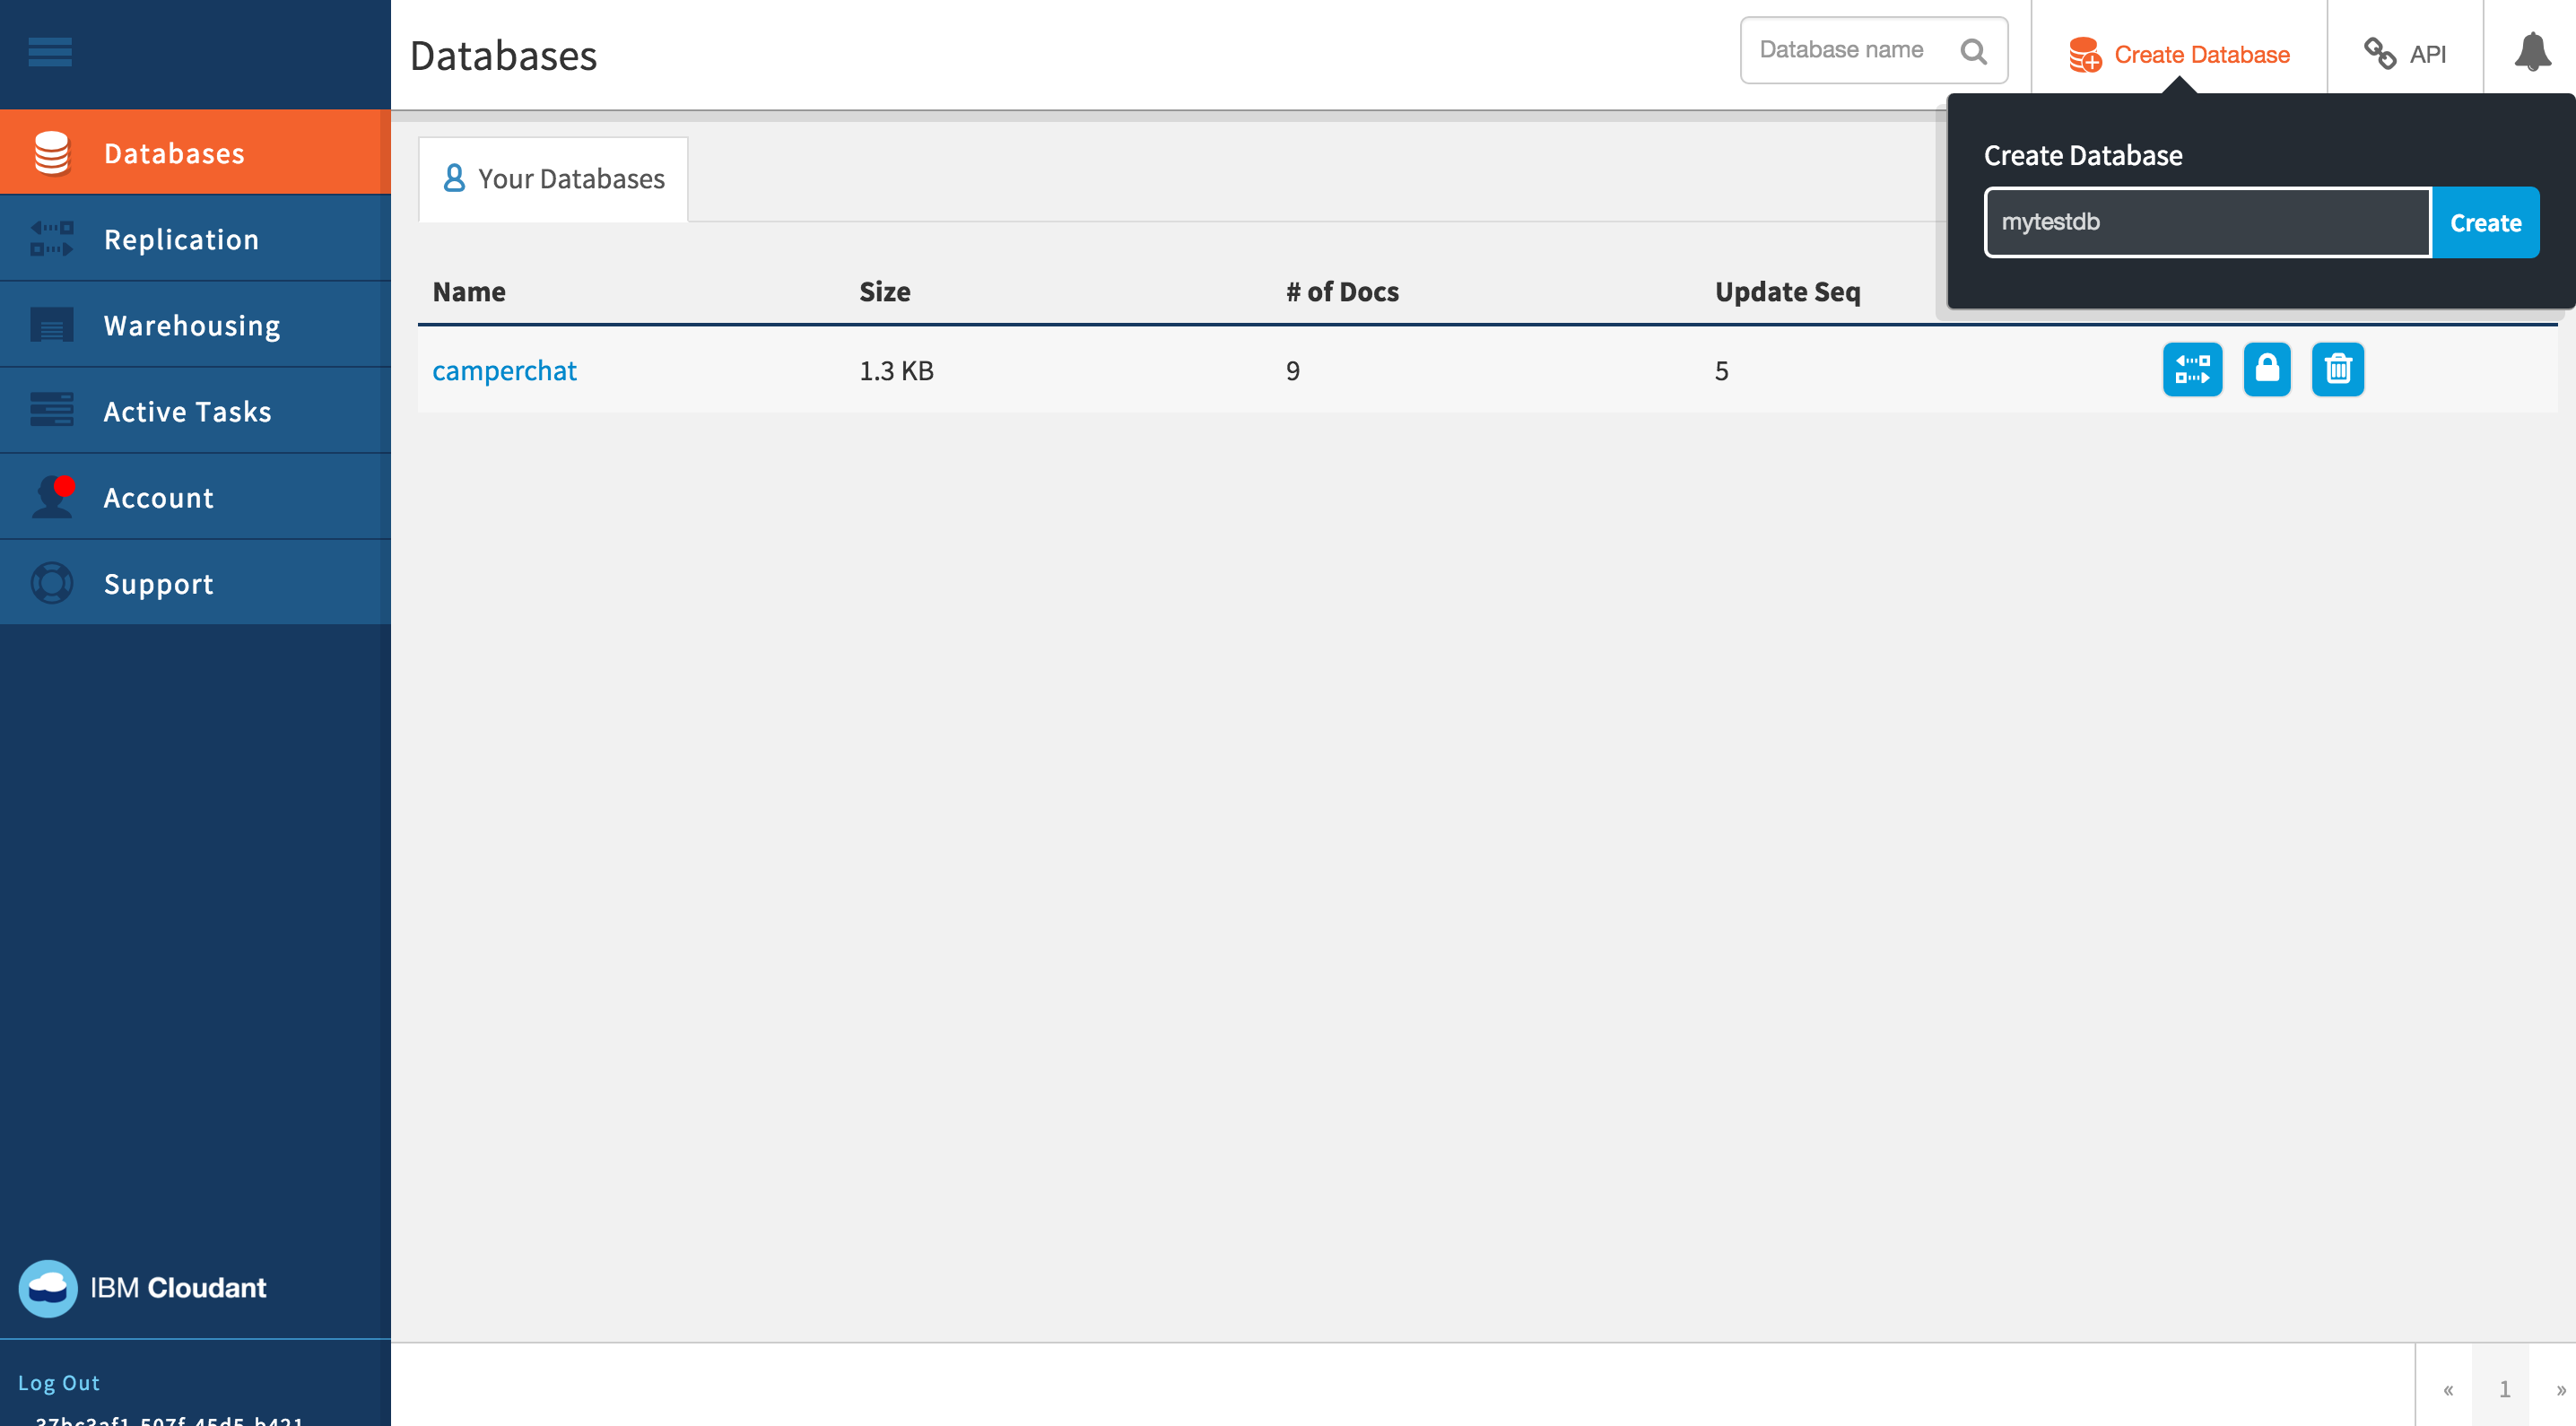
Choose Cloudant NoSQL DB from the Services menu on the left and then click View your Data on the Cloudant Dashboard. You should now be inside of the Cloudant dashboard. Click the Create Database option in the top right to create a new database and call it mytestdb or whatever you prefer.
Now select the newly created database to view more details, you should see a screen like this:
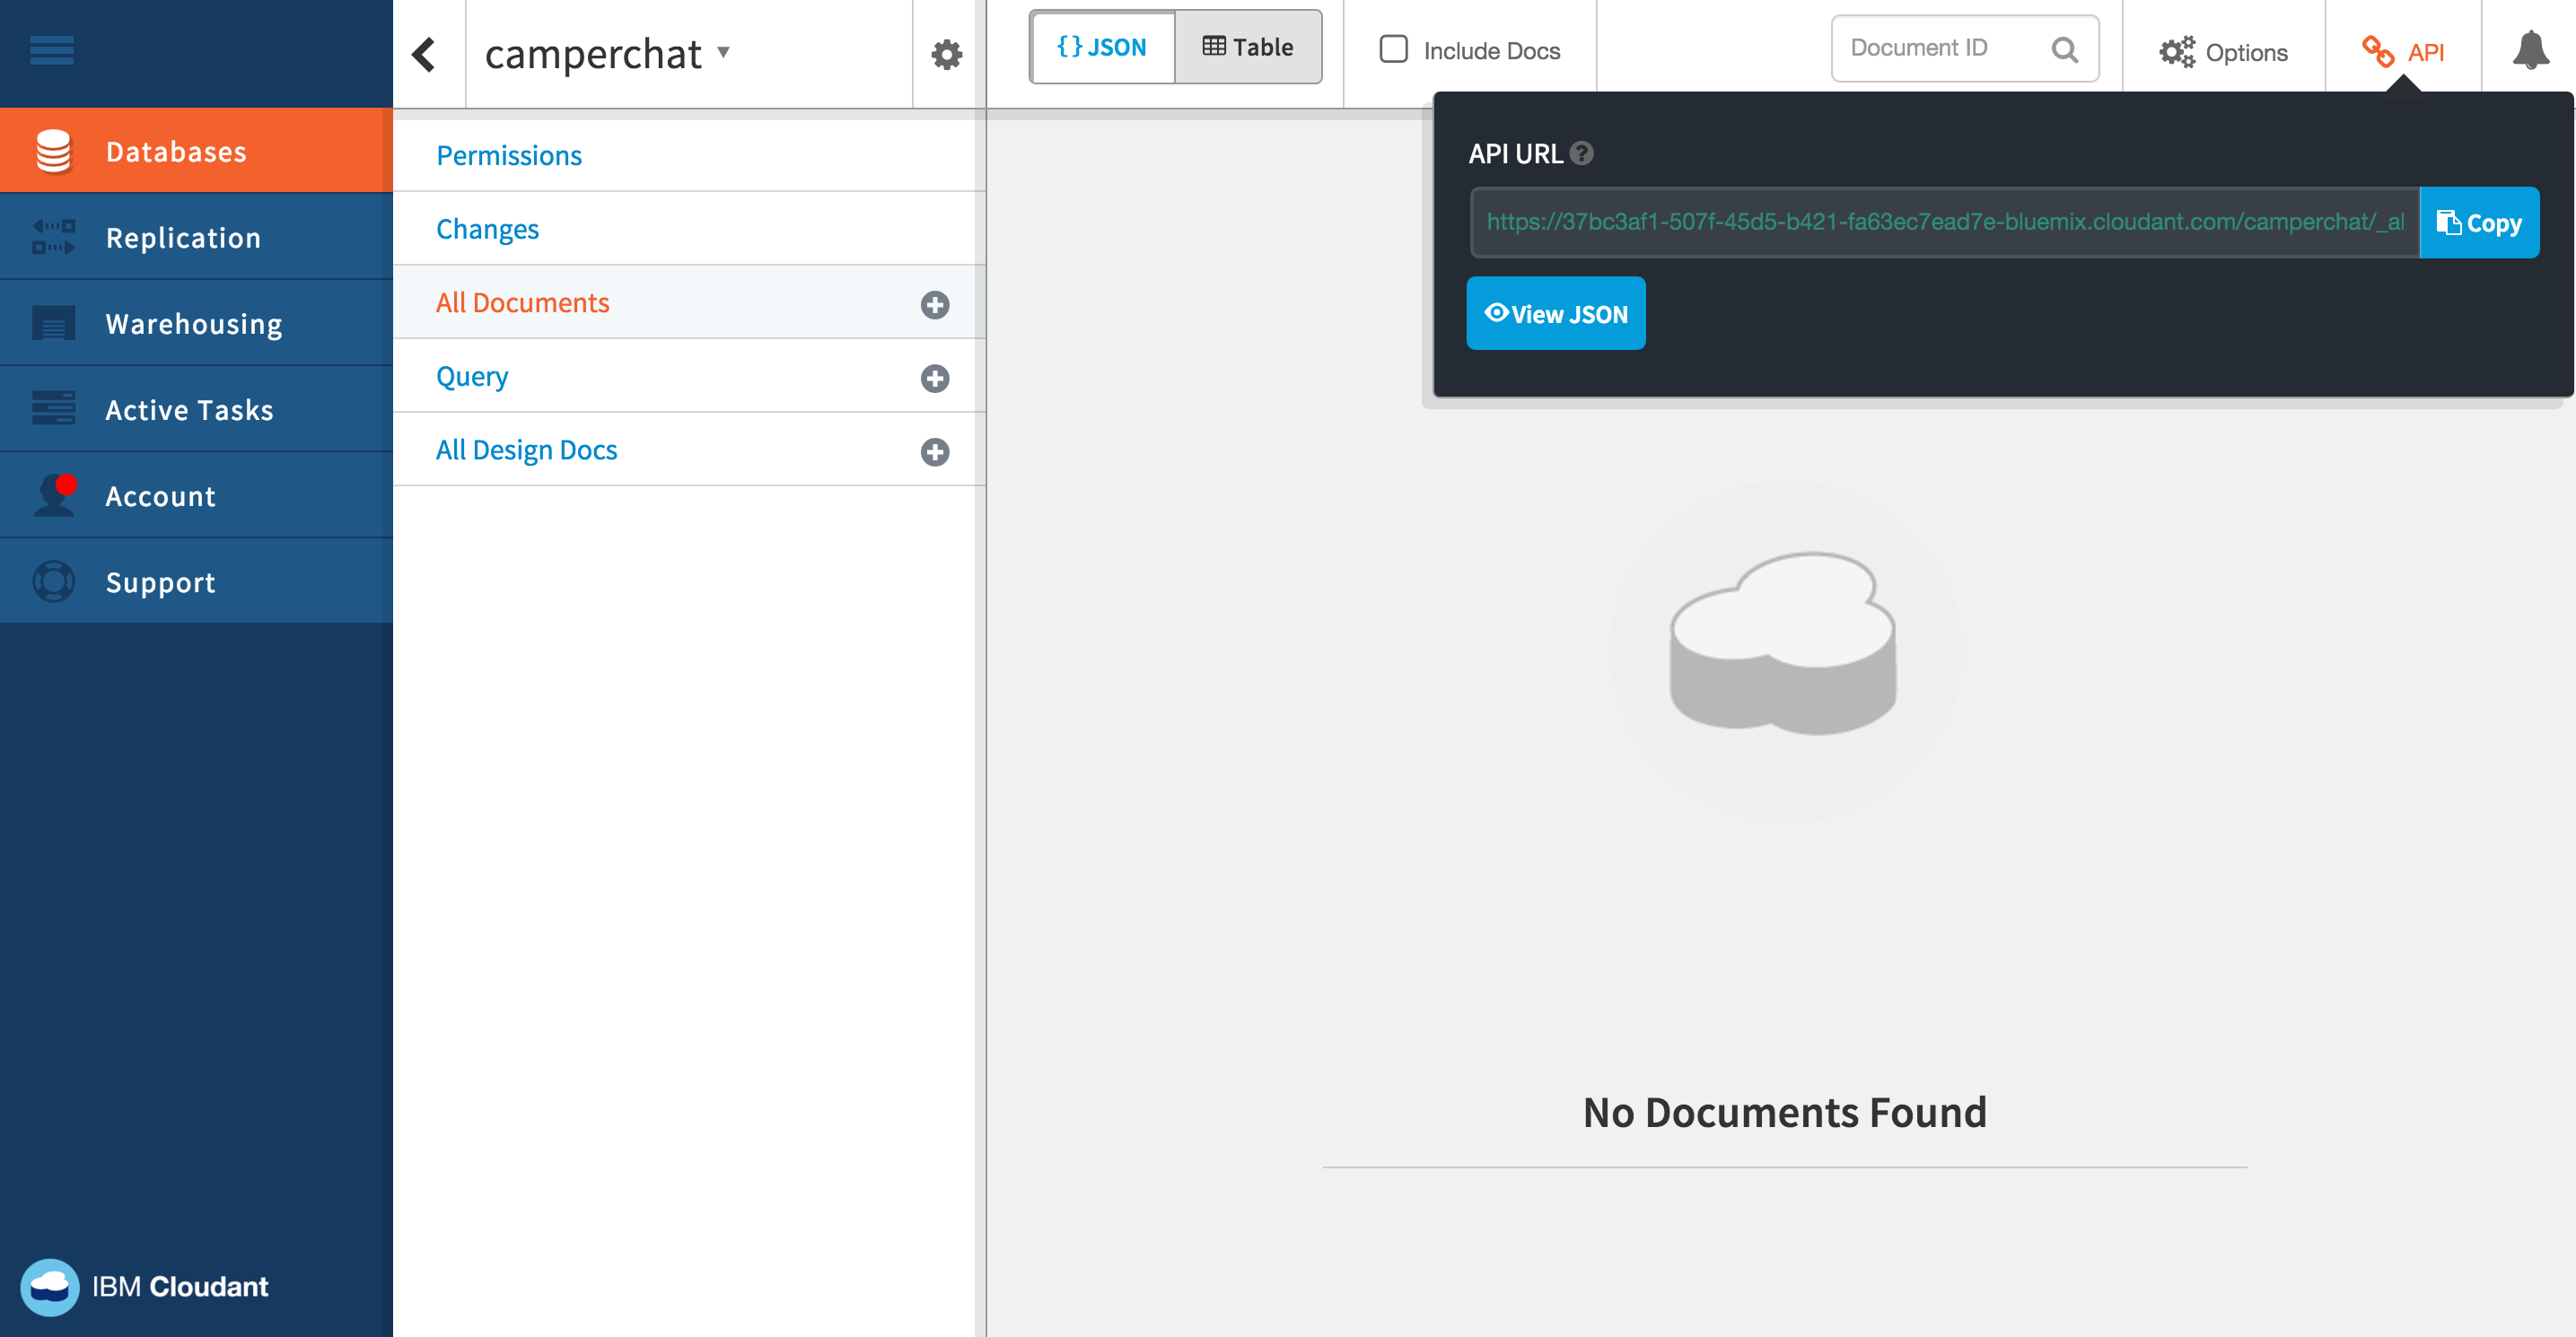
Click the API link in the top right to get a reference to your Cloudant Database URL, this is what we will supply to PouchDB later so make a note of it. You should also go to the Permissions section and generate an API key (making sure to give it Write and Replicate permissions) – this can be used with PouchDB to access your database, and it’s a better idea to use an API key which is revokable rather than the actual username and password for your account. Make sure to take note of the password because once you leave the screen you won’t be able to find it again.
There’s just one more thing we need to do in here. We need to enable CORS (Cross Origin Resource Sharing) so that we are able to make requests to the database from our application. To do that go to Account in the left menu, select CORS and then choose the All Domains (*) options.
You should now have everything you need set up on Cloudant, ready to be used with PouchDB – so let’s get into building our Ionic application.
Generate a New Ionic 2 Application
We’re going to create a new Ionic application using the blank template.
Run the following command to generate a new project:
ionic start ionic2-pouchdb-cloudant blank --v2Change your directory to the new project
cd ionic2-pouchdb-cloudant-blankRun the following commands to add the platforms you are building for
ionic platform add ios
ionic platform add android
PouchDB can also be used in conjunction with the SQLite plugin, this allows data to be stored in a native database rather than in the browser which is more volatile. As well as being more stable, SQLite also gives you access to more memory to store data. So let’s get that set up as well.
UPDATE: As Nolan points out below, only iOS will use the SQLite plugin (unless specified otherwise). By default, Android will use IndexedDB.
Run the following command to install the SQLite plugin:
ionic plugin add https://github.com/litehelpers/Cordova-sqlite-storage
Of course, we also need to install PouchDB itself.
Run the following command to install PouchDB:
npm install pouchdb --saveand we will also need to install the types for PouchDB by running the following command:
npm install @types/pouchdb --save --save-exactCreate a PouchDB Data Service
Now we are going to set up a service to handle interacting with PouchDB for us. Let’s use the Ionic CLI to automatically generate a provider template for us.
Run the following command to generate a Data service:
ionic g provider Data
This will create a Data provider inside of the providers folder. If you’re unfamiliar with providers/services/injectables, essentially they provide some functionality that you can import into any of the other components in your application. So after we create this service, we will be able to import it anywhere we like to interact with our PouchDB database, using some helper functions from our new service.
In order to be able to use this throughout the application, we will need to add it to the app.module.ts file.
Modify src/app/app.module.ts to reflect the following:
import { NgModule, ErrorHandler } from '@angular/core';
import { IonicApp, IonicModule, IonicErrorHandler } from 'ionic-angular';
import { MyApp } from './app.component';
import { HomePage } from '../pages/home/home';
import { Data } from '../providers/data';

@NgModule({
  declarations: [MyApp, HomePage],
  imports: [IonicModule.forRoot(MyApp)],
  bootstrap: [IonicApp],
  entryComponents: [MyApp, HomePage],
  providers: [{ provide: ErrorHandler, useClass: IonicErrorHandler }, Data],
})
export class AppModule {}
Let’s modify the generated service now to connect to PouchDB.
Modify src/providers/data.ts to reflect the following:
import { Injectable, NgZone } from '@angular/core';
import PouchDB from 'pouchdb';

@Injectable()
export class Data {

  data: any;
  db: any;
  username: any;
  password: any;
  remote: any;

  constructor(public zone: NgZone) {

    this.db = new PouchDB('mytestdb');
    this.username = 'API KEY';
    this.password = 'API PASSWORD';
    this.remote = 'https://MY-BLUEMIX-URL-bluemix.cloudant.com/mytestdb';

    let options = {
      live: true,
      retry: true,
      continuous: true,
      auth: {
        username: this.username,
        password: this.password
      }
    };

    this.db.sync(this.remote, options);

  }

}
First, we make PouchDB available by importing it, since we’ve already installed the package with npm this will allow us to grab a reference to it.
Then we create a new PouchDB database called mytestdb and assign it to this.db. This is all we need to do to create the database, and we could start interacting with it right now to store and retrieve data locally. We also want to get the data syncing to and from our Cloudant database, though, so we add a few extra things here.
We provide a username and password, which should be updated with the API key you generated on Cloudant earlier. You should also update this.remote with the URL for your Cloudant database (leaving the all_docs portion or anything else off of the end, it should just end in /mytestdb). You will need to make sure to update what I have in the code above because although it’s linking to mytestdb your Bluemix URL will be different.
Next, we create an options object to supply to the sync function call. This will pass along our authentication information with the request, and we can also specify as many other options as we like here (e.g. that we want the data to be live). Take a look at the PouchDB documentation for a full list of the sync options.
Then finally we call the sync function which will sync the local PouchDB database to the remote Cloudant database. Now anytime the local data changes it will be synced to the remote database, and any time the remote data changes the local database will be updated (assuming there is an Internet connection of course).
Now we’re going to add a few more functions to this service that will allow us to add and retrieve documents, and also listen for changes.
Modify src/providers/data.ts to reflect the following:
import { Injectable, NgZone } from '@angular/core';
import PouchDB from 'pouchdb';

@Injectable()
export class Data {

  data: any;
  db: any;
  username: any;
  password: any;
  remote: any;

  constructor(public zone: NgZone) {

    this.db = new PouchDB('mytestdb');
    this.username = 'API KEY';
    this.password = 'API PASSWORD';
    this.remote = 'https://MY-BLUEMIX-URL-bluemix.cloudant.com/mytestdb';

    let options = {
      live: true,
      retry: true,
      continuous: true,
      auth: {
        username: this.username,
        password: this.password
      }
    };

    this.db.sync(this.remote, options);

  }

  addDocument(doc){
    this.db.put(doc);
  }

  getDocuments(){

    return new Promise(resolve => {

      this.db.allDocs({

        include_docs: true

      }).then((result) => {

        this.data = [];

        let docs = result.rows.map((row) => {
          this.data.push(row.doc);
          resolve(this.data);
        });

        this.db.changes({live: true, since: 'now', include_docs: true}).on('change', (change) => {
          this.handleChange(change);
        });

      }).catch((error) => {

        console.log(error);

      });

    });

  }

  handleChange(change){

    this.zone.run(() => {

      let changedDoc = null;
      let changedIndex = null;

      this.data.forEach((doc, index) => {

        if(doc._id === change.id){
          changedDoc = doc;
          changedIndex = index;
        }

      });

      //A document was deleted
      if(change.deleted){
        this.data.splice(changedIndex, 1);
      }
      else {

        //A document was updated
        if(changedDoc){
          this.data[changedIndex] = change.doc;
        }
        //A document was added
        else {
          this.data.push(change.doc);
        }

      }

    });

  }

}
The first function we’ve added is addDocument() which is simple enough. To add a document (a data object in NoSQL terms is called a “document”) to our PouchDB database we simply call put on our database. So we will be able to pass this function any object and it will add it to the database.
The next function is a bit more complicated. We use getDocuments() to return all of the documents we have stored in our database and then we set up a change listener. This listener will trigger every time a change is detected, and it will send the change object to our handleChange function. What we want to do with that change is reflect it in our this.data array, but it get’s a little bit tricky. The change object that is sent back could either be a document that has been updated, a new document, or a deleted document.
Detecting a deleted document is easy enough because it will contain the deleted property. But to see if it is an update, we need to check if we already have a document with the same id, if we don’t then we know it is a new document.
If you’re new to NoSQL and PouchDB then a lot of this is going to look pretty confusing, and I’m not going to dive too deeply into the syntax in this tutorial as the post would end up far too long. So I’d recommend having a poke around the PouchDB website to see how everything works. We’ve set up some pretty basic functionality here but there’s quite a bit more to learn.
Create a Button to Add Data
Our service is set up and ready to use now, so let’s see it in action. We’re just going to set up a simple list with a button that will add some random data, using our PouchDB service.
Modify src/pages/home/home.html to reflect the following
<ion-header>
  <ion-navbar color="primary">
    <ion-title> Home </ion-title>

    <ion-buttons end>
      <button ion-button icon-only (click)="addData()">
        <ion-icon name="add"></ion-icon>
      </button>
    </ion-buttons>
  </ion-navbar>
</ion-header>

<ion-content>
  <ion-list>
    <ion-item *ngFor="let item of items"> {{item.message}} </ion-item>
  </ion-list>
</ion-content>
Here we’ve just created a simple template that will create a list of all of the items we have defined in our home.ts file (we will take care of this shortly). We’ve also added a button that will call an addData() function so that we can create new items with some junk data.
Modify home.ts to reflect the following
import { Component } from '@angular/core';
import { Data } from '../../providers/data';

@Component({
  selector: 'page-home',
  templateUrl: 'home.html'
})
export class HomePage {

  items: any;

  constructor(public dataService: Data) {

  }

  ionViewDidLoad(){

      this.items = [];

      this.dataService.getDocuments().then((result) => {
        this.items = result;
      });

  }

  addData(){

    let date = new Date();

    let newDoc = {
      '_id': date,
      'message': date.getTime()
    };

    this.dataService.addDocument(newDoc);
  }

}
In this file we are doing two main things. First we load in all of the data that we have stored in our database into the items array (which is displayed in our list) by using our PouchDB service. Then we define the addData() function which will create a new object, using the current time just as some dummy data, and then add that to our PouchDB database again by using the PouchDB service.
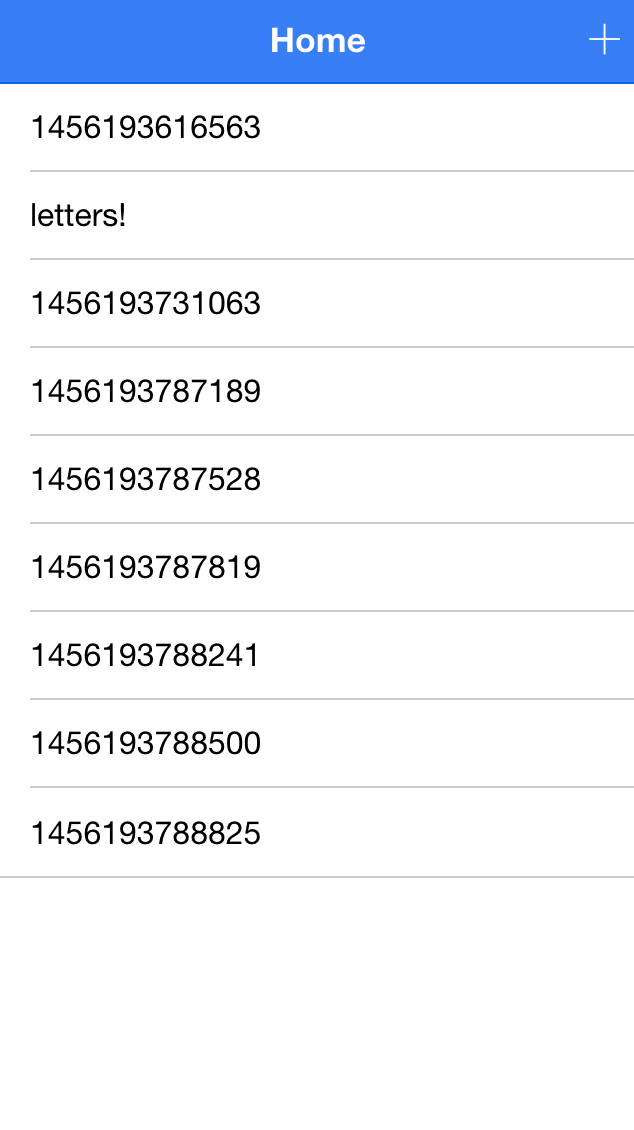
Now if you hit the button in the top right a few times you’ll see data being added to the list:
and you’ll also see the data being added to Cloudant:
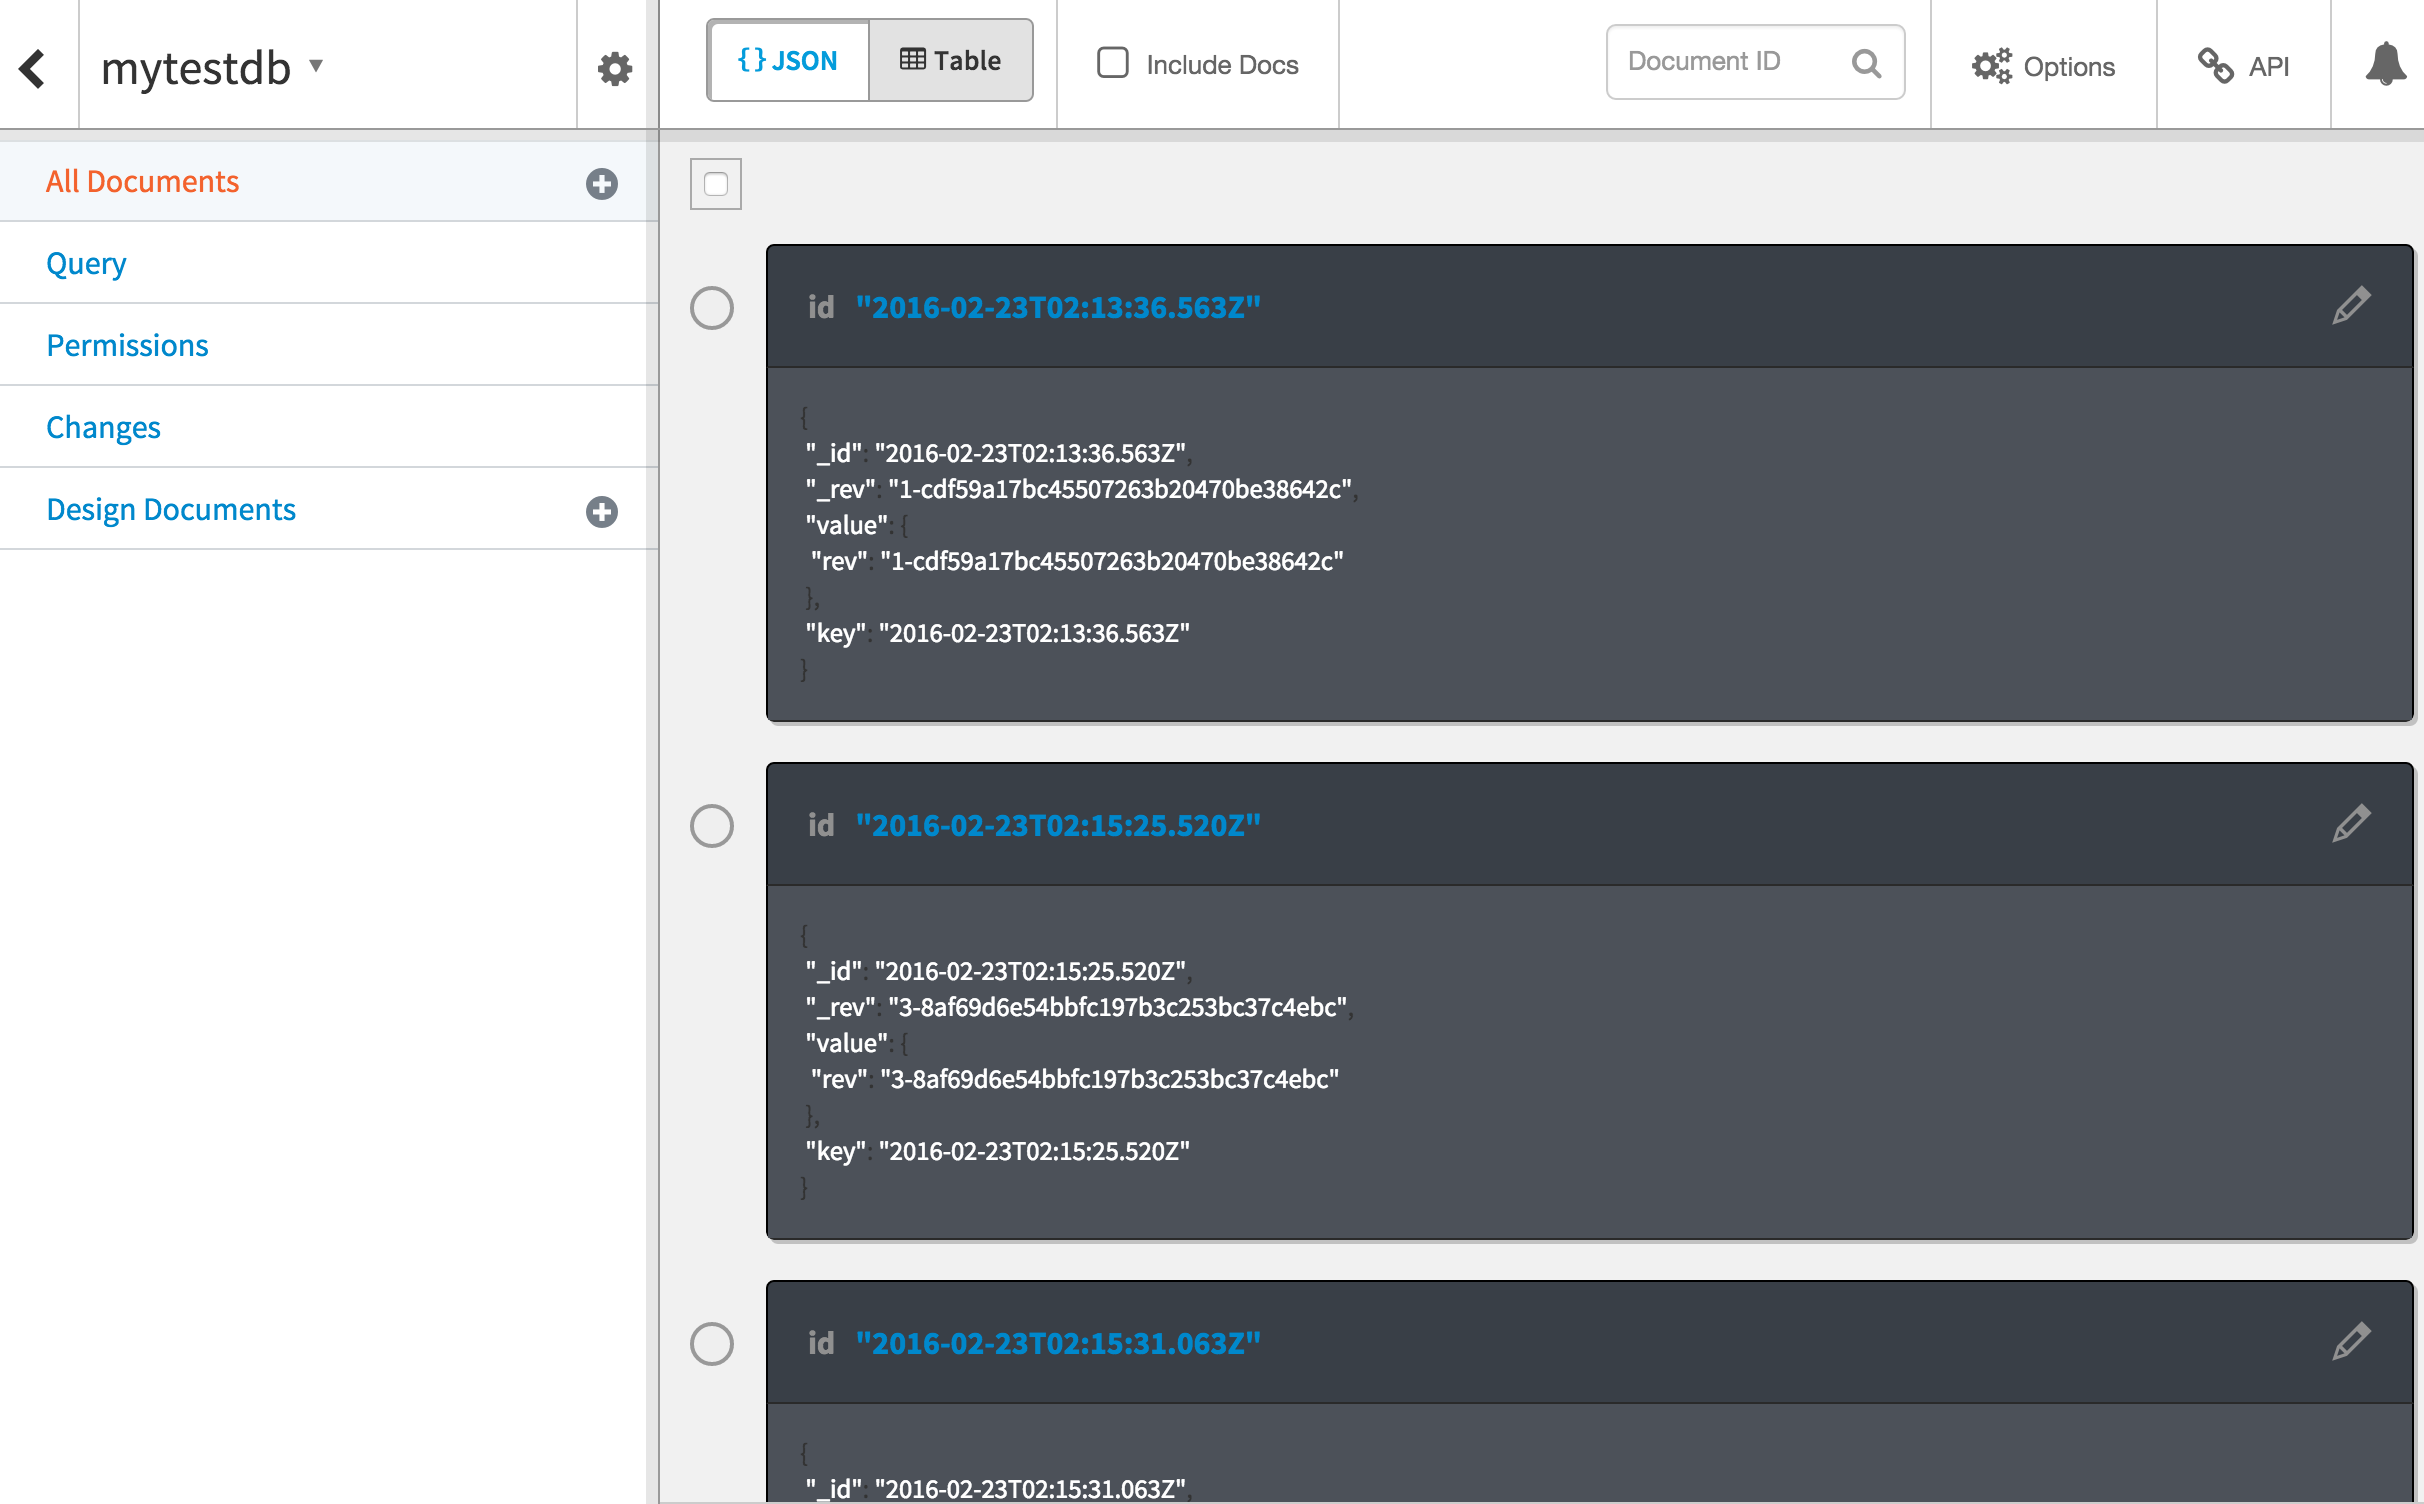
now if you were to go to Cloudant and modify the data there, you would also see it update immediately in your application (notice how one of the items in the list isn’t like the others?). Pretty cool!
Summary
PouchDB is a great tool for most jobs when it comes to data storage on mobile. You have a powerful database that can be stored directly in the browser, which can make use of native storage (SQLite) if it is available, and can also replicate to a remote server.
It’s super easy to get started using PouchDB, but if you come from an SQL background (like me) then it can be super hard to get your head around doing more complex things with a NoSQL approach. It really is a case of old habits dying hard. So my advice would be to forget any concept of how you think data should be stored or retrieved in a database and start playing around.