

In a recent tutorial I showed you how to integrate Google Maps into an Ionic application, if you haven’t already read that tutorial I would recommend doing so now because we will be building on top of that in this tutorial.
We’ve already created a simple Google Maps display with a single marker and info window which is created wherever the users current position is. That in itself maybe useful in some cases: some applications may just be trying to show the location of a single event or business on a map for example.
A lot of applications that use Google Maps will be dynamic though, we might be mapping user submitted locations for example, and if we don’t know where all the markers go when we create our application then the app we created in the last tutorial will not be suitable. Another issue is that if we have lots of markers, it’s bad for performance to try and load them all at once (and the user doesn’t need markers loaded in for London if they’re only looking in Adelaide).
We’ll be exploring how to deal with these two issues over a two part tutorial series. This tutorial will focus on loading in Google Maps markers dynamically using the $http service in Ionic, and in Part 2 we will create a way to only load markers for the area the user is currently looking at.
This tutorial will assume you have a database and server set up somewhere already that you can pull the markers from.
Fetching Google Maps Markers from a Database
In this scenario we are going to try loading some markers from a server, this means that you will need a server set up which can respond with the markers you wish to load. I’ll be showing you how to do this specifically with PHP, but you could use anything you like as long as you can output some JSON data representing the markers you want to load.
Create a file called markers.php and save it somewhere accessible via
http
Again, feel free to use something other than PHP if you like. You could either set this up on an actual server on the Internet, or simply through a local webserver like XAMPP. However you choose to host it, it should be accessible by going to a URL like http://example.com/markers.php or http://localhost/markers.php.
Now we’re going to query a database to return the set of markers we wish to add to the map, and then output that result set to the browser.
Modify your markers.php file to reflect the following
<?php

  //Create a connection to the database
  $mysqli = new mysqli("localhost", "username", "password", "database");

  //The default result to be output to the browser
  $result = "{'success':false}";

  //Select everything from the table containing the marker informaton
  $query = "SELECT * FROM table";

  //Run the query
  $dbresult = $mysqli->query($query);

  //Build an array of markers from the result set
  $markers = array();

  while($row = $dbresult->fetch_array(MYSQLI_ASSOC)){

    $markers[] = array(
      'id' => $row['id'],
      'name' => $row['name'],
      'lat' => $row['lat'],
      'lng' => $row['lng']
    );
  }

  //If the query was executed successfully, create a JSON string containing the marker information
  if($dbresult){
    $result = "{'success':true, 'markers':" . json_encode($markers) . "}";
  }
  else
  {
    $result = "{'success':false}";
  }

  //Set these headers to avoid any issues with cross origin resource sharing issues
  header('Access-Control-Allow-Origin: *');
  header('Access-Control-Allow-Methods: GET, POST, OPTIONS');
  header('Access-Control-Allow-Headers: Content-Type,x-prototype-version,x-requested-with');

  //Output the result to the browser so that our Ionic application can see the data
  echo($result);

?>
In the code above we’ve established a connection to the database, and are running a query that will retrieve all the records we have in the markers table. The markers table will look something like this:
| id | name | lat | lng |
|---|---|---|---|
| 1 | Marker One | 40.7274488 | -73.9897746 |
| 2 | Marker Two | 42.7274488 | -74.9897746 |
We’re only returning four fields here: id, name, lat, lng. Obviously the most important onces to return are the latitude and longitude so that we can actually create a marker where necessary, but apart from that you can have anything you like. You might also want to return reviews for that location, or a description to add into the info window.
Once we have retrieved those results we output them as a JSON string on the page. This is pretty simple right now since we’re just returning the complete set of markers, but in the next tutorial we will modify this query to only return markers that would currently be visible to the user.
Also, it’s worth touching on the Cross Origin Resource Sharing (or CORS) issues I mention in the code above. You can read more about CORS here, but essentially JavaScript by default can’t make requests from one domain to another. If you’re running an application through localhost and are trying to grab data from http://www.example.com then you could run into some trouble. CORS allows you to make these cross domain requests.
Loading Google Map Markers Using the $http Service
Now that we have a URL we can go that spits out some data giving us the latitude and longitude of our markers, we need a way to suck that into our Ionic application.
We can do that using the $http service which is available in AngularJS (remember, Ionic is built on top of AngularJS). $http provides an easy way for us to get simple data from a URL, as well as posting to that URL as well. Requests made using the $http service will look something like this:
$http.get('http://example.com').then(
  function (response) {
    //the response from the server is now contained in 'response'
  },
  function (error) {
    //there was an error fetching from the server
  }
);
We ask the service to get data from a given URL, and then we use a promise in the form of .then() to handle what to do with that data when it is successfully retrieved. We use a promise because the response is not available right away, we first need to wait for it to load in from the server before we run the code, but we don’t want to halt our entire application whilst it waits for this to load.
The code we will create to do this will be pretty simple for now, and we could just do it inside of a controller, but in general it is best to move as much of the heavy lifting away from the controller as possible. You should see controllers as being kind of like real life managers in a company: they’re smart (hopefully), good at directing and telling people what to do but they don’t like getting their hands dirty.
So instead, we are going to create a Factory to handle loading this data.
Creating a Factory
We will be creating a Factory that can be injected into our controller to handle these $http requests. This follows that pattern of the controller controlling what is happening but not actually doing much of the work.
You can do a lot of different things with a Factory in Ionic, but essentially a Factory will return an object when requested that will contain functions that allow you to do stuff.
That description was super vague, I know, so if you want a little more information on Factories I recommend checking out this post by Andrew McGivery on factories in Ionic.
Create a new factory in app.js that looks like this:
.factory('Markers', function($http) {

  var markers = [];

  return {
    getMarkers: function(){

    },
    getMarker: function(id){

    }
  }
})
We’re not going to load this Factory into our controller just yet, but eventually we will have an object called Markers available in our controller and we will be able to access these functions in the factory through it by doing something like this:
Markers.getMarkers();or
Markers.getMarker(2);The first would return all the markers available, and the second would return only the marker with an id of 2. Of course, neither of these will do anything right now because they don’t contain any code, but hopefully you get the idea (also, we haven’t implemented the server side code for returning a specific marker). We could add as many functions as we like to this Factory to do different things. But for now, let’s just get the first one working.
Modify your
Markersfactory in app.js to reflect the following:
.factory('Markers', function($http) {

  var markers = [];

  return {
    getMarkers: function(){

      return $http.get("http://example.com/markers.php").then(function(response){
          markers = response;
          return markers;
      });

    }
  }
})
Now the factory will make a $http request to the URL provided, it will take the JSON response it receives and give it back to our application in the form of response. We then assign that response to our markers array. Now if we were to try access this function of our Factory within our controller like this:
Markers.getMarkers();We would actually get some data back from it. We will be revisiting this Factory in the next part of this tutorial series, but for now it is done. So let’s get to work on using that data in our Google Map.
More Factories!
Ok, so now we could access the Markers factory in our controller by doing this:
.controller('MapCtrl', function($scope, $state, $cordovaGeolocation, Markers) {
  console.log(Markers.getMarkers());
});
and we could create the map in the controller as we did in the last tutorial and then use this data to create the markers on the map.
But! Since we know how to use factories now, we should continue implementing that pattern of assuming the controller is lazy and abstracting work away from it.
So instead of setting up Google Maps through our controller, we are going to create our own GoogleMaps factory.
Modify your MapCtrl controller in app.js to remove the Google Maps code we added in the last tutorial:
.controller('MapCtrl', function($scope, $state, $cordovaGeolocation) {

});
🙁
Create a new factory in app.js that looks like this:
.factory('GoogleMaps', function($cordovaGeolocation, Markers){

  var apiKey = false;
  var map = null;

  function initMap(){

    var options = {timeout: 10000, enableHighAccuracy: true};

    $cordovaGeolocation.getCurrentPosition(options).then(function(position){

      var latLng = new google.maps.LatLng(position.coords.latitude, position.coords.longitude);

      var mapOptions = {
        center: latLng,
        zoom: 15,
        mapTypeId: google.maps.MapTypeId.ROADMAP
      };

      map = new google.maps.Map(document.getElementById("map"), mapOptions);

      //Wait until the map is loaded
      google.maps.event.addListenerOnce(map, 'idle', function(){

        //Load the markers
        loadMarkers();

      });

    }, function(error){
      console.log("Could not get location");

        //Load the markers
        loadMarkers();
    });

  }

  function loadMarkers(){

      //Get all of the markers from our Markers factory
      Markers.getMarkers().then(function(markers){

        console.log("Markers: ", markers);

        var records = markers.data.result;

        for (var i = 0; i < records.length; i++) {

          var record = records[i];
          var markerPos = new google.maps.LatLng(record.lat, record.lng);

          // Add the markerto the map
          var marker = new google.maps.Marker({
              map: map,
              animation: google.maps.Animation.DROP,
              position: markerPos
          });

          var infoWindowContent = "<h4>" + record.name + "</h4>";

          addInfoWindow(marker, infoWindowContent, record);

        }

      });

  }

  function addInfoWindow(marker, message, record) {

      var infoWindow = new google.maps.InfoWindow({
          content: message
      });

      google.maps.event.addListener(marker, 'click', function () {
          infoWindow.open(map, marker);
      });

  }

  return {
    init: function(){
      initMap();
    }
  }

})
That’s a big chunk of code and a lot bigger than our last factory, so I’ve added in comments to explain it a bit. Just like our other controller we are returning an object with some functions in it, or in this case just one function: init(). We’ve also added some private functions and variables in this Factory to do some behind the scenes work. So when we call init() it will run initMap() to initialise the Google Map, loadMarkers() to add the markers to it and addInfoWindow() to add info windows to the markers.
Now when we want to create the Google Map, all we have to do is add one line inside of the $ionicPlatform.ready() function:
.run(function($ionicPlatform, GoogleMaps) {
  $ionicPlatform.ready(function() {
    // Hide the accessory bar by default (remove this to show the accessory bar above the keyboard
    // for form inputs)
    if(window.cordova && window.cordova.plugins.Keyboard) {
      cordova.plugins.Keyboard.hideKeyboardAccessoryBar(true);
    }
    if(window.StatusBar) {
      StatusBar.styleDefault();
    }

    GoogleMaps.init();
  });
})
Also note that I have injected the GoogleMaps factory at the top of this code. If you take a look at the application now, hopefully you see something like this (assuming you’ve got some markers in your database!):
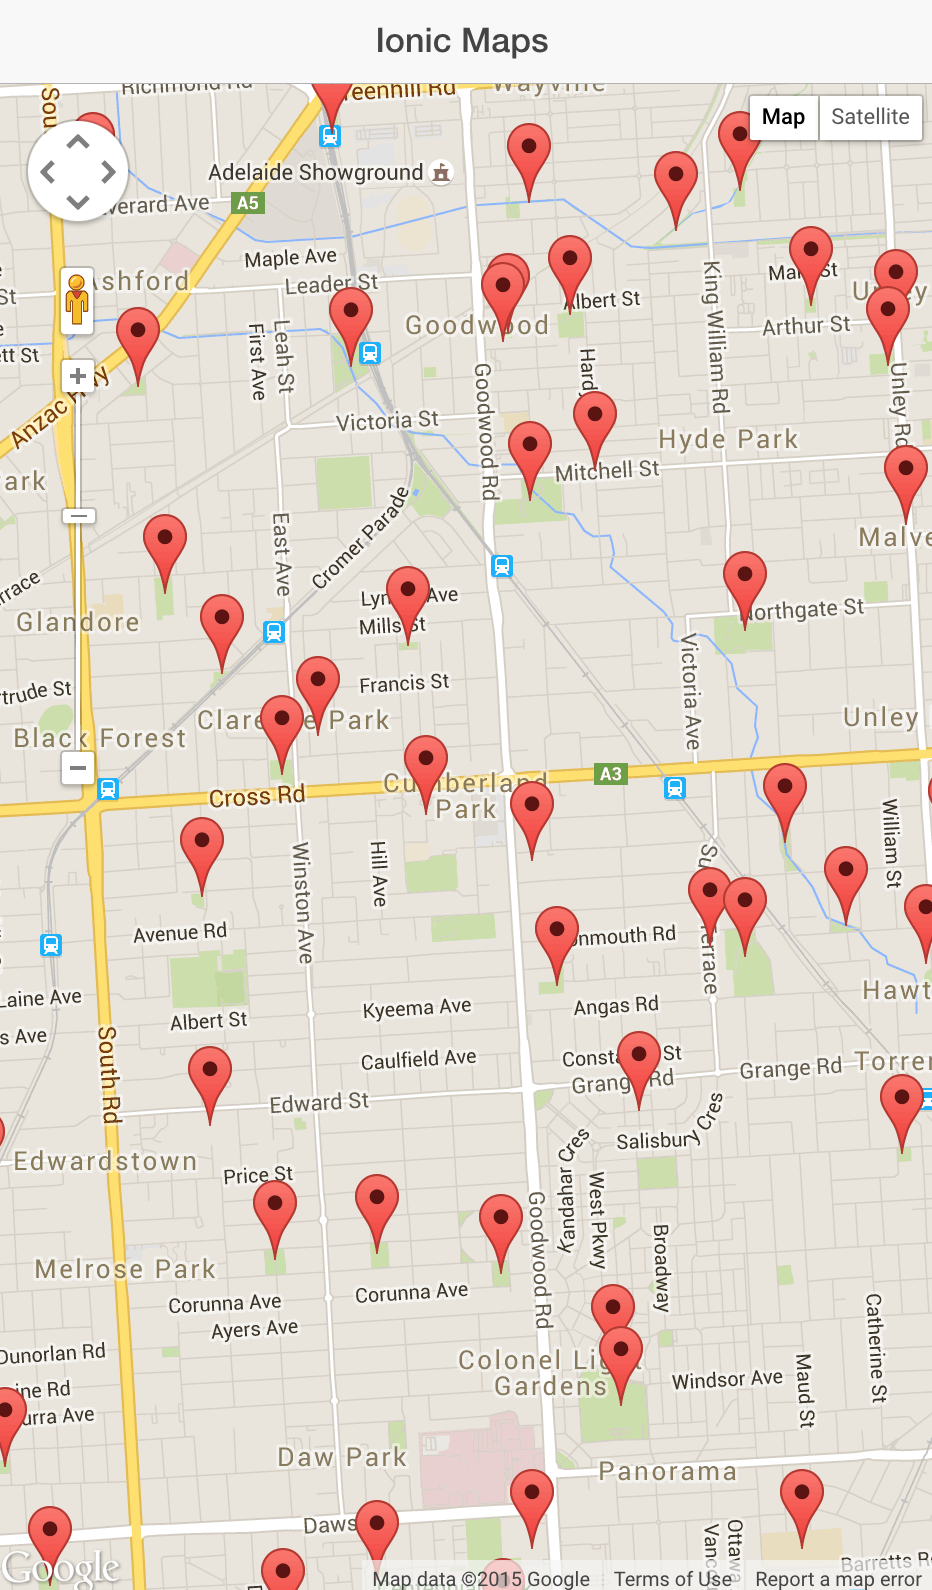
In the next tutorial we’re going to add even more code to the Google Maps factory, which will dynamically load the map based on whether the user is connected to the Internet or not, only load markers that are currently on screen and more cool stuff.
UPDATE: Part 3 is out now.