

As you may know, there are a lot of options when it comes to HTML5 mobile application frameworks. In my opinion the two big players in the space have been, and still are, Sencha Touch and Ionic. Sencha Touch is perhaps the more mature of the two frameworks, but Ionic is gaining a lot of traction.
If you’ve followed this website for any length of time you will know I’m a heavy Sencha Touch user and have been using it for over two years. I’m yet to get past surface level stuff with Ionic though and I want to change that.
Does this mean I won’t be creating Sencha Touch tutorials anymore?
No. As an educator I feel like I owe it to you guys to know both sides of the story instead of always singing Sencha Touch’s praises. This will allow me to better understand the strengths and weaknesses of each framework, and provide better content for you. It is my perception now that Sencha Touch is better than Ionic, but it’s hardly fair to make such a claim when I haven’t extensively used both.
As well as creating more content and tutorials for you, my other motivations for learning Ionic are:
- To gain experience with Angular JS
- Improve my JavaScript skills further
- To hedge my bets against a possible enterprise focused Sencha Touch
- and of course, just simply to try new things!
Sencha Touch will likely remain my main development framework, for the time being at least.
What will we be doing in this series?
Similar to my Getting Started with Famo.us series, this series of posts will focus on my experience getting started with the framework and to provide a guide for you to follow along with. This will be useful as a getting started guide in a general sense, but I will also be making comparisons to Sencha Touch along the way. This will allow you to understand any key differences between the frameworks and how they stack up against each other.
Ok, enough chit chat. Let’s get stareted.
1. Installing the Ionic Framework
First you will need to install Node.js on your machine. If you’re coming from Sencha Touch then there is a good change you would already have this installed. If not, just follow the instructions on the Node.js website.
Once you have Node.js installed, you will be able to access the node package manager or npm through your command terminal. You can use npm to install Ionic and Cordova by running the following command:
npm install -g cordova ionic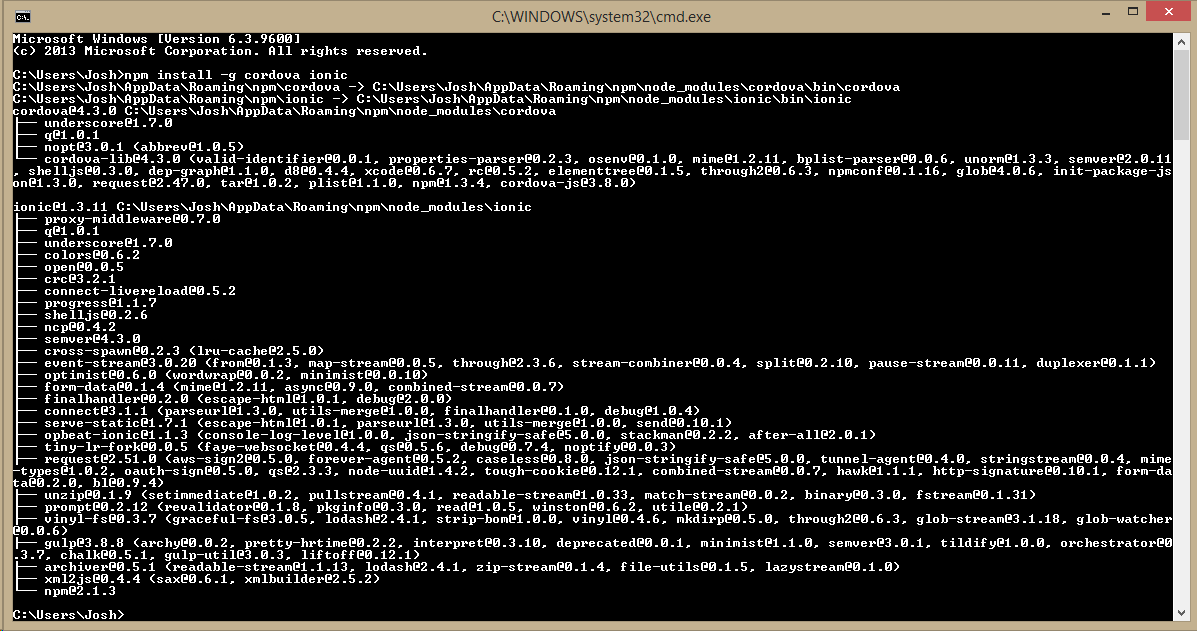
You should see the message above if everything has gone well.
2. Creating your first Ionic project
To generate a new Ionic project you can now simply run:
ionic start myApp blankBut you can also create a new project from a pre-existing template. For example if you want to create your app with a sliding menu you can run:
ionic start myApp sidemenuAt this point you receive some very handy instructions for what you should do next:
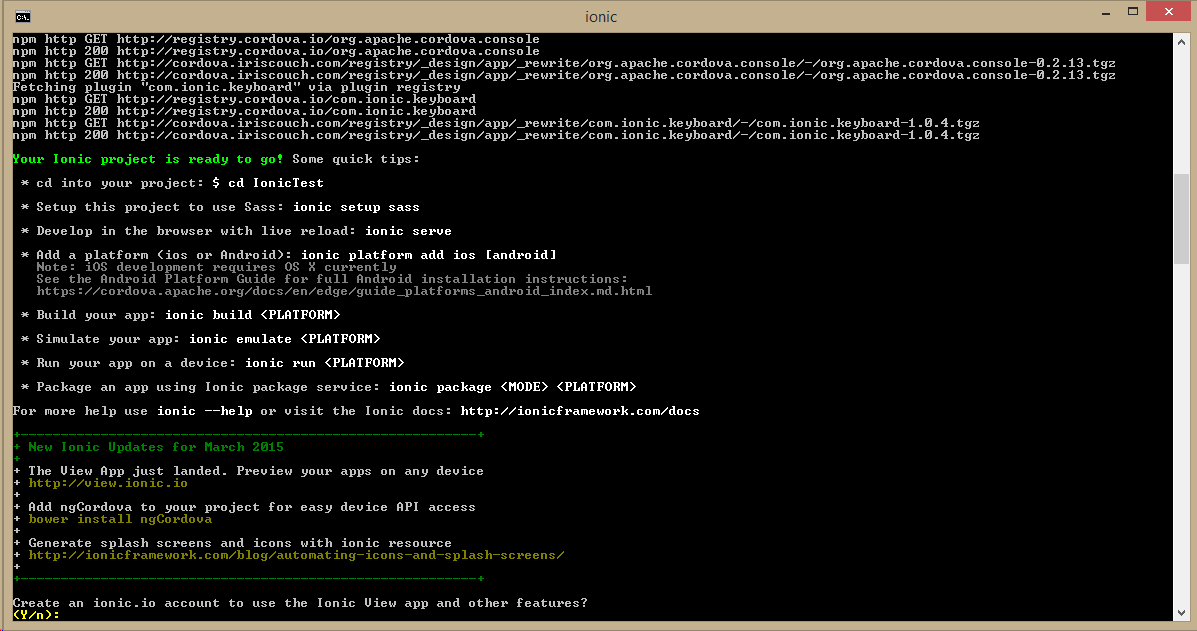
I followed their suggestion and created an ionic.io account. Once you’ve created that run the following commands to change into your new projects directory, login, and upload your application:
cd myAppionic loginionic uploadYou can view your new application by running:
ionic servewhich will display your application with live reload in your browser. Try opening up your newly generated Ionic project in your favourite text editor and make a slight edit to one of the templates in www/templates.
Save it and watch your changes take affect instantly:
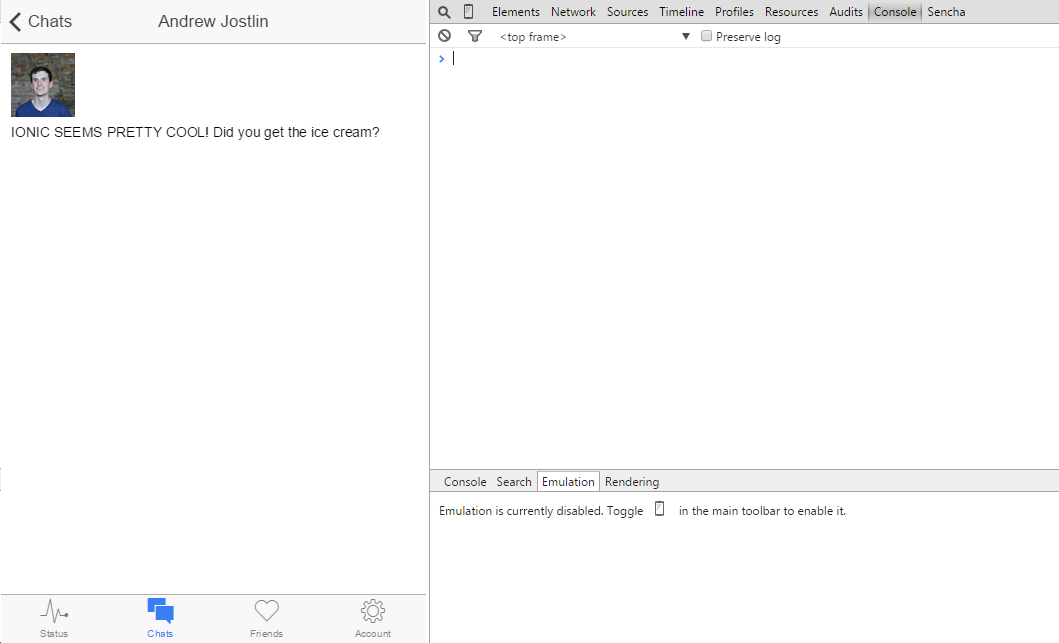
We’ll leave it there for now. If I could sum up the Ionic experience in one word so far it would be: smooth. First impressions are important, but not everything though – let’s see how we go when we start digging deeper. I’m liking everything I’ve seen so far though.
UPDATE: Part 2 is now available.