I had originally planned to create a tutorial on how to integrate an Ionic 2 application with a user’s Google Calendar, but then I thought it would be wise to first cover authenticating with Google. I ran into a few issues when trying to get it up and running so I wanted to provide my own step-by-step guide to integrating authentication with Google in an Ionic 2 application.
If you’ve played around with OAuth in hybrid applications before, you may be used to using the InAppBrowser to handle these authentication requests. The general process is that you would launch some URL in an InAppBrowser to start the authentication process, the server you are hitting would handle the authentication and redirect the browser back to your application, and you would listen for that redirect and grab the token passed back.
Since October 2016, Google began blocking authentication requests that use this method. Instead, we now need to use a native plugin to handle authentication (which was graciously created by Cordova superstar Eddy Verbruggen). Although a bit of configuration is required, the end result seems much more smooth and well integrated.
In this tutorial, we are going to walk through how to set up basic OAuth 2.0 authentication with Google in an Ionic 2 application. We will walk through an example for iOS specifically, but we will also cover the steps to get it working on Android as well.
Before We Get Started
Before you go through this tutorial, you should have at least a basic understanding of Ionic 2 concepts. You must also already have Ionic 2 installed on your machine.
If you’re not familiar with Ionic 2 already, I’d recommend reading my Ionic 2 Beginners Guide first to get up and running and understand the basic concepts. If you want a much more detailed guide for learning Ionic 2, then take a look at Building Mobile Apps with Ionic 2.
1. Generate a New Ionic 2 Application
Let’s start by creating a new Ionic 2 application with the following command:
ionic start ionic2-google-oauth blank --v2Once that has finished generating, you should make it your current working directory by running the following command:
cd ionic2-google-authWe are going to be implementing a very simple example for this application, so we are not going to require any additional pages or providers. In the following step, we will need to supply the Bundle ID of the application. By default, this will be some generic Ionic Framework Bundle ID like this:
<widget
  id="com.ionicframework.ionic2googleoauth573066"
  version="0.0.1"
  xmlns="http://www.w3.org/ns/widgets"
  xmlns:cdv="http://cordova.apache.org/ns/1.0"
></widget>
if you like, you can change this to something more relevant to your application, like this:
<widget
  id="com.mycompany.somecoolapp"
  version="0.0.1"
  xmlns="http://www.w3.org/ns/widgets"
  xmlns:cdv="http://cordova.apache.org/ns/1.0"
></widget>
by editing your config.xml file. It’s important that you do this now, as it will be a hassle to change it over later.
2. iOS and Android Set Up
Before we can start the authentication process inside of the app, we need to do a little bit of configuration first – this is actually the trickiest part of the whole process.
2.1 Configuring Google Sign-In for iOS
To start the setup process for iOS you will need to go here and create a new project.
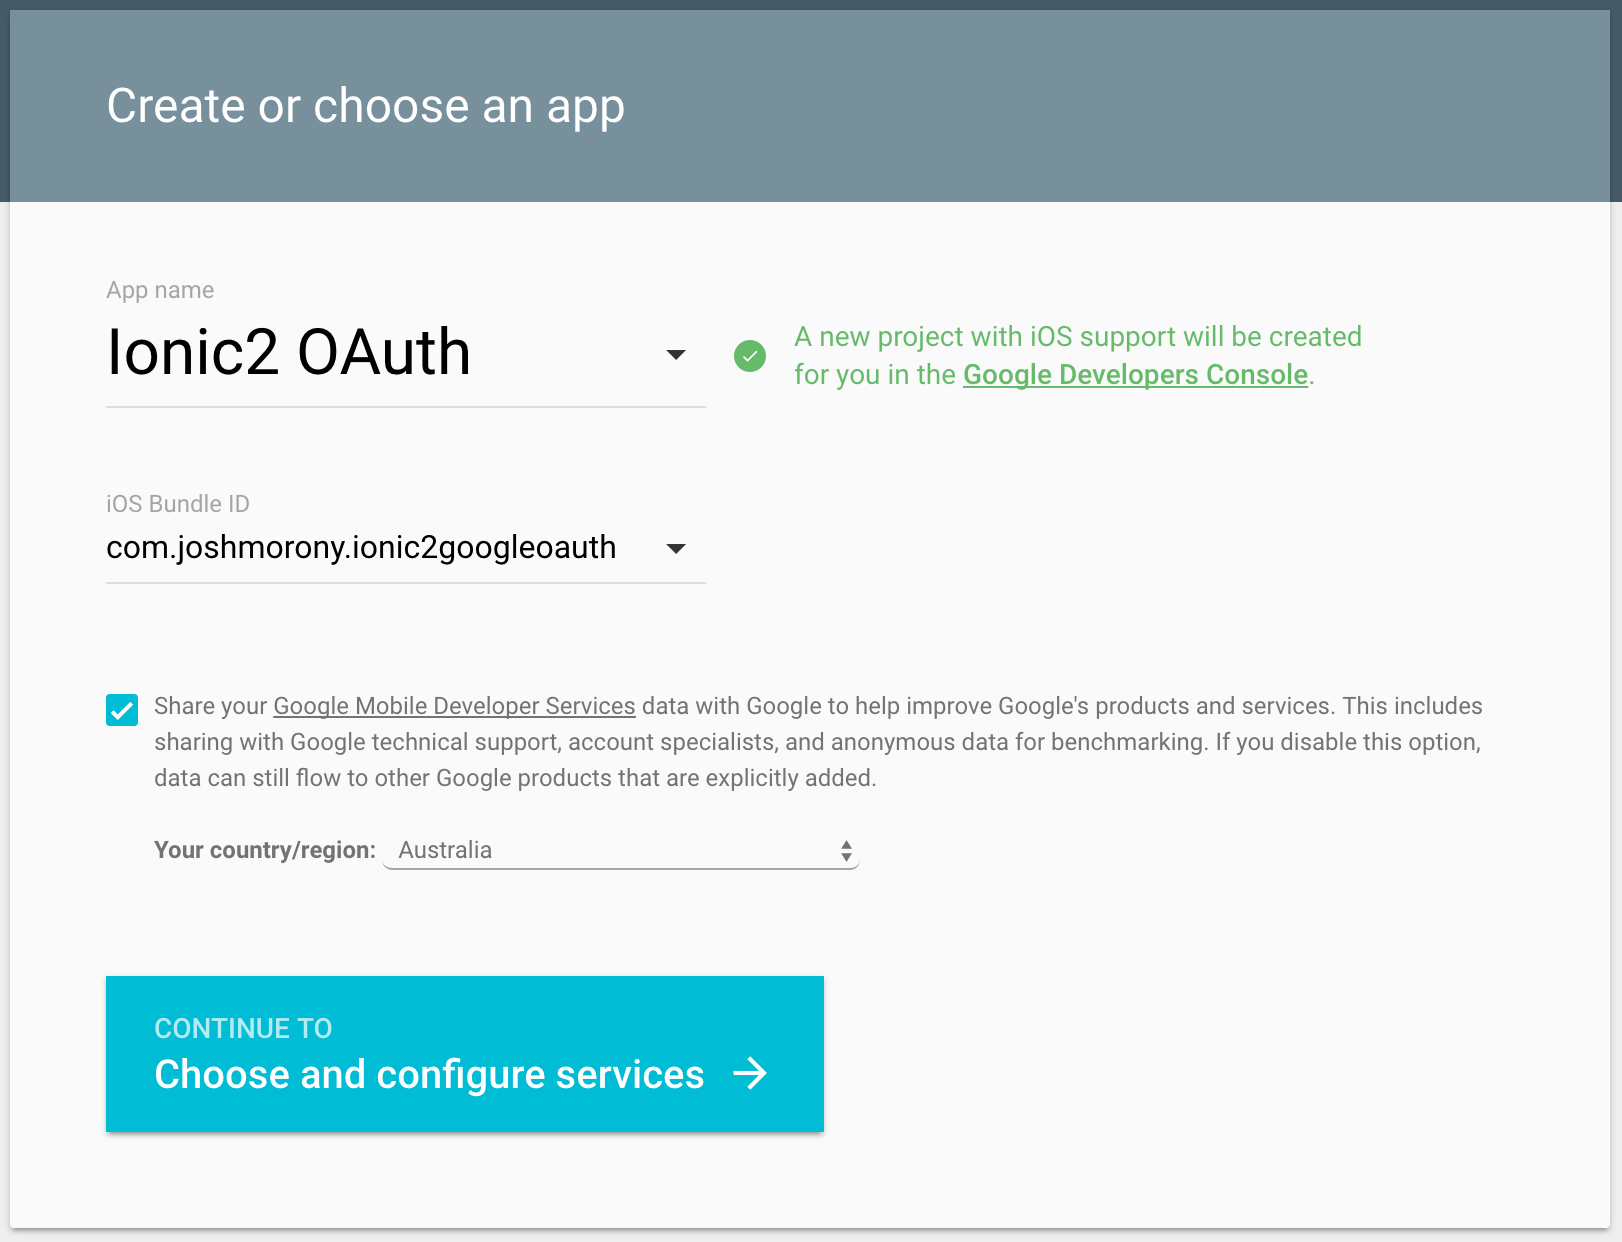
You should supply a project name, and the Bundle ID that you added to your config.xml. Once you have created a project, you should select Enable Google Sign-in.
You will then need to click on Generate configuration files. You will now be able to download the GoogleService-Info.plist file, but you should not store this anywhere inside of your project. This is all we need to do for now.
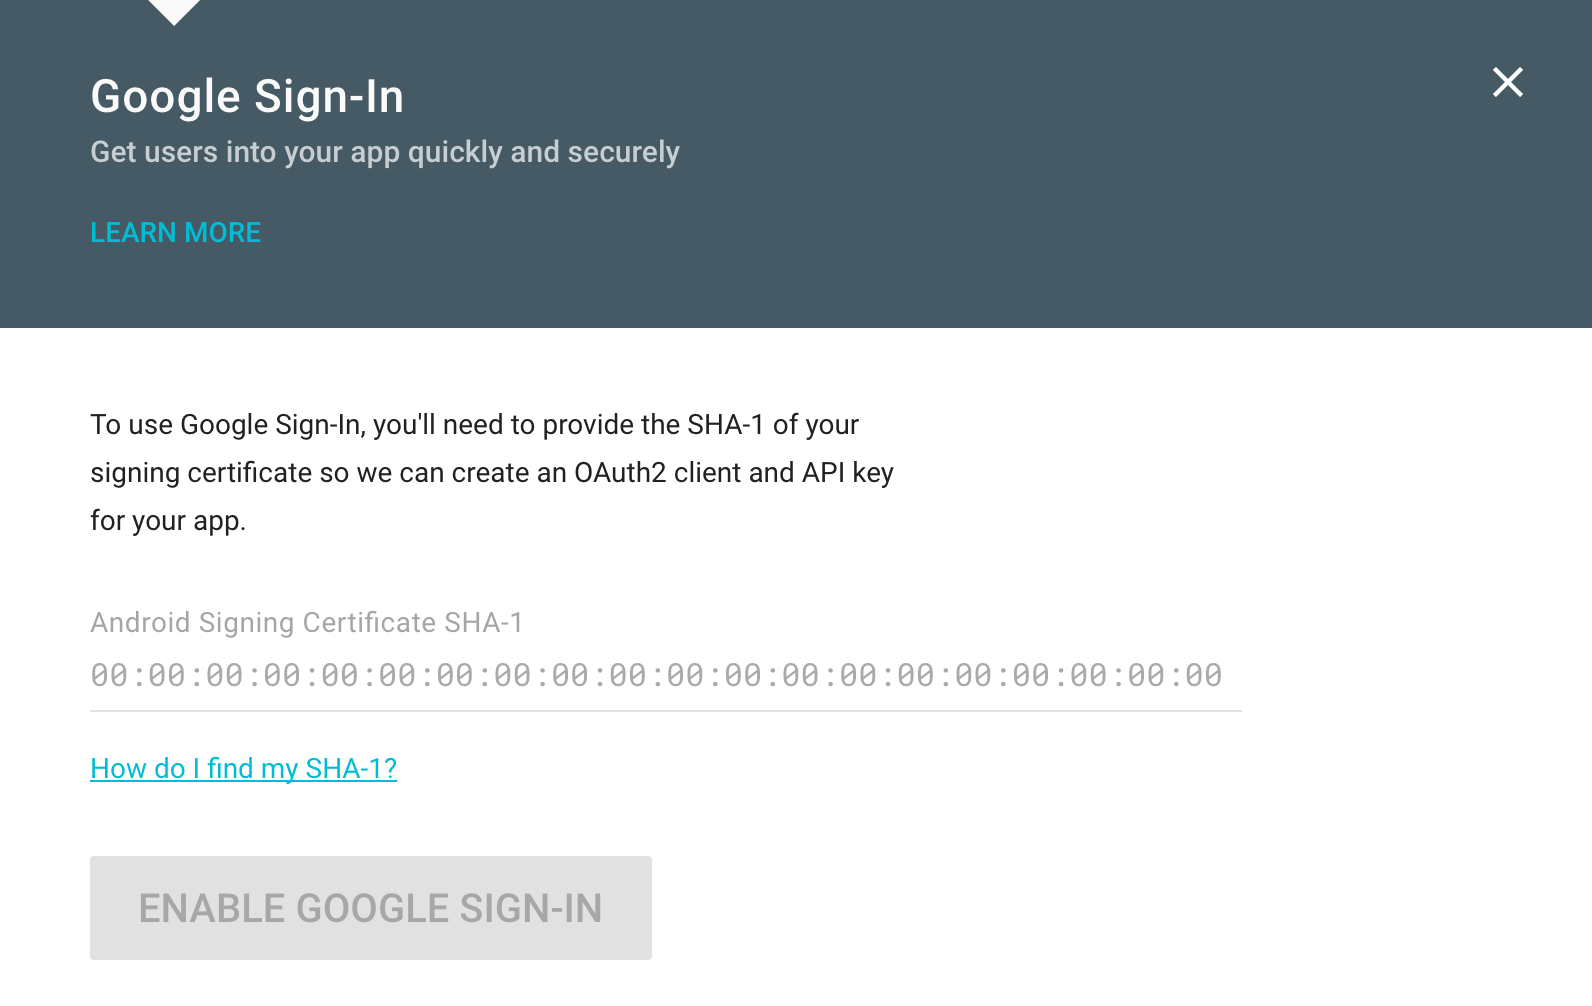
2.2 Configuring Google Sign-In for Android
In a rare change of pace, configuring for Android is actually a little trickier than it is for iOS. We will need to create a signing certificate (a keystore file) for the application up front, and then we will need to generate a SHA-1 fingerprint of that signing certificate that we will need to supply to the Google Developer console.
To generate a keystore file, you will need to run the following command:
keytool -genkey -v -keystore my-key.keystore -alias myalias -keyalg RSA -keysize 2048 -validity 10000You can replace the my-key.keystore and myalias with whatever you like. When you run the command, you will be prompted to enter various values. Make sure to remember your keystore password and DO NOT LOSE IT! If you lose either the keystore file or the password, you will not be able to update your app in the app store.
Once you have the keystore file, you will need to run the following command to generate the SHA-1 fingerprint:
keytool -exportcert -list -v \
-alias myalias -keystore my-key.keystore
NOTE: This will create a DEBUG certificate fingerprint, meaning you can only use it for development. Please go here for the command for a release certificate fingerprint.
Once you run this command, you will see an output like this:
Alias name: myalias
Creation date: 05/02/2017
Entry type: PrivateKeyEntry
Certificate chain length: 1
Certificate[1]:
Owner: CN=Unknown, OU=Unknown, O=Unknown, L=Unknown, ST=Unknown, C=Unknown
Issuer: CN=Unknown, OU=Unknown, O=Unknown, L=Unknown, ST=Unknown, C=Unknown
Serial number: 19909eb
Valid from: Sun Feb 05 12:26:55 ACDT 2017 until: Thu Jun 23 11:26:55 ACST 2044
Certificate fingerprints:
     MD5:  ****************************
     SHA1: ****************************
     SHA256: ****************************
     Signature algorithm name: SHA256withRSA
     Version: 3
Make note of the SHA1 value, as this is the fingerprint that we will need to supply in the developer console. Now you will just need to go through a similar process as before for the iOS application.
You will need to go here to set up the Android application. Make sure not to create a new project, but instead use the existing project that you created in the iOS setup. You will also need to supply the SHA1 fingerprint (in the box shown below).
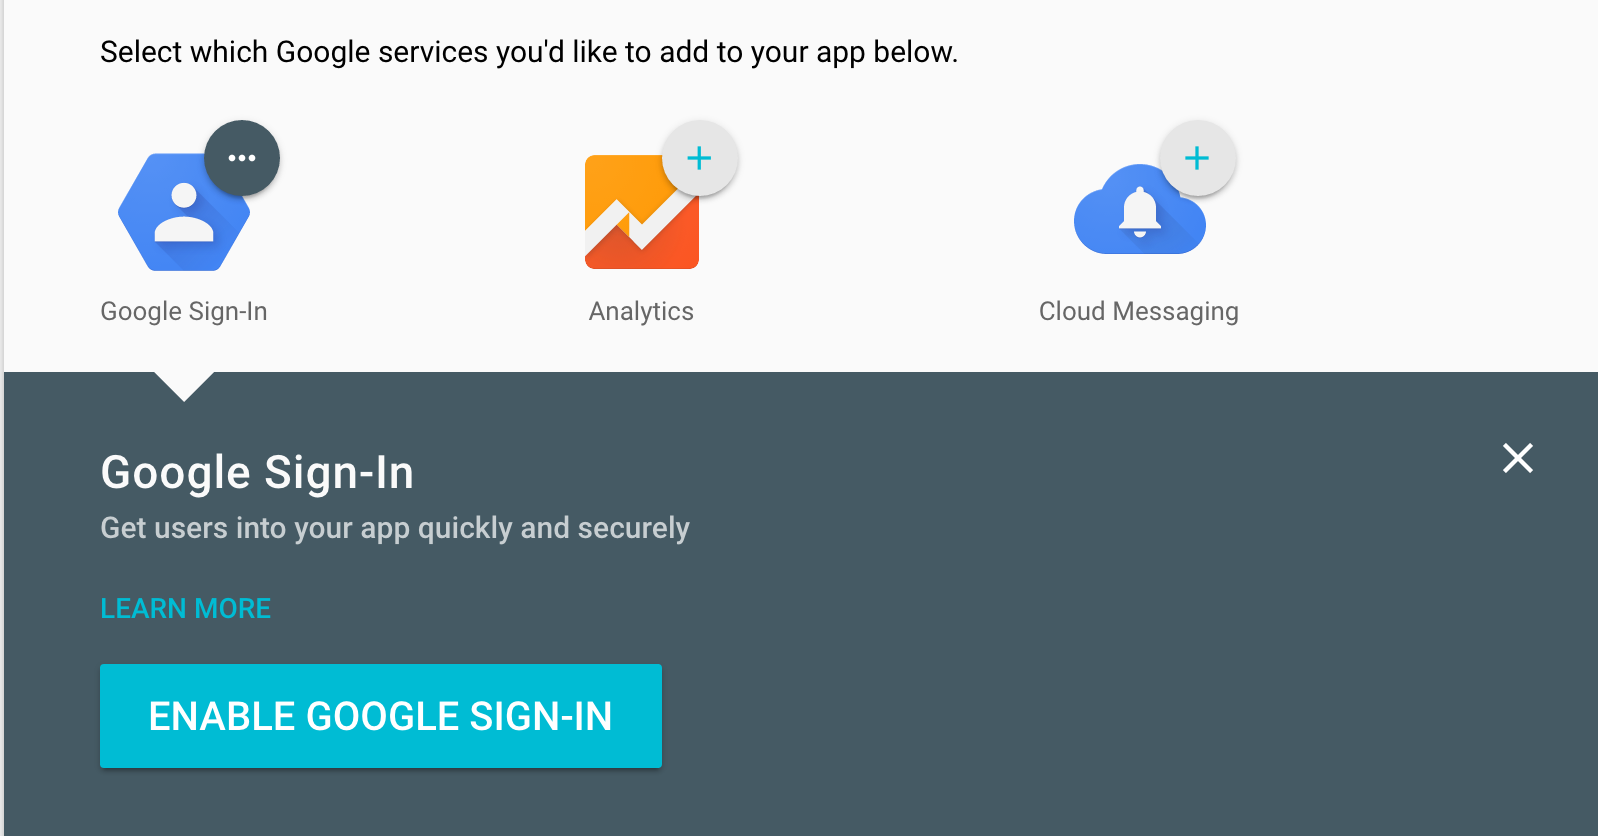
3. Installing the Google Plus Plugin
We are now ready to install the Cordova plugin required to perform authentication, but before you do that it is important that you first run this command:
ionic build iosThis will perform a build for the application for the first time. It’s important that you do this before installing the plugin because the plugin sets up iOS Keychain Sharing entitlements, and if you have not already built the application before it will not do it correctly.
To install the plugin you will need to run the following command:
cordova plugin add https://github.com/EddyVerbruggen/cordova-plugin-googleplus --variable REVERSED_CLIENT_ID=myreversedclientidYou will need to replace myreversedclientid with a value you obtain from the Google Developer console. You will need to go here and then navigate to the project you created earlier. You will need to go to the Credentials section, and click the edit button on the iOS Client ID. This will reveal the iOS URL Scheme, this is the value you want to use in place of myreversedclientid.
4. Implement the Authentication Code
Once you have installed the plugin, you will need to implement the code in your Ionic 2 application. Fortunately, this is quite easy!
Modify src/pages/home/home.ts to reflect the following:
import { Component } from '@angular/core';
import { NavController } from 'ionic-angular';
import { GooglePlus } from 'ionic-native';

@Component({
  selector: 'page-home',
  templateUrl: 'home.html'
})
export class HomePage {

    constructor(public navCtrl: NavController) {

    }

    login(){

        GooglePlus.login({
          'webClientId': '*************************'
        }).then((res) => {
            console.log(res);
        }, (err) => {
            console.log(err);
        });

    }

    logout(){

        GooglePlus.logout().then(() => {
            console.log("logged out");
        });

    }

}
This will launch the authentication process through the plugin. You can find the webClientId in the Credentials section in the Google Developer console (the same place that you retrieved the iOS Url Scheme).
Finally, we just need to implement some buttons to trigger the login and logout process:
<ion-header>
  <ion-navbar color="danger">
    <ion-title> Google GCal </ion-title>
  </ion-navbar>
</ion-header>

<ion-content>
  <button ion-button full (click)="login()">Login</button>

  <button ion-button full (click)="logout()">Logout</button>
</ion-content>
You should now be able to launch the application (on a device, not through the browser) and complete the Google OAuth process.
Summary
There is a little bit more involved with implementing this native OAuth process, but the end result is much more user-friendly and sleek. Having successfully authenticated a user, you will now be able to access many more Google APIs (as long as you have added them, and received permission from the user). In a future tutorial, I will be covering how to use some of these (like the Google Calendar API).