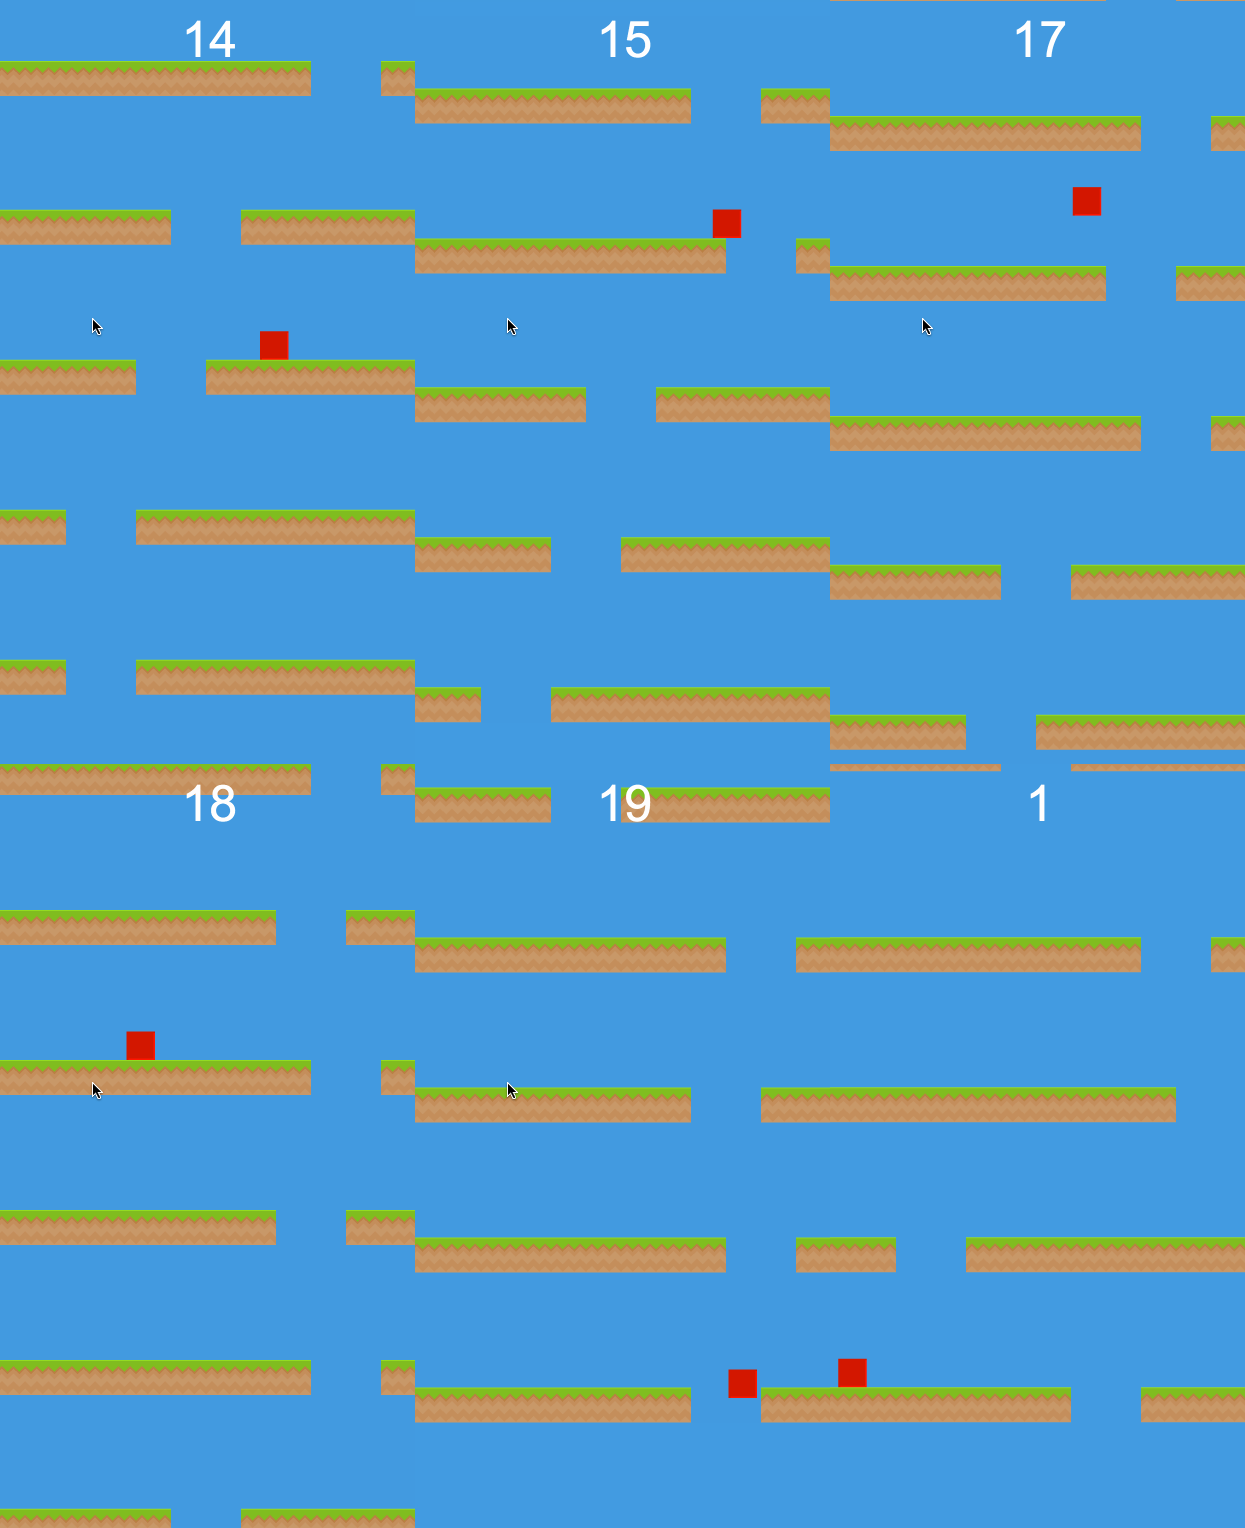
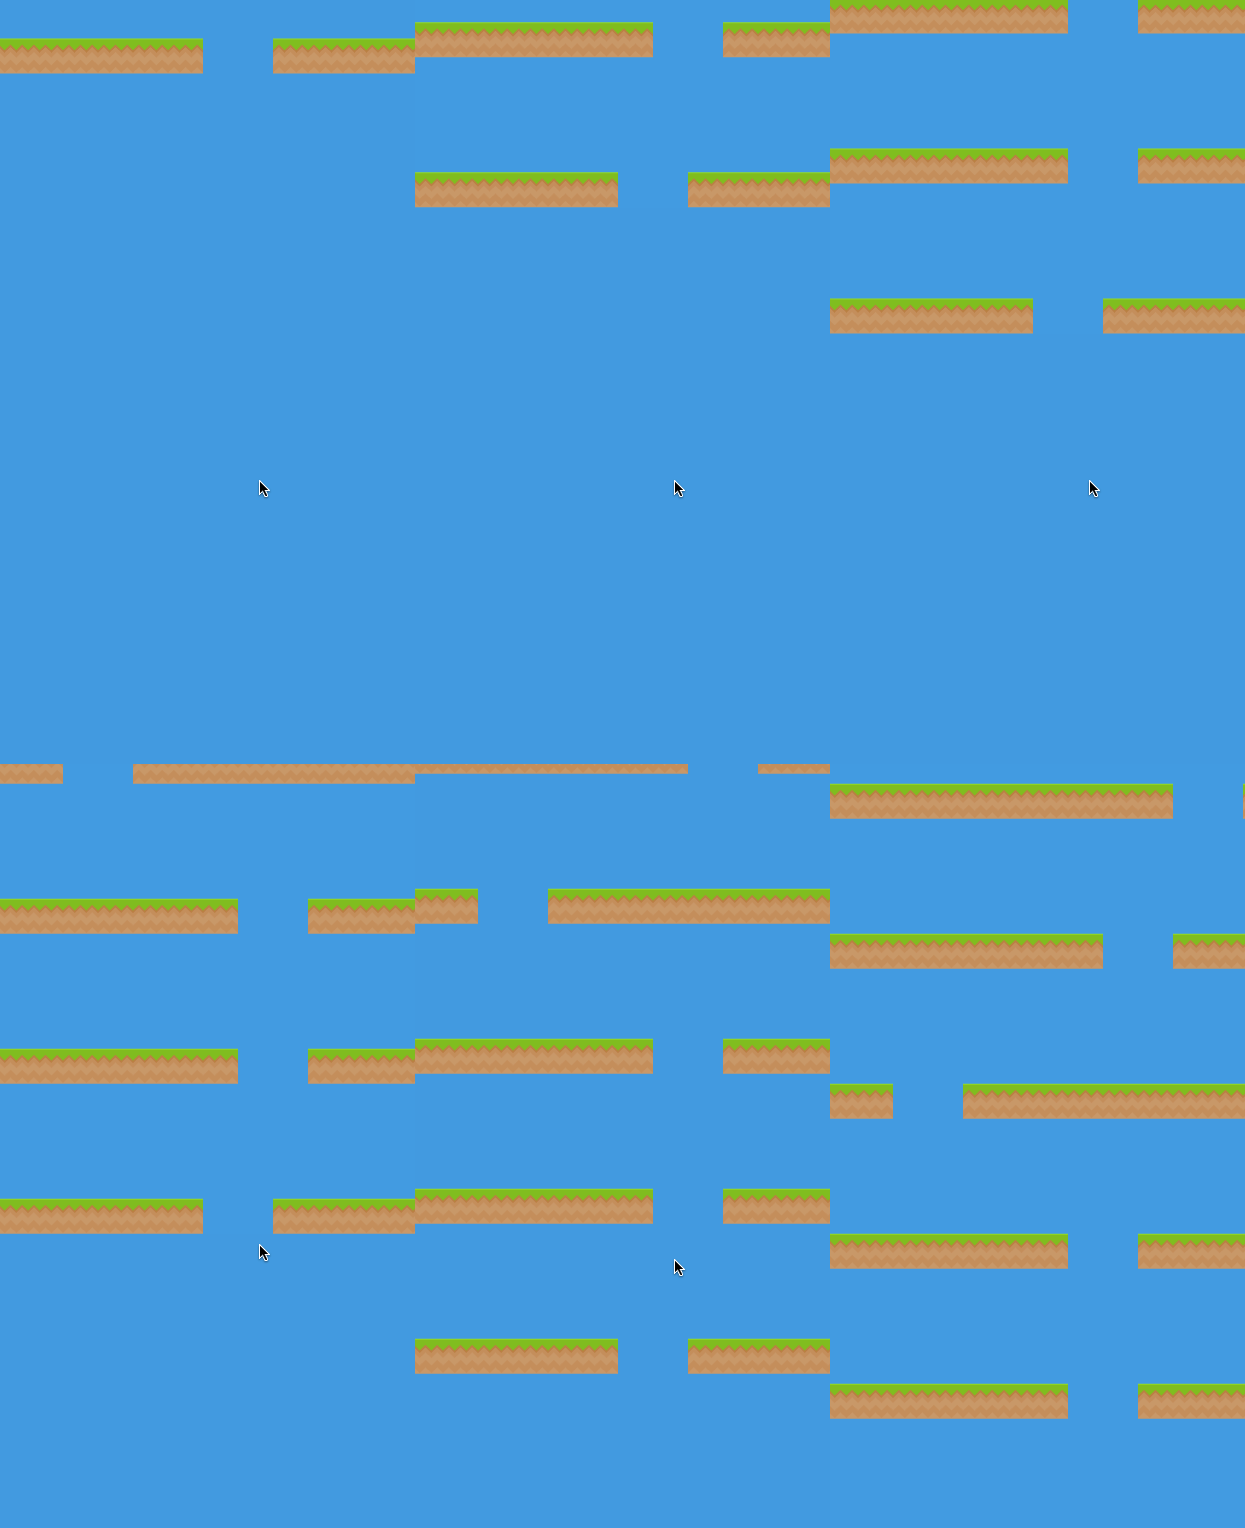
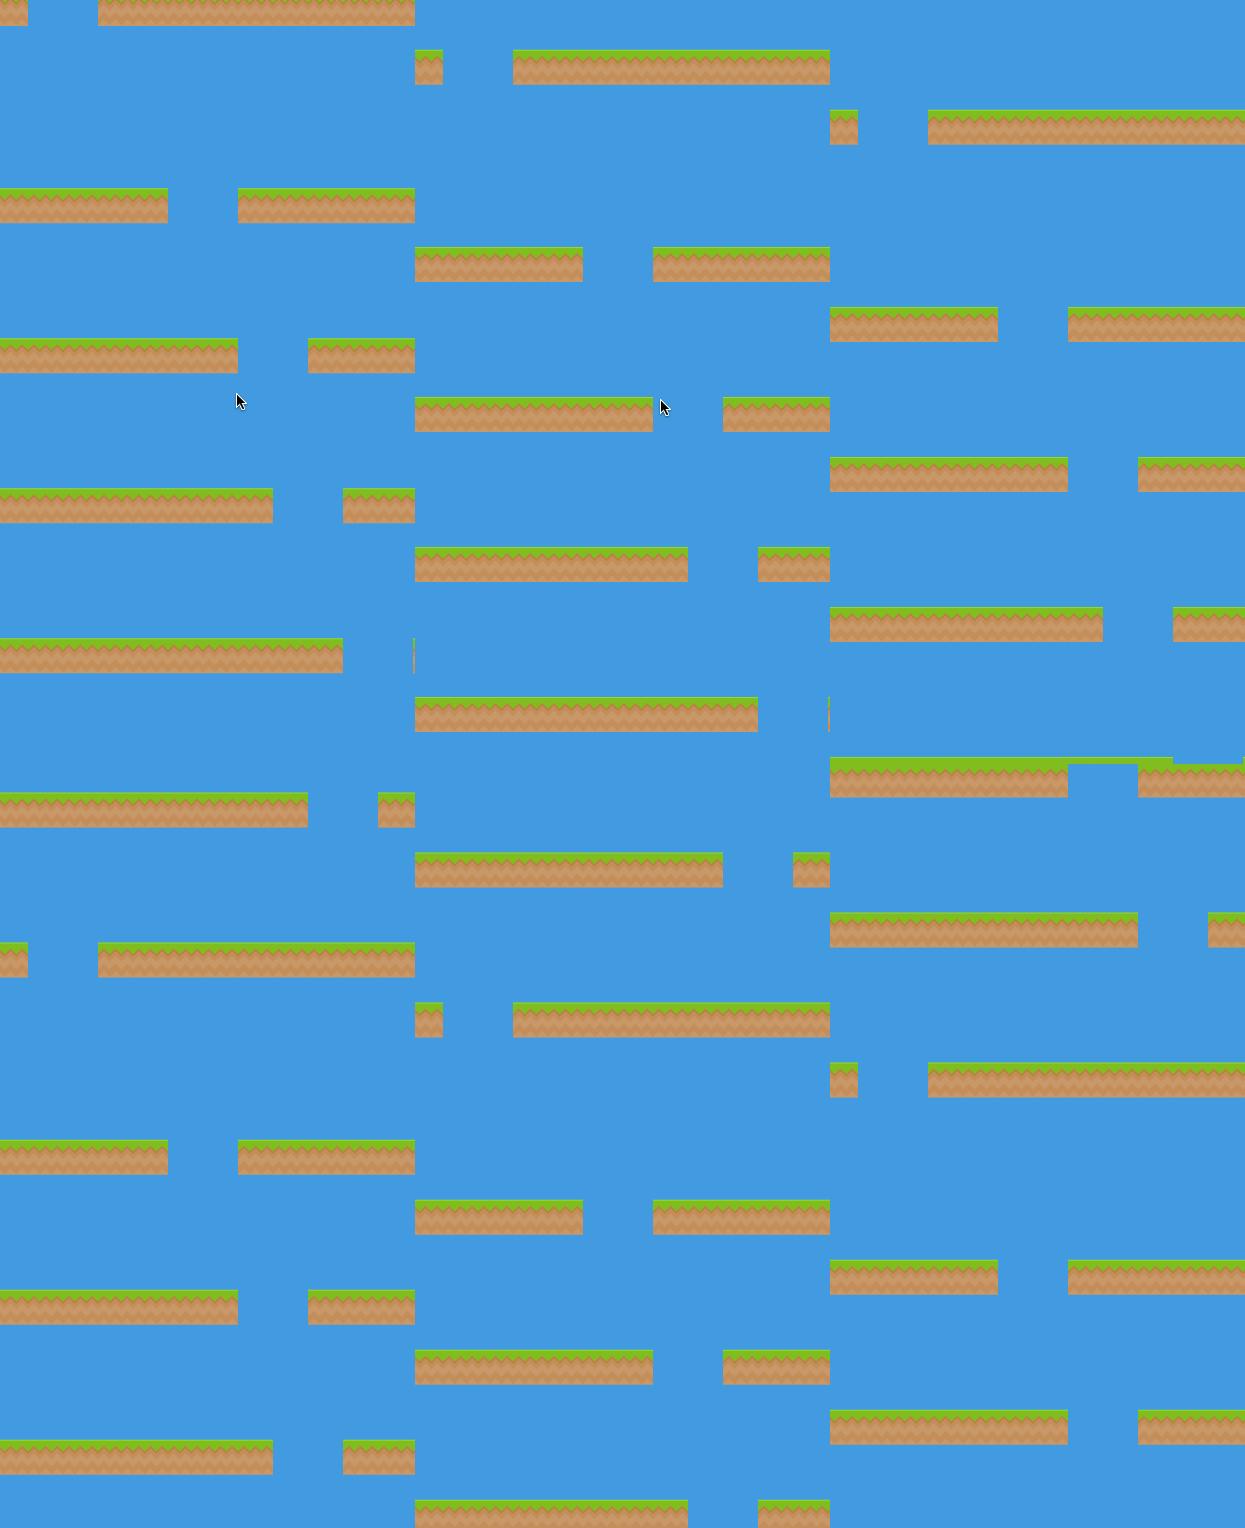
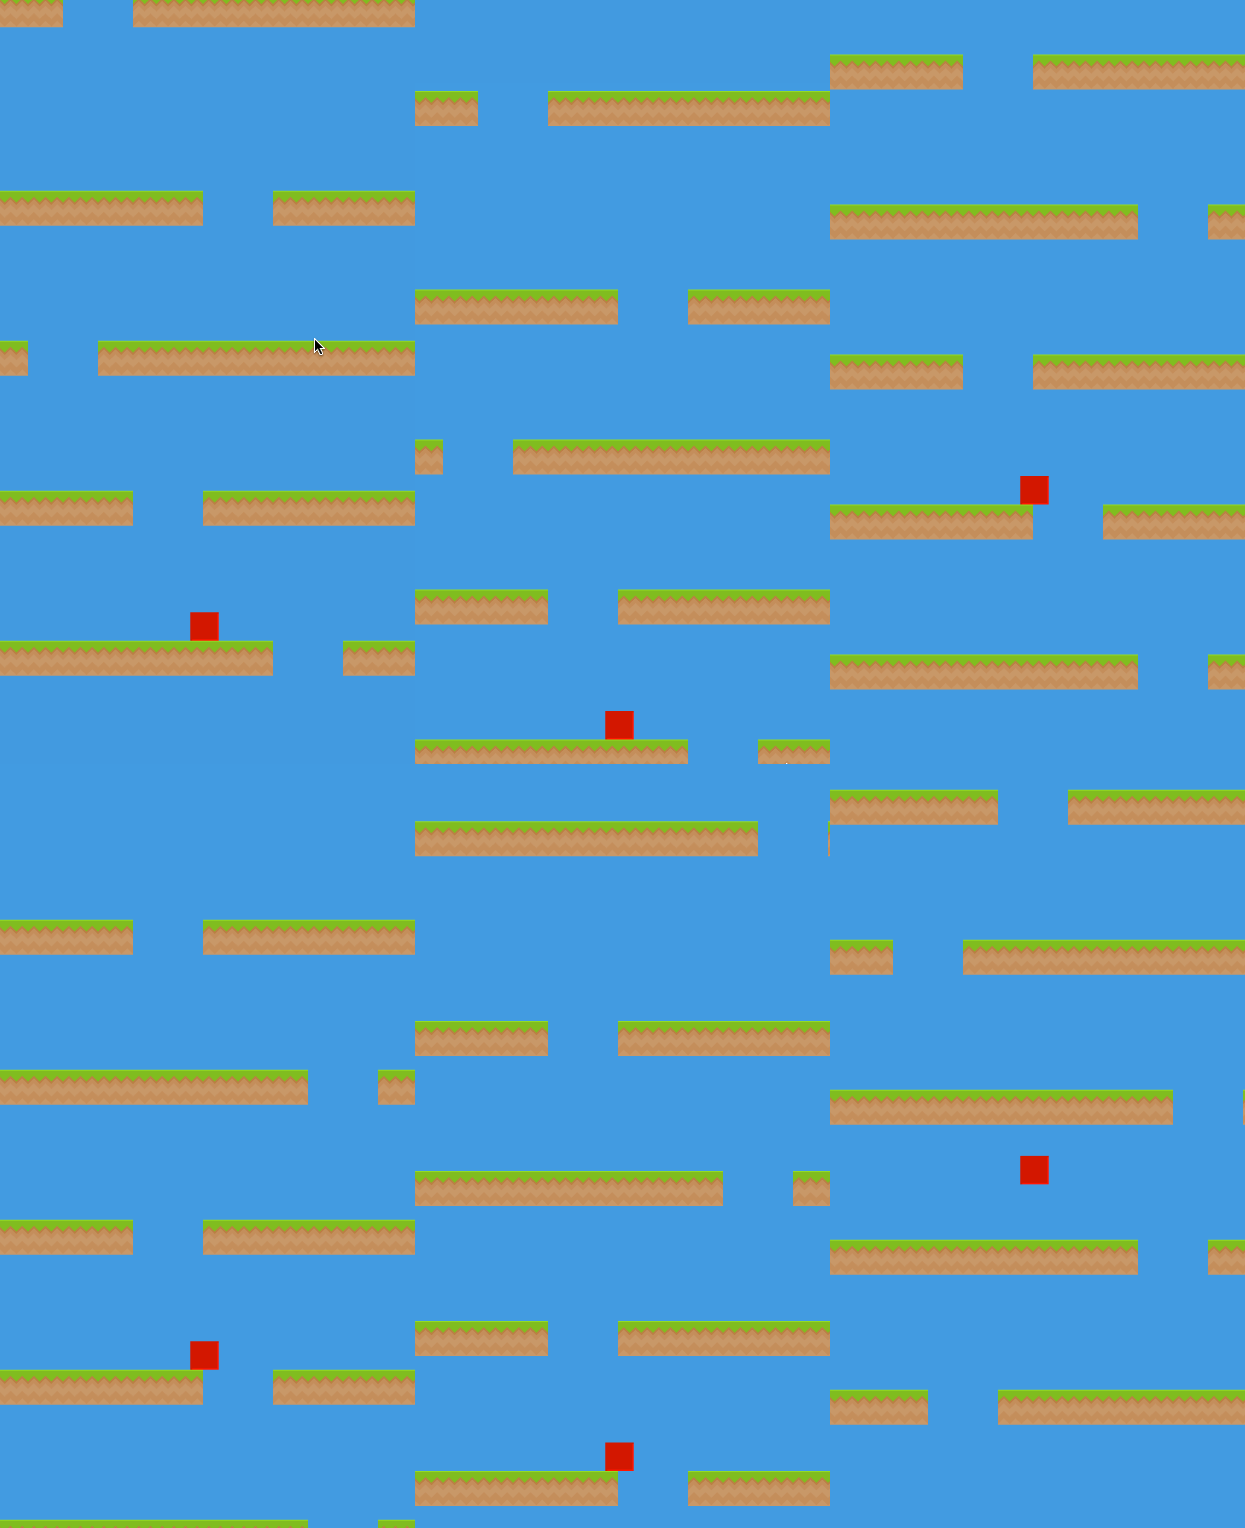
I remember playing quite a few simple platformer games when I was younger where you would basically have platforms running vertically down the screen, each with a space somewhere to get up to the next level, and you would have to try and climb up the platforms before you hit the bottom.
As I’ve mentioned in the past I like simple games with an interesting or novel gameplay mechanic, so I wanted to create a game based on this concept with a little bit of a twist. I will be doing that shortly, but first I wanted to get the basic mechanic down and I ended up with a simple game that looks like this:
In this tutorial I’m going to show you how you can create this simple, infinite climbing game. All the platforms are randomly generated so the game will go on forever until the player hits the bottom.
Set up a New Phaser Project
I’m going to assume that you already know how to set up a Phaser project, if not you can check out the preview tutorial from my Mobile Development for Web Developers course which covers how to get started with Phaser.
I’m also not going to cover how to structure a Phaser application in this tutorial, but if you would like to use the same structure I am using you can download a skeleton template for a mobile game in Phaser which scales to any screen size below:
If you use this template, just change:
this.game.state.start('GameTitle');in preload.js to:
this.game.state.start('Main');because we will not be creating a title screen for the game in this tutorial and we want the game to launch right into the main state.
NOTE: Although it is not necessary to use the template above, I will be building on top of it for this tutorial. If you are not already comfortable with Phaser I would recommend using the template. If you’ve already made a game or two though you should be able to follow this tutorial without a problem.
Setting up our Assets
You can use any sprite you would like for your platforms and player, but I will be using this tile from Kenney Game Assets:
for the platforms, and a simple sprite I’ve created for another game as the player:
Feel free to use these as well or create your own (Kenney also has some much more interesting character sprites you might prefer to use).
Add your platform sprite as tile.png in the assets folder
Add your player sprite as player.png in the assets folder
Once you have those added to your assets folder, you will want to make them available in your game by adding them to the preload method in the preload state.
Modify the preload method in preload.js to reflect the following**
preload: function(){
        this.game.load.image('tile', 'assets/tile.png');
        this.game.load.image('player', 'assets/player.png');
    },
Creating the Platforms
The first thing we are going to is create the platforms that will scroll down the screen. We will do this by adding a row of the tiles we are using to fill the horizontal width of the screen, but leave a gap somewhere so that the player can jump through to the next level.
The way the platforms are going to be generated will be very similar to Thomas Palef’s tutorial on building a Flappy Bird clone. In that tutorial, pipes are generated that run vertically down the screen with a gap somewhere in the middle. We’re going to borrow some concepts from that tutorial for our platforms, but modify it so that the platforms go across the screen rather than down, and also so that the platforms are generated the whole way across the screen (so the game can be played at any size).
As an aside, if you’re into Phaser development and you haven’t heard of Thomas Palef’s blog yet you should definitely take a look around there, specifically his 12 games in 12 weeks challenge.
The first thing we are going to do in creating our platforms is to create a group for them in the create method and add a bunch of tiles to it.
Modify the create method in main.js to reflect the following:
create: function() {

        var me = this;

        //Get the dimensions of the tile we are using
        me.tileWidth = me.game.cache.getImage('tile').width;
        me.tileHeight = me.game.cache.getImage('tile').height;

        //Set the background colour to blue
        me.game.stage.backgroundColor = '479cde';

        //Enable the Arcade physics system
        me.game.physics.startSystem(Phaser.Physics.ARCADE);

        //Add a platforms group to hold all of our tiles, and create a bunch of them
        me.platforms = me.game.add.group();
        me.platforms.enableBody = true;
        me.platforms.createMultiple(250, 'tile');

    },
At the bottom of this code block we create a group called platforms. We then create 250 tiles which get added to this platforms group. The benefit of adding all of these sprites to a group is that we can manage them all easily, if we were to create 250 individual sprites then it would be nearly impossible to manage. We also set enableBody to true to activate physics on these platforms.
As well as creating the platforms we are also doing a couple of other things. So that it doesn’t matter what size tile we use, we are grabbing the height and width of the tile supplied which we will use later. We also enable the Arcade Physics System and set the background colour of the game to a sky blue.
At this stage, our game won’t look like anything except a blank blue screen so now we are going to create some functions to actually add our platforms to the screen.
To do this we are going to create a addTile and a addPlatform function. The addTile function will be responsible for placing a tile at specific x and y coordinates on the screen. The addPlatform function will call the addTile function multiple times to create a whole row of these tiles next to each other, which will create our platform, and it will also be responsible for adding a gap to the platform.
Add the following two functions to your main.js file:
addTile: function(x, y){

        var me = this;

        //Get a tile that is not currently on screen
        var tile = me.platforms.getFirstDead();

        //Reset it to the specified coordinates
        tile.reset(x, y);
        tile.body.velocity.y = 150;
        tile.body.immovable = true;

        //When the tile leaves the screen, kill it
        tile.checkWorldBounds = true;
        tile.outOfBoundsKill = true;
    },

    addPlatform: function(y){

        var me = this;

        //If no y position is supplied, render it just outside of the screen
        if(typeof(y) == "undefined"){
            y = -me.tileHeight;
        }

        //Work out how many tiles we need to fit across the whole screen
        var tilesNeeded = Math.ceil(me.game.world.width / me.tileWidth);

        //Add a hole randomly somewhere
        var hole = Math.floor(Math.random() * (tilesNeeded - 3)) + 1;

        //Keep creating tiles next to each other until we have an entire row
        //Don't add tiles where the random hole is
        for (var i = 0; i < tilesNeeded; i++){
            if (i != hole && i != hole + 1){
                this.addTile(i * me.tileWidth, y);
            }
        }

    }
The comments in the code above should be pretty self explanatory. It’s worth noting that in the addPlatform function we have an optional y parameter coming into the function. By default we create platforms just above the top of the screen, but if we supply a y parameter to this function it will create a platform at whatever y coordinate we specify. We will make use of this later.
All that’s left now to get our platforms rolling is to trigger the addPlatform function from our create method.
Add the following code to the bottom of your create method in main.js:
me.timer = game.time.events.loop(2000, me.addPlatform, me);This code will create a loop that calls the addPlatform function every 2 seconds. If you run your game now it should look like this:
It works quite well, but the obvious problem here is that the platforms come in from the top, but theres no platforms to begin with (where would our player start??).
Creating the Initial Platforms
Now we’re going to create some initial platforms that will fill the screen. This will allow our player to start on a platform and these platforms will then transition into the automatically generated platforms.
To do this we are going to create a new function that will make use of that y coordinate parameter we added to the addPlatform function.
Add the following function to your main.js file:
initPlatforms: function(){

        var me = this,
            bottom = me.game.world.height - me.tileHeight,
            top = me.tileHeight;

        //Keep creating platforms until they reach (near) the top of the screen
        for(var y = bottom; y > top - me.tileHeight; y = y - me.spacing){
            me.addPlatform(y);
        }

    }
This function gets the top and bottom of the region that we want to create platforms in, and then adds platforms based on whatever spacing is supplied.
Now we need to call this function from our create method and we also need to supply the spacing variable.
Add the following code to the create method in main.js
//The spacing for the initial platforms
me.spacing = 300;

//Create the inital on screen platforms
me.initPlatforms();
Now if you run your game it should look like this:
Great! Now we have platforms right from the start that we can start our player on top of. Speaking of our player…
Adding the Player to the Game
Now we want to add our player to the game, and to do that we are going to create another new function called createPlayer.
Add the following function to the main.js file:
createPlayer: function(){

        var me = this;

        //Add the player to the game by creating a new sprite
        me.player = me.game.add.sprite(me.game.world.centerX, me.game.world.height - (me.spacing * 2 + (3 * me.tileHeight)), 'player');

        //Set the players anchor point to be in the middle horizontally
        me.player.anchor.setTo(0.5, 1.0);

        //Enable physics on the player
        me.game.physics.arcade.enable(me.player);

        //Make the player fall by applying gravity
        me.player.body.gravity.y = 2000;

        //Make the player collide with the game boundaries
        me.player.body.collideWorldBounds = true;

        //Make the player bounce a little
        me.player.body.bounce.y = 0.1;

    },
Again, the comments above should be reasonably straight forward, the most confusing thing we’re doing here is when we add the player sprite. We set the x coordinate to be the center of the game (and since we set the horizontal anchor to be the middle of the player, this will add it exactly in the center), and we set the y coordinate to be… some crazy formula. Basically, this formula will add the player 3 platforms up from the bottom. The reason this looks so complicated is because we are designing this game to work at any screen size and with any tile size.
Now we need to call this function from the create method.
Add the following code to the create method in main.js:
//Add the player to the screen
me.createPlayer();
If you run the game now the player will be added to the screen but it will just fall right through everything to the bottom of the screen. To fix that we need to set up a collision with the platforms in the update method.
Add the following code to the update method in main.js
update: function() {

        var me = this;

        //Make the sprite collide with the ground layer
        me.game.physics.arcade.collide(me.player, me.platforms);


        //Check if the player is touching the bottom
        if(me.player.body.position.y >= me.game.world.height - me.player.body.height){
            me.gameOver();
        }

    },
As well as creating a collision, we also check if the player is touching the bottom and if they are we call the gameOver function. The gameOver function should then call the main state:
gameOver: function(){
        this.game.state.start('Main');
    },
which will restart the game. If you take a look at your game now it should look something like this:
It’s a bit hard to do any well when you can’t move though. So next up we’re going to add some controls.
Creating Controls for Movement
We’re going to create some simple controls that will allow your player to move left, right and to jump. We also want to make it so that the player can only jump when they are touching a platform (i.e. the player can’t jump if they are already in the air).
To do that, first we are going to add keyboard cursors keys to the game.
Add the following code to the create method in main.js:
//Enable cursor keys so we can create some controls
me.cursors = me.game.input.keyboard.createCursorKeys();
Now we will be able to listen for and act on keyboard input. What we’re going to do is listen for the left, right and up arrow keys and change the players velocity based on that.
Add the following code to the update method in main.js
//Make the sprite jump when the up key is pushed
if (me.cursors.up.isDown && me.player.body.wasTouching.down) {
  me.player.body.velocity.y = -1400;
}
//Make the player go left
if (me.cursors.left.isDown) {
  me.player.body.velocity.x += -30;
}
//Make the player go right
if (me.cursors.right.isDown) {
  me.player.body.velocity.x += 30;
}
As you can see, we detect when the keys are pushed and modify the players velocity accordingly. If you try the game now you should be able to move and jump around, avoiding the deadly bottom of the screen.
Adding Scoring
There’s one final thing we need to do and that is to add a score label. Once more, we are going to create a function to do this and we are also going to create a function to increment the players score.
Add the following two functions to your main.js file:
createScore: function(){

        var me = this;

        var scoreFont = "100px Arial";

        me.scoreLabel = me.game.add.text((me.game.world.centerX), 100, "0", {font: scoreFont, fill: "#fff"});
        me.scoreLabel.anchor.setTo(0.5, 0.5);
        me.scoreLabel.align = 'center';

    },

    incrementScore: function(){

        var me = this;

        me.score += 1;
        me.scoreLabel.text = me.score;

    },
The first function will add some score text to the screen, and the second function will increment the players score and then update the score label. To add the score label to the screen we need to call it from the create method, and we also need to create a score variable that we can reference.
Add the following code to the create method in main.js
//Create the score variable
me.score = 0;

//Create the score label
me.createScore();
Finally, we just need a way to increase the players score. We will do this by increasing their score by one every time a new platform is created.
Modify the addPlatform function to reflect the following:
//If no y position is supplied, render it just outside of the screen
if (typeof y == 'undefined') {
  y = -me.tileHeight;
  //Increase the players score
  me.incrementScore();
}
Now your game should look like what we were aiming for!
Summary
It didn’t take too much effort to create a fun little game, and the great thing about this game is that it will go on forever and it will be different every time you play it. There’s a few things you could do to take this game a little further though:
- Currently the game uses keyboard controls, so if you wanted to run in on mobiles you would need to change this
- We create 250 tiles at once which is quite a lot, this is to ensure we always have enough tiles to fill the screen but this could be optimised (perhaps by including assets that are multiple tiles wide).
- Of course you can fill in the other states to create a title and game over screen (where you could display the players all time high score)
- It could be made a little more interesting, maybe you could add some enemies or some other fun element to the game.
I hope you enjoyed the tutorial and if you have any questions feel free to leave them in the comments below.


