

I have previously used Ludei’s cloud service, which does seem to still be available, but I just recently received my invite for Cocoon.io. I’m a little confused as to what the difference is between these two platforms but I think the main difference between this new cloud compiler and the old one is that it has now been redesigned to be 100% compatible with Cordova:
The old cloud compiler by Ludei also did not have support for signing applications which is a very significant advantage of this new version. If you’ve never heard of CocoonJS before it’s basically a way to build HTML5 applications for native mobile platforms (e.g. iOS and Android) just like Cordova / PhoneGap, but it’s designed specifically for HTML5 games. It includes features that are not supported by Cordova by default like WebGL support and improved web views.
In general, your HTML5 mobile game would run better through CocoonJS or another platform like Ejecta than it would through Cordova. Cordova isn’t necessarily a bad option for HTML5 mobile games, in a lot of cases it may work just fine. It all depends on just how complex your game is.
Cocoon.io is currently in beta, so if you want to get in on the fun you can drop your email address here and you should receive an invite before too long. If you don’t have access already then maybe you will want to bookmark this tutorial and come back later, because now I’m going to walkthrough how to compile HTML5 games for iOS and Android using the CocoonJS cloud compiler.
How to Use the CocoonJS Cloud Compiler
In my case I have a Phaser game that I want compiled with CocoonJS, so I’m going to walk through the steps for Phaser, but you could quite easily do this for just about any HTML5 game framework.
Once you have your account created, log in to cocoon.io. Right away you should see various options for creating a new project:
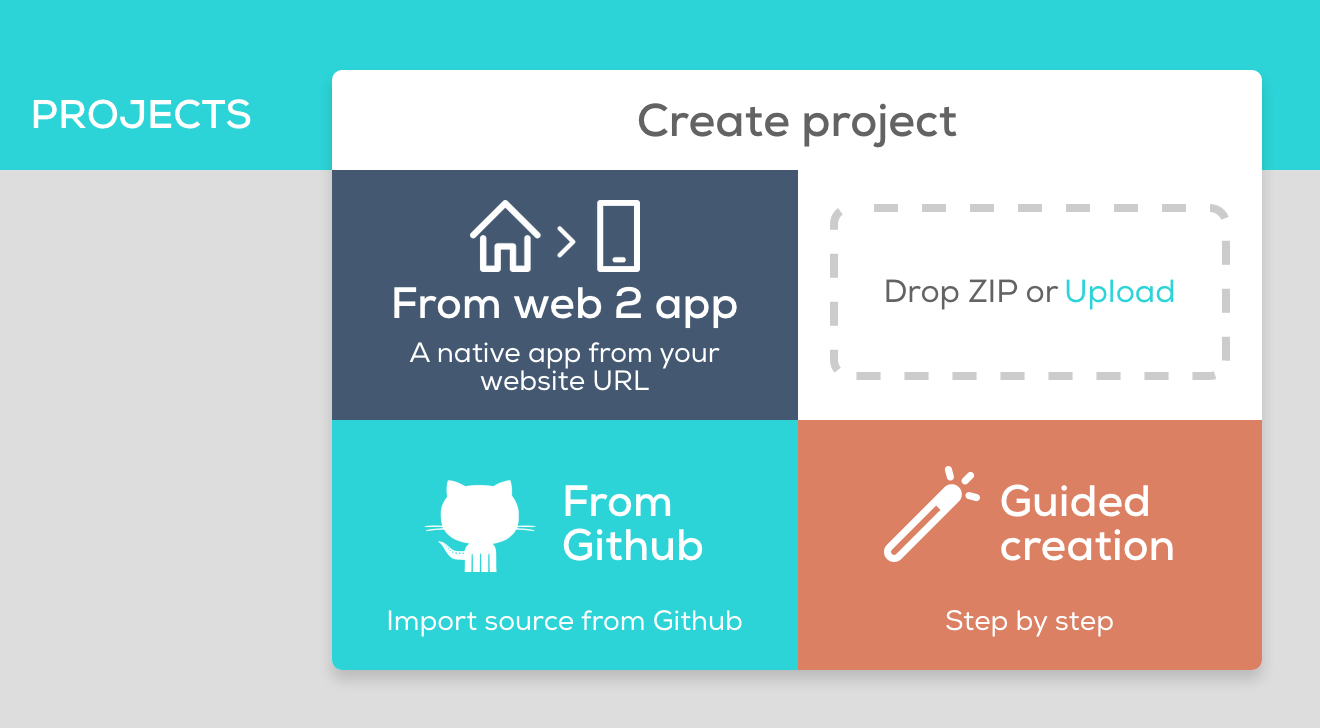
It’s not quite as simple as uploading your existing application and having everything work (it almost is though), so let’s go through the step by step “Guided Creation”.
- Click on “Guided Creation”
Once you do that you should be greeted with some options to supply the HTML5 code:
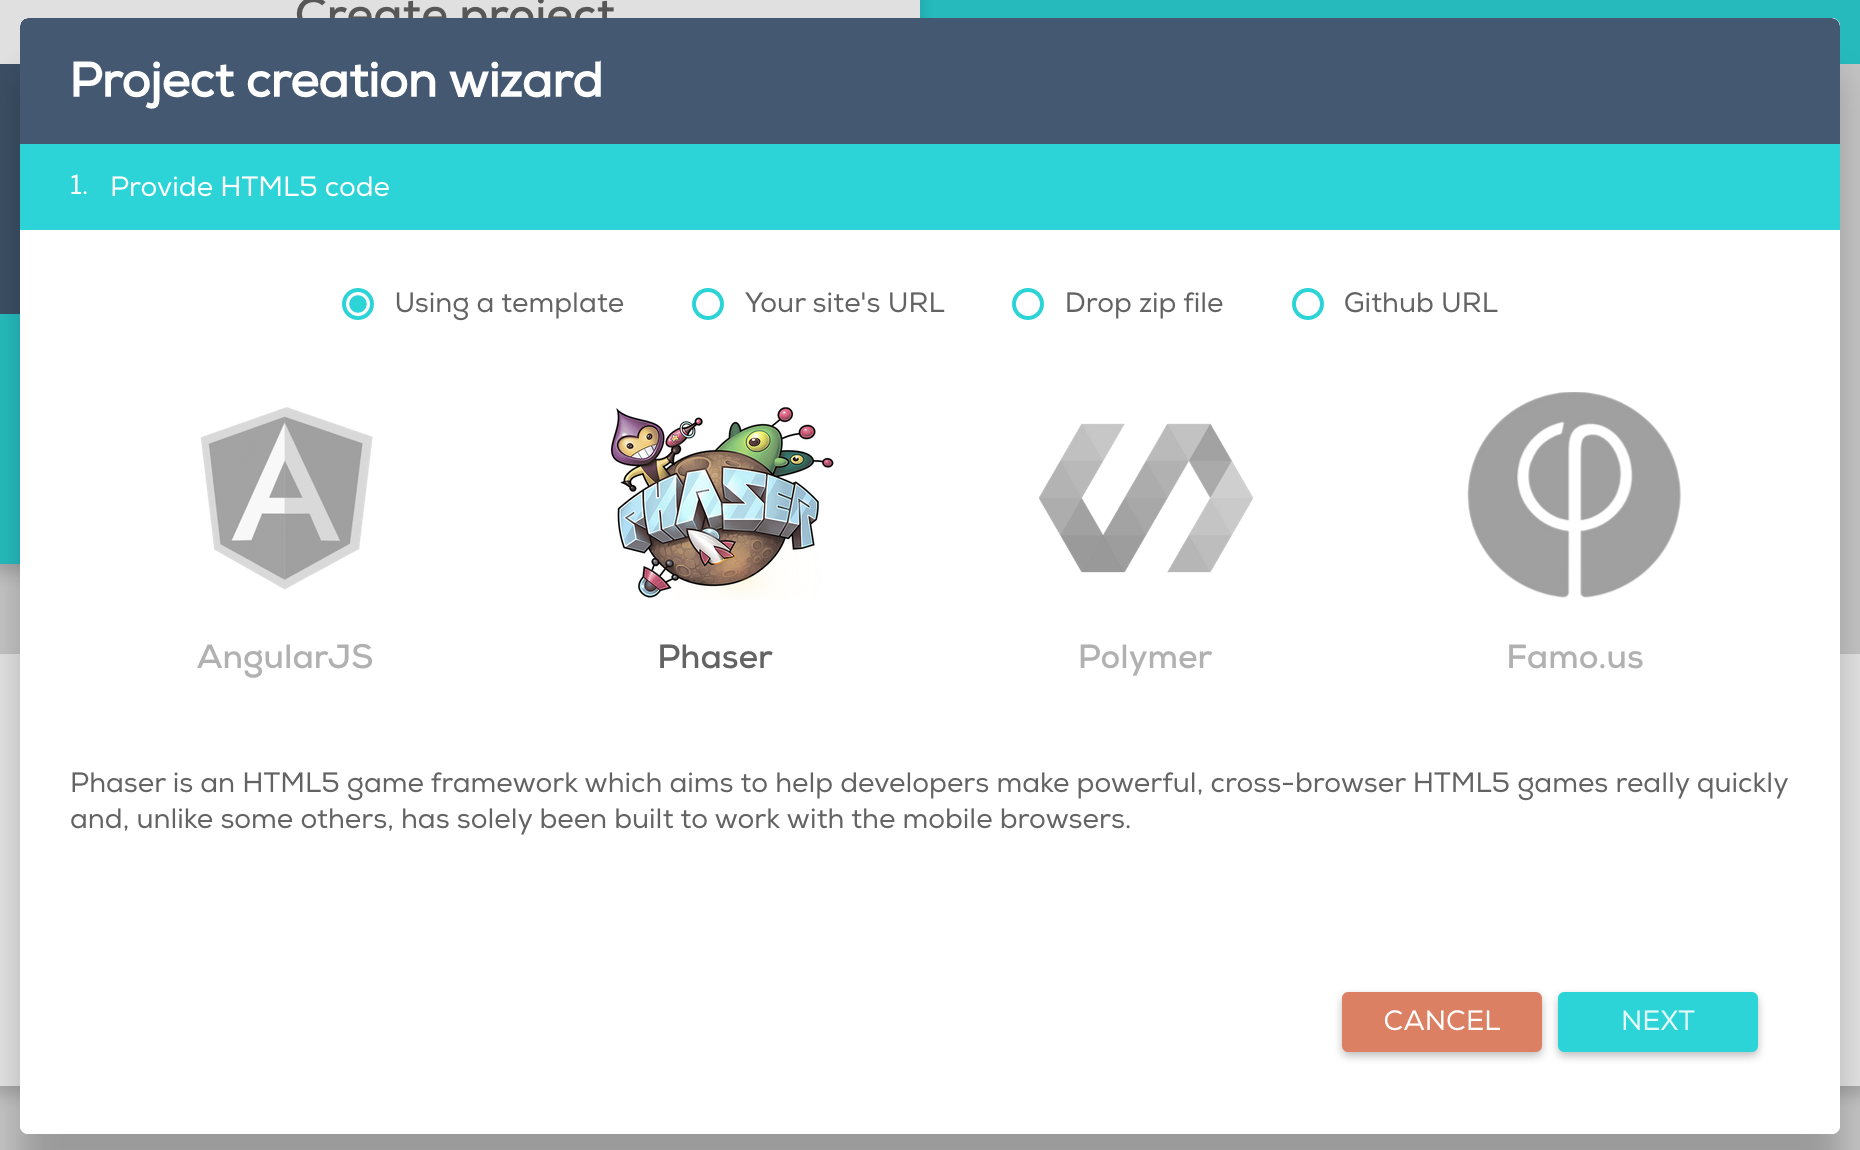
There’s a bunch of ways to do this, even just simply specifying your sites URL. But there is also a few templates provided, so we are going to use the Phaser one. This will create an example application for us that we can use as a reference.
- Select the template you wish to use then hit ‘Next’
Next you will have to choose which web view you want to use. When wrapping HTML5 games natively they are actually being run through an embedded web view in the native application. When using CocoonJS you have three options for the web view:
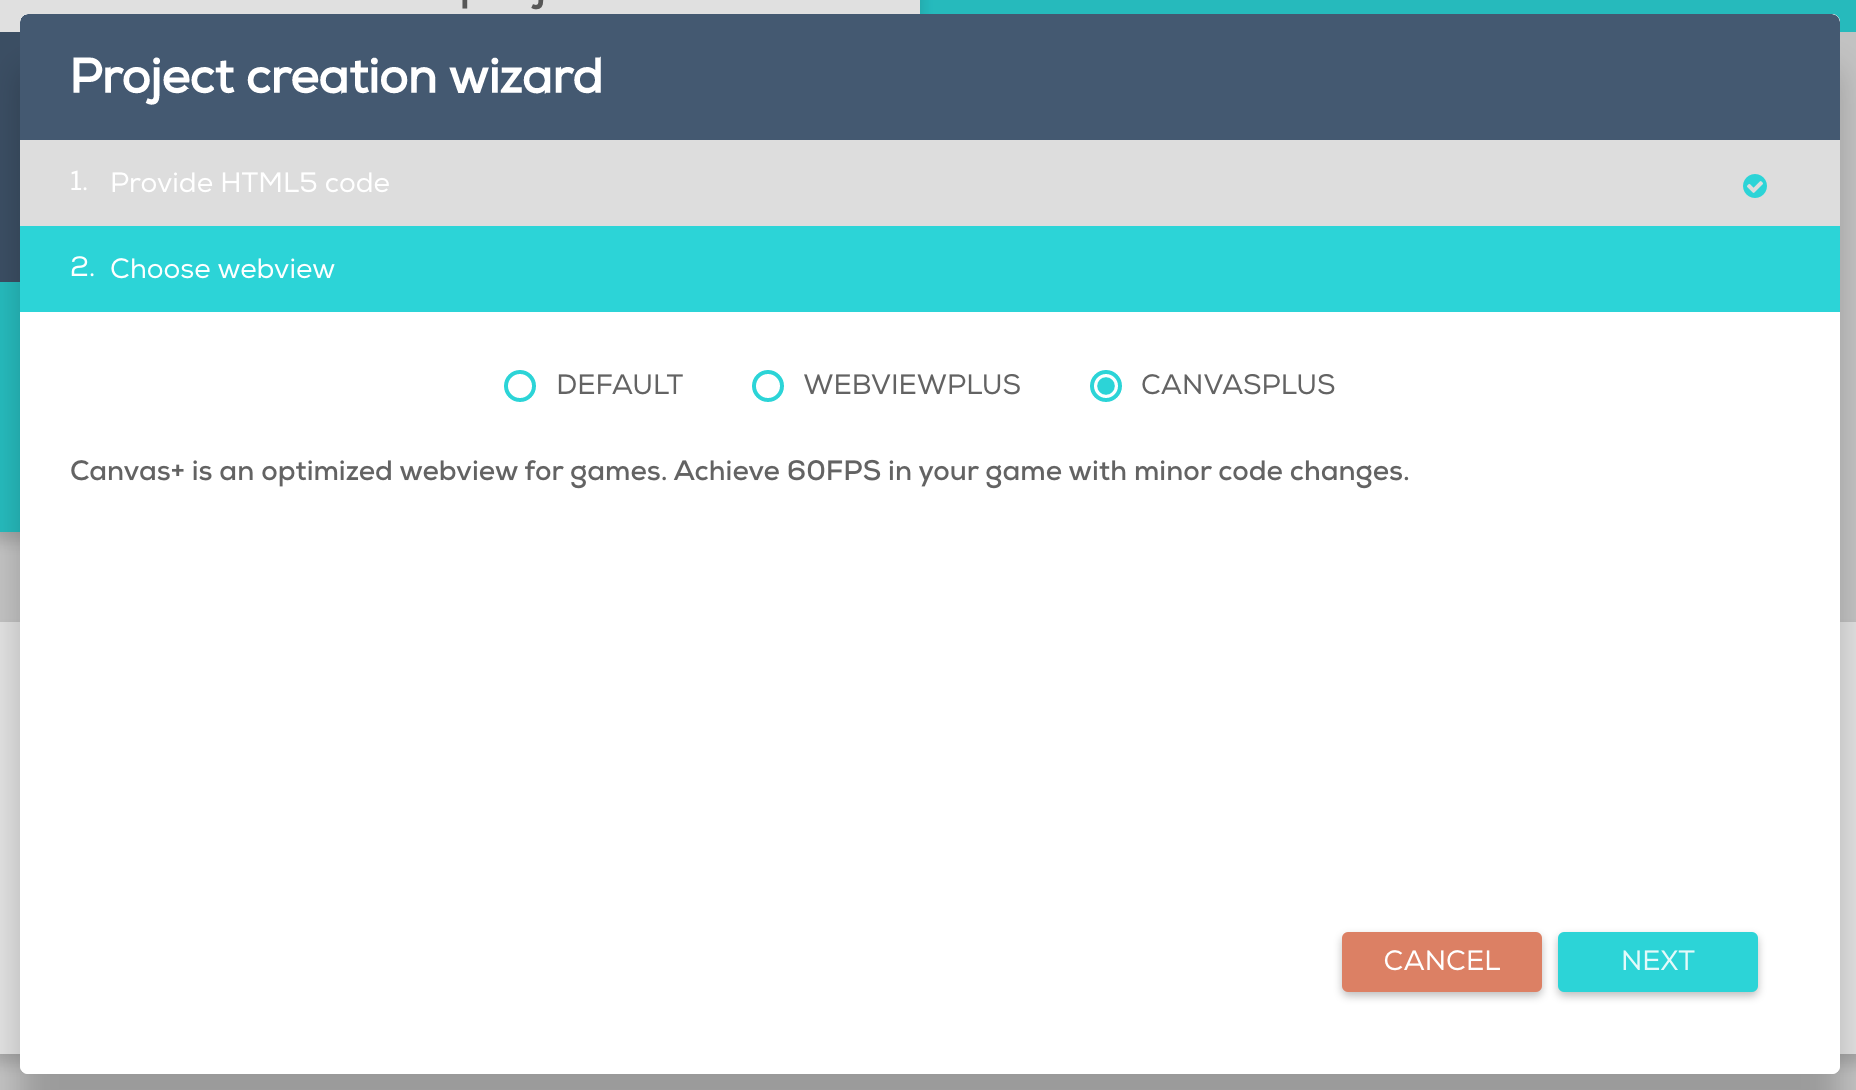
The default web view is the standard web view that’s on the device. Not only will this web view perform worse, but one of the bigggest problems is that it may exhibit different behaviour depending on the model of the device the app is running on. This problem can be very noticeable when running on older versions of Android (as I mention later, I’ve tried running a game that runs well through CocoonJS through the standard web view on an old 4.1 Android and the results were not pretty).
Webview+ is a significant improvement – it provides a consistent web view which fully supports the HTML5 API and it is a light weight option for iOS. Unfortunately, including this engine on Android will require an extra 20MB of space and it’s not quite as well performing as Canvas+.
Canvas+ is the best option in general. It has high performance, it’s light weight, is compatible with older versions of iOS and is specifically designed for gaming. However, unlike the other options this is not a full browser and access to the DOM is restricted. In general you should use this option for most games.
For a more thorough explanation of the differences between these options, take a look at the documentation.
- Unless you have a reason not to, choose ‘CANVASPLUS’ and finish creating your project.
NOTE: When choosing a package name make sure it matches the App ID of the provisioning profile will create for iOS later, i.e com.yourname.example
Uploading your own source code
Once your project is created you will be able to see it in the dashboard with options to modify the settings, compile the application, download the source code or update the code:
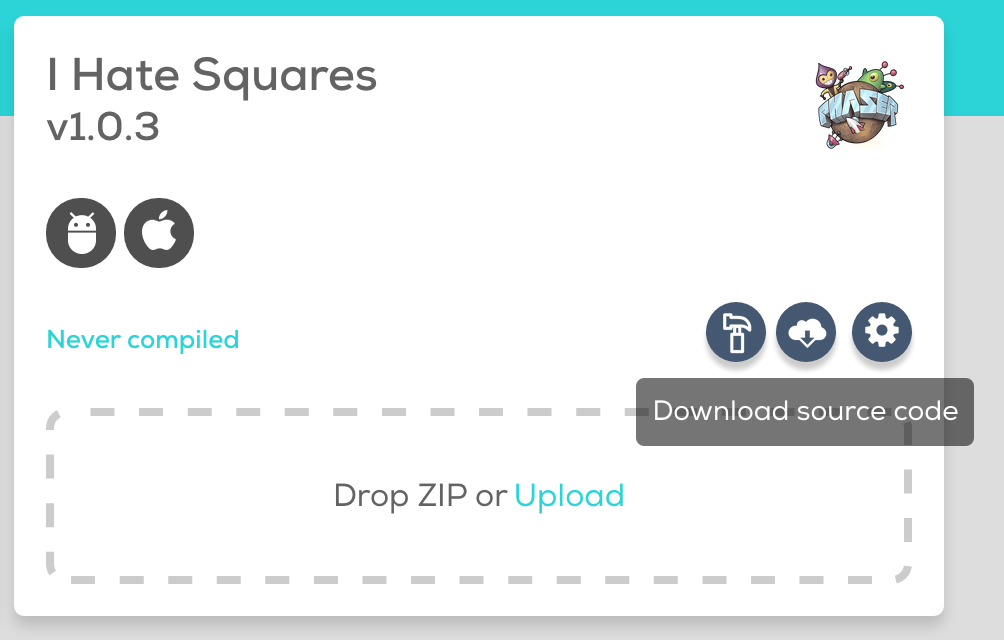
- Click the cloud button to download the source code
This will download the source code for the application so you can see how it is structured. Basically there is a www folder that contains the web content (your game), a res folder that contains all of the splash screens and icons, and a config.xml that defines how the application should be built. The config.xml is very similar to a normal Cordova config.xml file but there are some differences, so make sure that you do it the Cocoon way.
If you’d like, now is a good time to replace the example game with your own and reupload the source code. Make sure that you follow the same structure as the example and make sure to include the appropriate id in the config.xml file (again, this should be the same as the App ID you will use for your provisioning profile).
Uploading Signing Keys
Cocoon.io allows you to attach signing keys to your application. This is not required to generate an .apk file for Android (unless you are ready to distribute the application), but you do need to sign an iOS application to run it on a device.
If you do not upload a signing key for iOS then Cocoon will generate a .xcarchive file for you instead of a .ipa file. If you don’t have a Mac and XCode then a .xcarchive file won’t do much for you (I will tell you how to generate a .ipa file from a .xcarchive file on a Mac in just a moment though).
Unfortunately, at the time I used Cocoon.io this signing feature was not working correctly. My app would appear to compile correctly but it would not let me download the iOS version, only the Android version – I verified that my provisioning profile and .p12 were valid by testing them on PhoneGap Build and they worked so I’m not sure what went wrong.
In any case, I’ll walk you through how to do that now as it may very well be working by the time you read this! To attach a key for iOS you must generate a .p12 file and a provisioning profile. If you’re on a Mac then you should follow these instructions, if you’re not then you should follow these instructions.
Once you have your files created, attach them to your project like this:
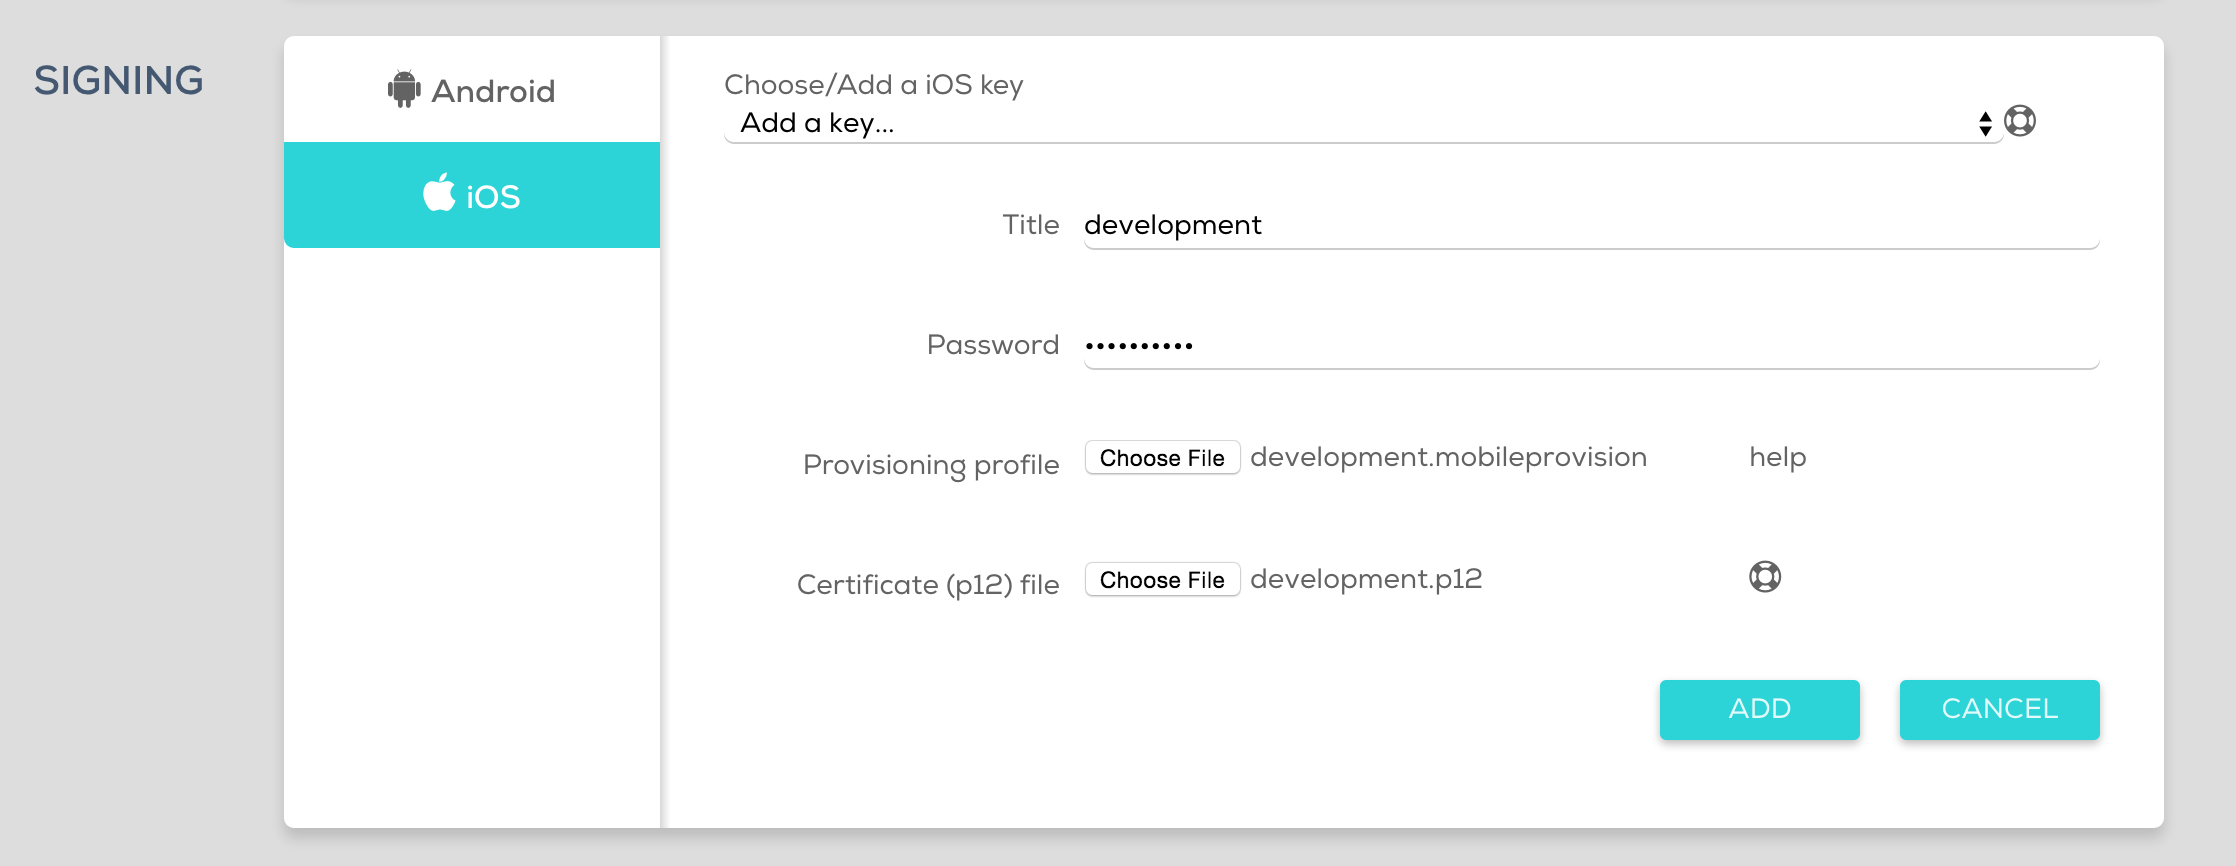
and then compile your project.
Generating an .ipa file without uploading keys
As I mentioned, I couldn’t get signing to work with Cocoon.io so I used this option instead. I attached no keys and just compiled the project.
- Compile your project and then download the resulting .xcarchive file
To convert that into an .ipa file you will need to run the following command:
xcodebuild -exportArchive PROJECTNAME -exportFormat ipa -archivePath PROJECTNAME.xcarchive -exportPath PROJECTNAME -exportProvisioningProfile "development"
You should replace PROJECT name in the command above with the name of your .xcarchive and also replace “development” with the name of the provisioning profile you created (this is literally the name of the provisioning profile, not the path to the file).
NOTE: It seems Cocoon.io like to export projects with spaces in the name, make sure to rename your .xcarchive so the file name does not contain a space otherwise this command won’t work
Developer App?
You will probably notice a Developer App section in your dashboard. This really confused me – I don’t know if I’ve just really missed the point on this or if it’s not quite finished yet. Ludei have already released an app called CocoonJS which allows you to load in your applications and test them, giving you the option to switch a bunch of settings on and off:
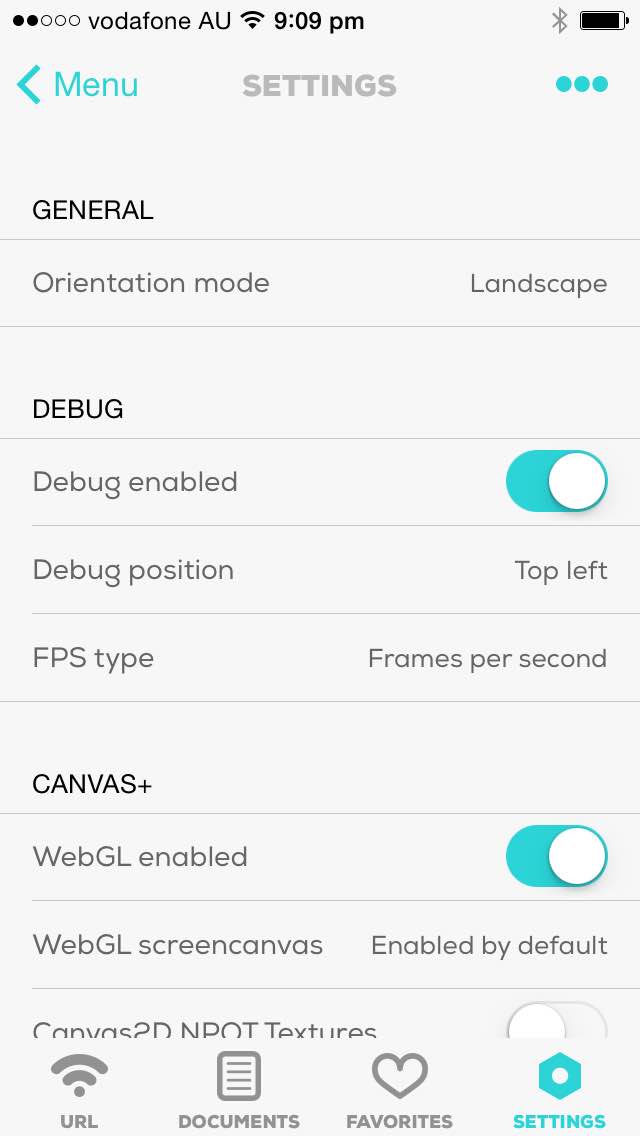
But clicking the “COMPILE DEVELOPER APP” button will recompile your project and the downloaded package will basically be this CocoonJS app, but it will have the name of your app. I feel like perhaps I’m missing something here so if anyone in the know wants to clear things up please feel free!
Summary
I had a bit of trouble getting up and running with the Cocoon Cloud Compiler, but keep in mind that it is still in beta. The interface (though quite sleek and pretty) has a few quirks and there might be a couple of bugs lurking around but I think it is going to be a fantastic option for compiling HTML5 games for a few reasons:
- It allows developers without a Mac to create signed applications for iOS (similar PhoneGap Build)
- It gives a big boost to performance
- There’s already plugins for a bunch of features like In App Purchaes, Advertisements and even Rewarded Videos which are great for games.
The boost in performance from building with vanilla Cordova to CocoonJS is really quite noticeable. I took a game which I had built using PhoneGap Build and run it through the Cocoon Cloud Compiler and it performed much more smoothly all round. It even played alright on my old crappy Android phone when previously it was completely unplayable due to how slow the game would run.
I’m not a huge fan of compiling in the cloud – we don’t have fantastic Internet speeds here in Australia so it can take a little while sometimes and it really slows down development. I haven’t been able to find any information on whether the Cocoon CLI has been deprecated or whether an updated version will be released at some point but that would be fantastic!