

Earlier this week, I released a guide to deploying Capacitor applications to iOS. In this tutorial, we are going to be doing the exact same thing, except we will be deploying an Android application built with Capacitor to Google Play.
As was the case for the last tutorial, we are going to do this starting from a completely blank slate to demonstrate how to set up the appropriate environment from scratch. For this tutorial, I created a separate profile on a new computer so that absolutely nothing was installed or configured beforehand.
I will be using an Ionic application as an example for this, but keep in mind that you don’t need to use Ionic in order to use Capacitor. Capacitor performs two main roles:
- Wrapping a web-based application in a native shell
- Facilitating communication between the web application and the Native APIs of the device the application is running on.
All you need to build your application with Capacitor is some web-based code to point it at, and so that doesn’t need to be an Ionic application (Ionic is certainly a great choice for developing a mobile app, though).
Setting up the Application
When using Capacitor, we can use the exact same codebase to deploy to both iOS and Android. Since we already have covered the setup steps for the example application in the last tutorial, I won’t be covering it again here. So, if you don’t already have an Ionic application set up on your computer, and you would like to follow along with this example, you should make sure to complete Step 3 and Step 4 of the previous tutorial.
I’d like to reiterate that you do not have to do this. Capacitor will work with any web-based code, we are just using an Ionic application as an example.
You should also make sure that you have Capacitor installed in your project (whether you are using Ionic or not). If you do not already have it installed, you should run the following command to do that:
npm install --save @capacitor/core @capacitor/cliand you should also initialise Capacitor in your project:
npx cap init1. Register for Google Play
Unlike iOS development, you can build and submit Android applications no matter what operating system you are using. However, you will still need to register for a developer account and pay a $25 USD fee (this is just a one-time fee).
If you plan on submitting your application to Google Play, you should register an account now as we will need to use it later in the tutorial. You can still build Android applications and distribute them through other means without registering for Google Play.
2. Install Android Studio
Much like we used XCode in the previous tutorial to build our iOS application, we will be using Android Studio to build our Android application. If you do not already have Android Studio, you should install it by visiting this website.
Once it is installed, you should open it. The first time you open Android Studio you will be taken through a setup wizard:
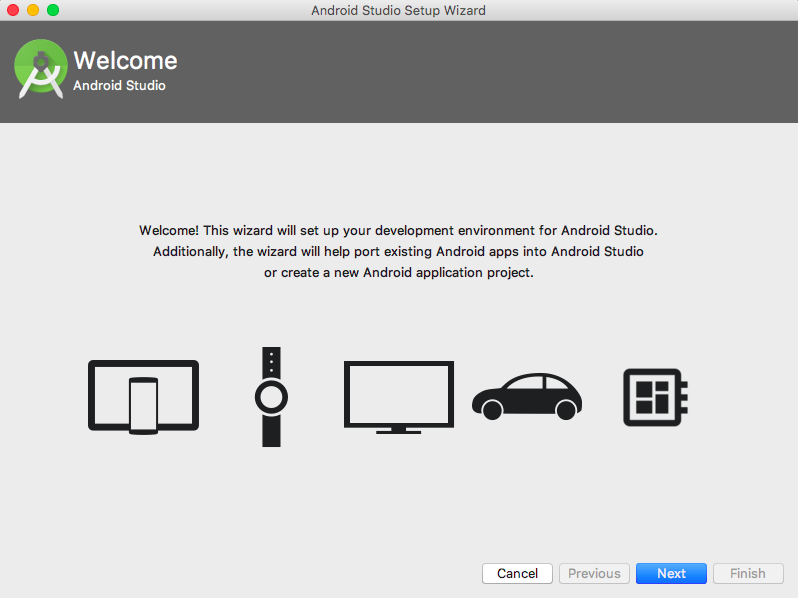
Just select the Standard options. When asked to choose between the light side and the dark side, choose wisely:
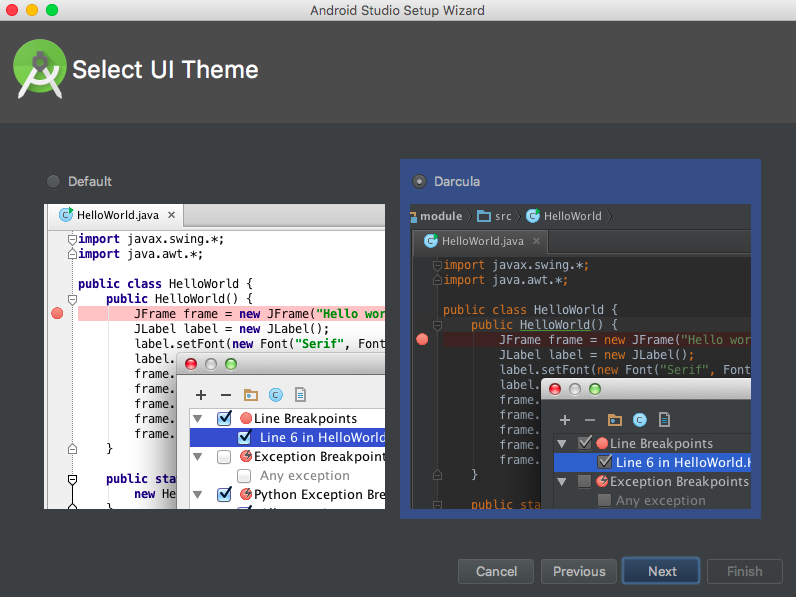
The wizard will then handle installing all of the dependencies you will need, which includes things like the SDK (Software Development Kit) for development, an emulator, and build tools.
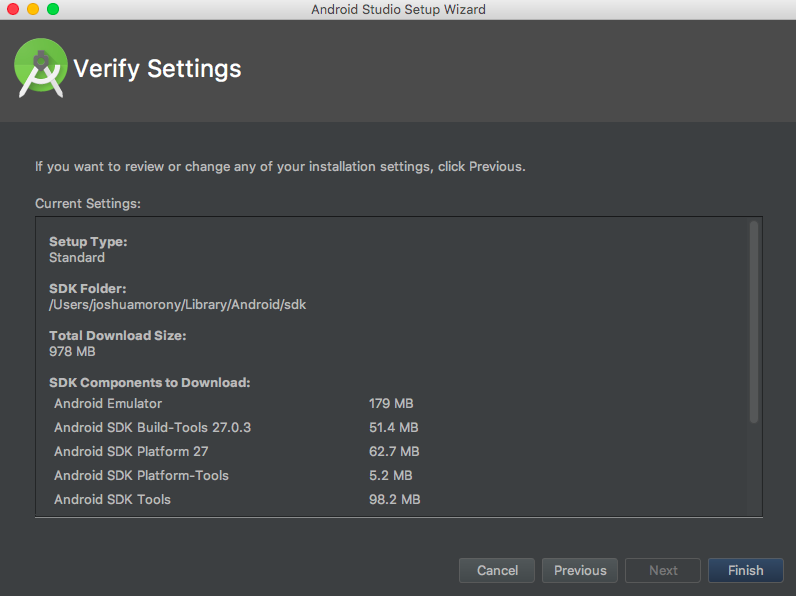
Hit Finish. If you need to install or update any components in the future, you can do so using the SDK Manager that comes with Android Studio by going to Tools > SDK Manager.
3. Add Android Platform to Capacitor
To enable Android builds for our Capacitor project, we will need to add the Android platform with the following command:
npx cap add androidWhen adding the platform, Capacitor will automatically copy over your web code into the native project (as long as your project is configured correctly). However, keep in mind that if you make changes to your web-based code, you will need to copy those changes to the native project by running:
npx cap copyand if you have made any changes to plugins that the application is using, you should also run:
npx cap update(you can also run npx cap sync to both copy your web code and update your plugins)
Once the platform has been added, you should run:
npx cap open androidThis will open your native Android project in Android Studio. The first time you open the project, it will perform a gradle sync which may take a little while. This will install all of the dependencies required for your project. Eventually, you should see that the sync has successfully completed:
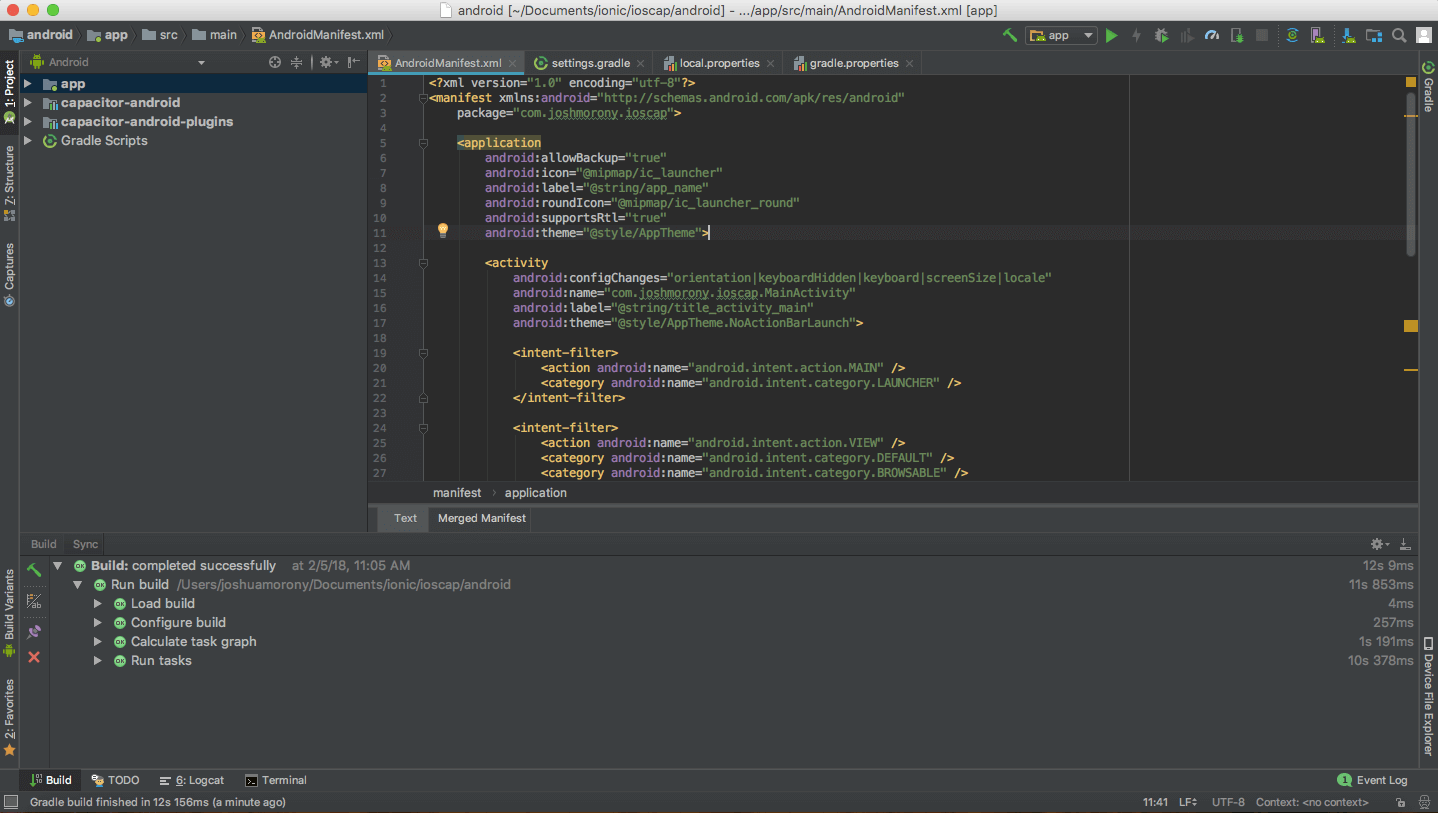
Just like with the iOS tutorial, we are now dealing with a standard native Android project. The steps from here on are the same as what you would do for building and submitting any native project.
4. Run on an Android Device
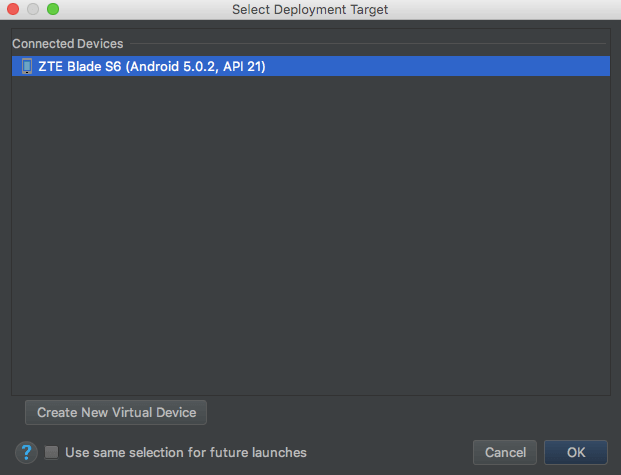
Now let’s talk about how to run our Android application on an Android device. The Android Studio interface is also very similar to XCode in terms of running an application. All you have to do is hit the play button on the top-right hand side of the screen.
If you have an Android device plugged into your computer, you will be asked to authorize it, and then you will be able to deploy to that device. If you prefer, you can hit the Create New Virtual Device button to run your application on an emulator instead.
From this point on, the workflow for deploying new builds that you want to test is:
- Make whatever changes you want
- Run
npx cap copy(if only web code has changed) ornpx cap sync(if you’ve made changes to plugins) - Run
npx cap open android
and then run as normal again through Android Studio.
5. Build a Signed APK
Once you are ready to submit your application, you will need to build a signed APK with Android Studio. An APK is just the file that is the packaged up version of your application, and then that needs to be signed with a private key (keystore). This is essentially just a way of proving who the application belongs to, and who has the authority to update it.
Just like with iOS applications, there are quite a few steps involved with publishing your application, so I would recommend reading through the documentation available on the Android website.
We will just be walking through the basics steps of signing and uploading an APK to Google Play. As I mentioned in the iOS tutorial, make sure that the application you are distributing is a production build of your application (i.e. a minimised/optimised one).
In order to build your signed APK, you should first go to Build > Generate Signed APK in the menu at the top of Android Studio, then click Next.
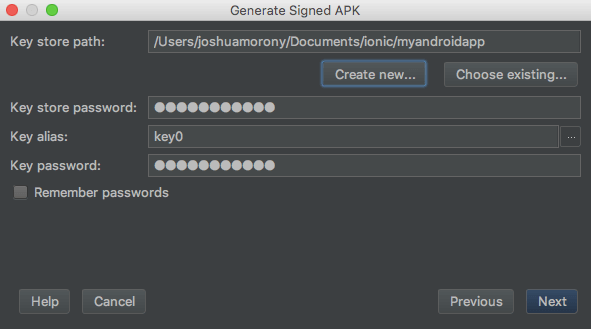
On this screen, you should supply your private key (keystore file) for this project, or if you do not yet have a keystore file you should select Create New.
It is critically important to keep this keystore file safe, as you will need it to update your application on Google Play. If you lose it, it will be impossible to submit a new version of your application. When choosing a place to store your keystore file, it is a good idea not to include it in the files that will be uploaded somewhere like GitHub. You should also protect this file by choosing a strong password (but make sure not to lose it!).
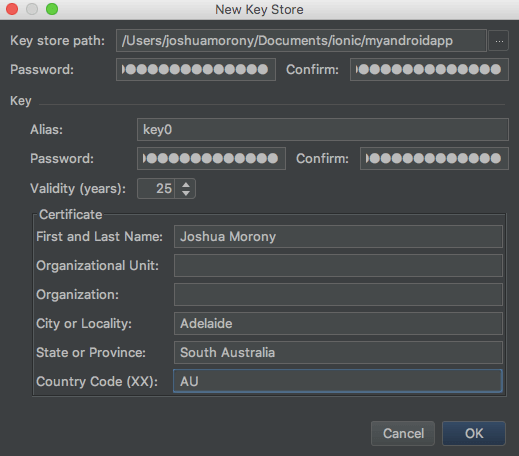
Fill out the details in this prompt, and remember to make note of the password you use and the alias. When you are done, click OK and then Next.
Make sure to choose the ‘release’ build type, and you should also tick both of the signature options:
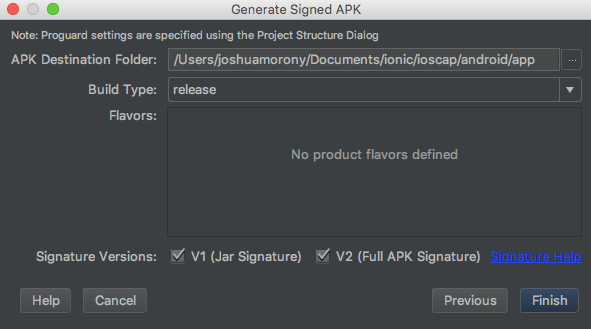
Once you complete this step, the application will begin building. Once it has finished you will be able to find your signed APK at:
yourproject/android/app/release/app-release.apkThis is the file that you will need to upload to Google Play
6. Upload to Google Play
The final step in this process is to upload that signed APK file to Google Play. To begin, you should go to the Google Play Developer Console. Once you have logged in, click Create Application and give your application a name.
At some point, you will need to fill in all of the details and promotional assets for the application. I’d recommend spending some time looking through all of the availble options, and reading advice from Google, to make sure that you have completed all of this information properly. Again, we are just focusing on uploading the APK in this tutorial.
On the left of the page, you will find a bunch of different options:
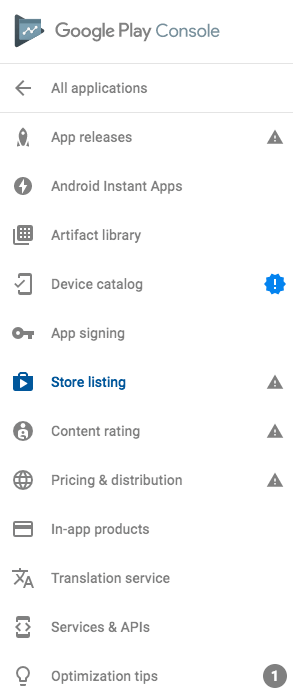
You will want to go to App Releases. This is where you will be able to upload your signed APK. You can use this section to upload alpha/beta test versions for your application as well, but if you are ready to submit to the Google Play store you just need to upload to the Production section:

Click on Manage Production and then Create Release.
You may be prompted to use “Google Play App Signing” at this stage. Basically, Google can manage the signing of your application for you. One benefit to this is that if you lose your signing key you won’t necessarily be locked out of your application forever, as Google has the power to grant you access to it. If you are more security oriented you may not find this option particularly appealing and may prefer to keep the keystore file under your own control. I’ve chosen to manage my own signing by opting out in this example, but you can use whichever approach you prefer.
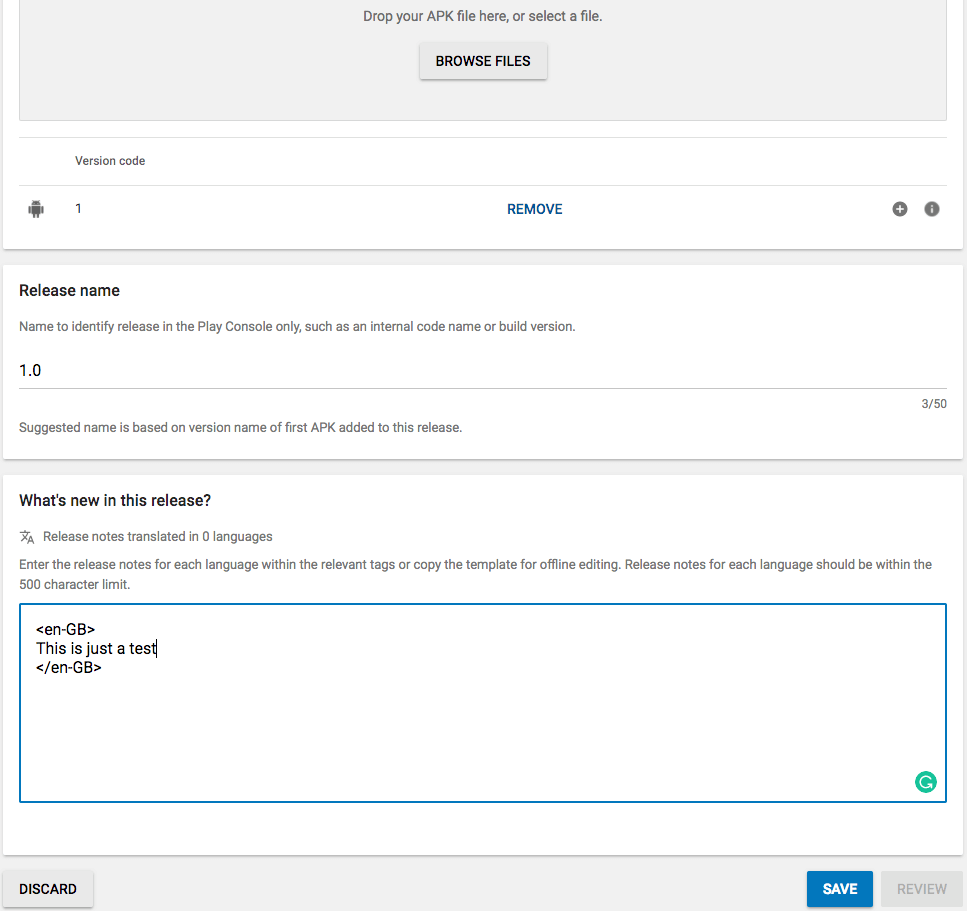
Next, you should add your signed APK to the ‘APKs to add’ section, and fill out the What’s new in this release? section:
Hit Save and then Review. You will now be able to review any issues with your application, and once everything is good to go you will be able to select Start Rollout to Production. Remember, you will need to have completed all of the information for your application in Google Play before doing this step.
As long as you have done everything correctly, your application should be available on Google Play soon!
Summary
Just like with the iOS example, submitting an application to Google Play using Capacitor is no different than submitting any other native application once you’ve got the project in Android Studio. Although it isn’t the easiest process in the world, being able to use tools like Android Studio helps a great deal in simplifying the process.