

In my last Firebase tutorial we used Firebase to create a simple authentication system with email and Facebook support in Ionic. Services like Firebase make it super easy to do things like this – handling authentication yourself can be quite the task.
Authentication, as useful as it is, is a bit boring though. So in this tutorial we are going to extend that log in system to include a real time chat room. By “real time” I mean that when a message is sent it will immediately be seen by everyone in the chat room, you won’t have to refresh the content to pull in new messages – pretty snazzy!
The chat room will look something like this when it is done:
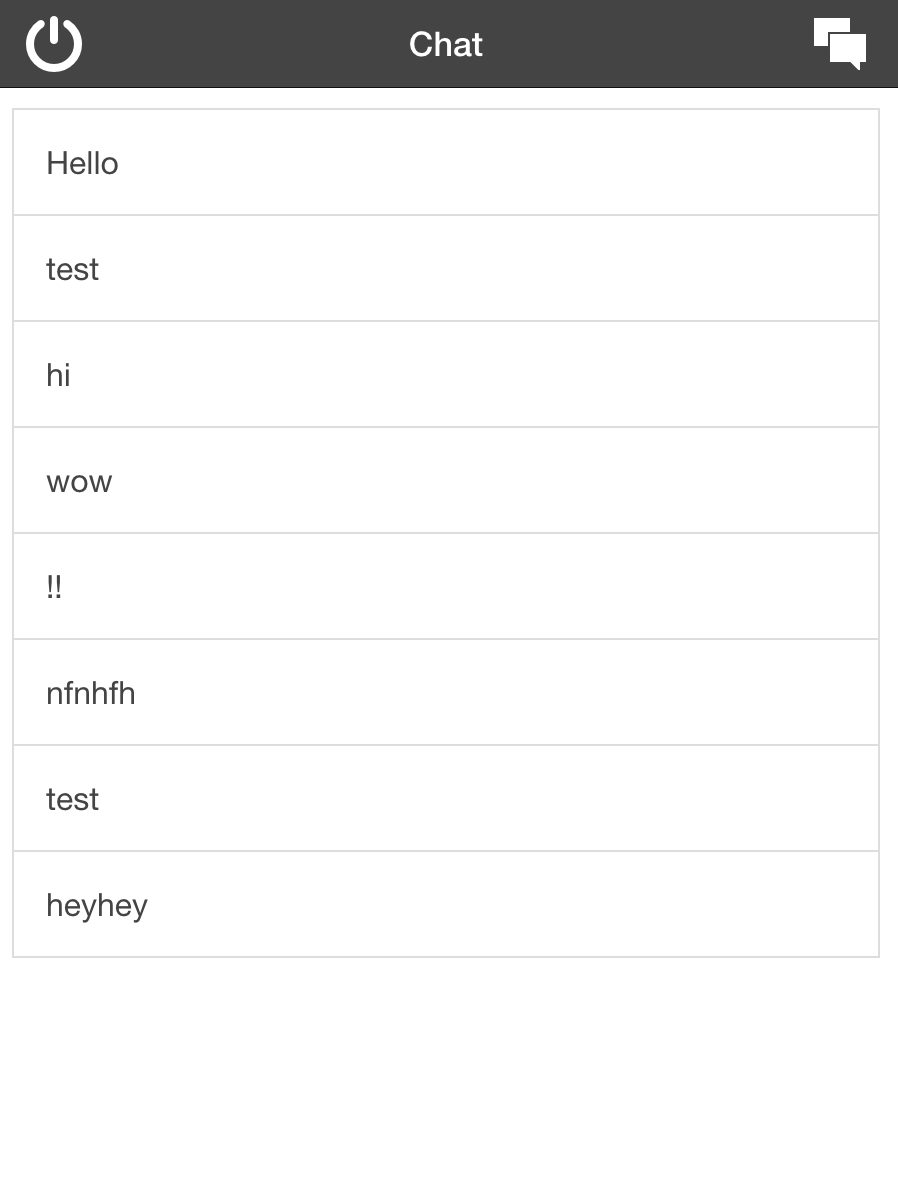
We will keep our existing login flow, but now when a user is authenticated we will send them to the chat room. From here they will be able to see a list of all of the messages that have been sent, and they will be able to add their own messages (as well as log out and go back to the login screen).
Before you get started
As I mentioned, this tutorial extends on from the Firebase authentication in Ionic tutorial, so if you haven’t already completed that tutorial you should do that now. If you just want the chat room and don’t want to worry about authentication then just follow the initial parts to get Firebase set up.
You will also need a Firebase account and app set up. If you have completed the last tutorial you can just use the same Firebase app that we used in that tutorial.
Creating the Chat View
First we are going to create a new view for the chat room. It’s going to be pretty simple for now, it’s only going to contain a list (where our chat messages will be held), a button for creating a new message and a logout button.
Create a new file called chat.html in the templates folder and add the following code:
<ion-view title="Chat" hide-back-button="true">
  <ion-nav-buttons side="primary">
    <button class="button button-icon ion-power" ng-click="logout()"></button>
  </ion-nav-buttons>
  <ion-nav-buttons side="secondary">
    <button
      class="button button-icon ion-ios-chatboxes"
      ng-click="addMessage()"
    ></button>
  </ion-nav-buttons>
  <ion-content padding="true" class="has-header">
    <ion-list>
      <ion-item ng-repeat="message in messages"> {{message.message}} </ion-item>
    </ion-list>
  </ion-content>
</ion-view>
You will notice that we have defined a button using <ion-nav-buttons>. This allows us to control what appears in the nav bar for specific views – in the chat view we might want a “add message” button but perhaps in a different view we would want a “take photo” button instead. We also define a side of “secondary” which will align the button to the right side of the nav bar. Defining these as “primary” or “secondary” will place the buttons wherever it makes sense for the platform that it is running on, but you can also force the button to be “left” or “right”.
We are also linking one button to the addMessage() function which we will create in the controller shortly, and the other button we are linking to the logout() function (again, we will create this shortly). We also create an <ion-item> for each of the messages we will have (this will hook up to our Firebase database later).
Since we have created a new view, we will need to add a route for it so that we can actually navigate to it and to assign it a controller.
Add the following route to your app.js file
.state('chat', {
    url: '/chat',
    templateUrl: 'templates/chat.html',
    controller: 'ChatCtrl'
  })
Create a Messages Factory
Now we are going to create a simple Factory which will provide the messaging functionality in our application and handle the interaction between our application and the messages stored in Firebase.
Add the following Factory to your app.js file:
.factory('Messages', function($firebaseArray) {
  var messagesRef = new Firebase("https://<YOUR-FIREBASE-APP>.firebaseio.com");
  return $firebaseArray(messagesRef);
})
There’s not actually much we need to do here, Firebase makes it super simple for us.
Create the Chat Controller
Now we need to create a new controller now that will define the logout() and addMessage() functions we referenced before.
Create the following controller in your app.js file:
.controller('ChatCtrl', function($scope, $state, $ionicPopup, Messages) {

  $scope.messages = Messages;

  $scope.addMessage = function() {

   $ionicPopup.prompt({
     title: 'Need to get something off your chest?',
     template: 'Let everybody know!'
   }).then(function(res) {
      $scope.messages.$add({
        "message": res
      });
   });
  };

  $scope.logout = function() {
    var ref = new Firebase("https://<YOUR-FIREBASE-APP>.firebaseio.com");
    ref.unauth();
    $state.go('login');
  };

})
We get a reference to the Messages factory we just created by injecting it into our Chat controller and creating a reference on $scope. To add a new message all we need to do is call $add on our Firebase Array (which is supplied by our Messages factory). We need to provide a way for the user to supply a message though so we are using the $ionicPopup prompt which comes with Ionic.
To log the user out we call unauth() on our Firebase object and then just redirect back to the login state.
Redirecting After Authentication
Finally, we need to create a way for our user to get to the new ‘Chat’ state we added. To do this we just need to add a call to:
$state.go('chat');anywhere in the Login controller that the user is successfully authenticated.
Conclusion
Obviously this could be taken quite a bit further. We could add some more features like display pictures for participants, pretty it up a bit and maybe even make some private chat rooms as well. But this shows you just how easy it is to get a pretty cool app up and running really quickly when using Firebase as your backend.