

Generating icons and splash screen images ends up being a much more difficult task than you might anticipate before doing it for the first time. The difficulty stems from the fact that there are a bunch of different devices that your application could be running on, a lot of which will have different resolutions/pixel density. Both iOS and Android applications have systems in place to pull in images of the correct resolution for the particular device the application is running on, but that means that we need to supply a lot of different resolution icons and splash screens.
Unlike Cordova, where splash screens and icons were specified in the config.xml file, in Capacitor projects we can just manage the splash screens and icons directly in the native project like any normal native application developer would. Capacitor already has a default set of icons and splash screens provided, but in this tutorial, we are going to look at how to replace those with our own images.
Generating the Icon and Splash Screen Assets
The first step is to prepare the assets that we will be using for our icons and splash screens. As I mentioned, there are a lot of different sizes/resolutions we need to cater for, so it is often easier to use some kind of tool to help us create these assets.
If you are interested in seeing the variously sized assets we require for iOS, you can check out the documentation: Icons | Launch Screens.
It is going to be a little easier for Android because we can use Android Studio to automatically generate and set up the icons for us, so we don’t need an external tool to help us with this. You may still want to use a tool to generate splash screens for Android, though.
There are quite a few tools out there to help with this task. There is a command built directly into the Ionic CLI to help generate resources, but at the moment this requires Cordova integration with your project. I suspect this will change in the future but it’s a little awkward to use right now. Depending on your workflow and preferences you will probably prefer using different tools and methods, here are some options:
- Just create every requires icon and splash screen size manually
- Ionic Resources Command
- MakeAppIcon – great for creating iOS icons, but doesn’t create splash screens or Android assets
- ImageGorilla – creates icons and splash screens for iOS and Android (but some formats are missing)
- SplashScreen Pro – this is a paid tool but integrates directly with Photoshop or Sketch
These are just a few of the options available. For this example, I used MakeAppIcon for the iOS icons, ImageGorilla for the Android splash screens, I generated the iOS splash screens manually (as I was just using a universal size), and I had Android Studio create the Android icons for me automatically.
Now, let’s move on to adding the assets to a Capacitor project. At this point, I will assume that you already have a Capacitor project created and have added your desired platforms, e.g:
npx cap add iosnpx cap add androidiOS Icons
There are a couple of ways we can approach adding iOS icons to a project. First, let’s find where the existing icons live. Open up your Capacitor project in XCode:
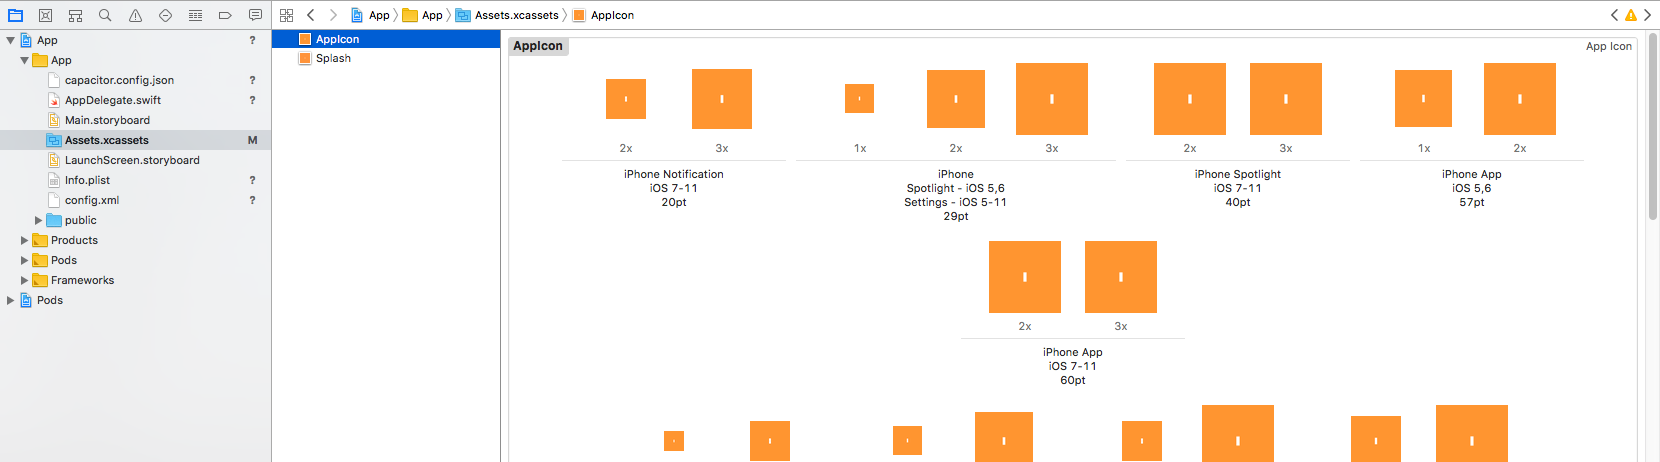
npx cap open iosNavigate to App > App > Assets.xcassets and you will be able to see the splash and icon assets for your project. As you can see from the image below, I have replaced all of the icon assets with my own icon:
You can either do this directly through the XCode interface by dragging your icons into the appropriate slot, or you can overwrite them directly through the file system. You can right-click on AppIcon and choose Show in Finder to reveal where these icons live on the file system. If you open AppIcon.appiconset you will see all of the icons:
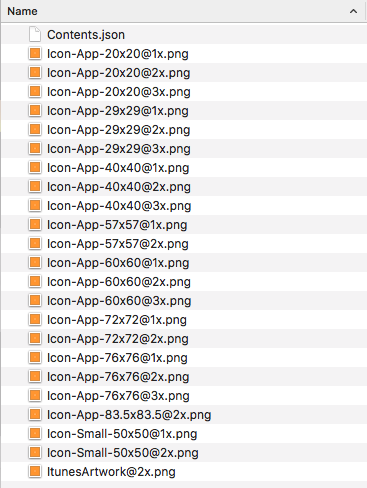
If you used a tool that generates the Contents.json file for you as well as the icons, then you can just replace everything in this folder with your new icon set. If you don’t have a Contents.json file you would either need to replace each icon making sure to keep the same name and size, or update the existing Contents.json to reflect the new file. If you are going this route then it may just be easier to drag and drop into the XCode interface so you don’t need to worry about messing with the Contents.json file.
iOS Launch Images
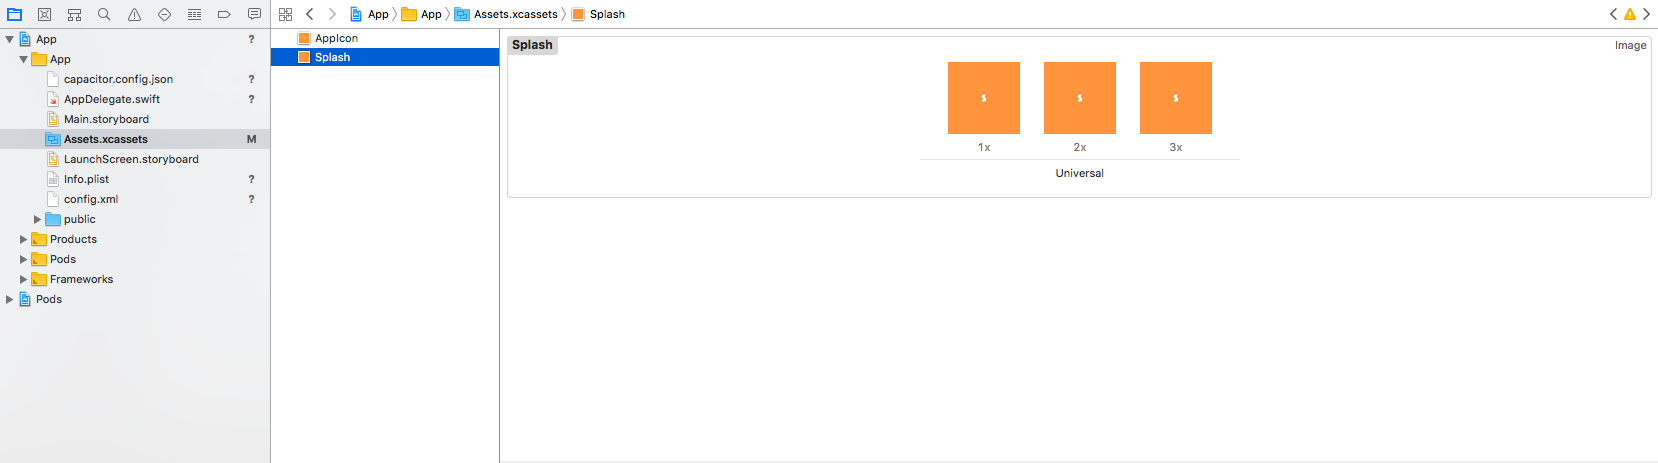
Supplying the launch images is basically the same as the icons. You would have also seen a Splash entry under Assets.xcassets, and you can also reveal these files in your file system by right-clicking on Splash. You should take the same approach here – either update the images in the file system or drag your new splash screen into the XCode interface. Since there are only three images here, it’s actually also quite easy to just open up the .png files through the file system, edit them, and resave them with your desired splash screen.
The benefit of using a universal image for the launch image is that you only need to create a single design, and that can be used across all devices. The downside to this is that the image will be cropped to fit devices, so it’s important that the important parts of your design are centered. If you would prefer, you can create specific designs for each of the available resolutions to make better use of the available space.
Android Icons
Generating icons for an Android project is actually quite easy. First, you will need to open your Capacitor project in Android Studio:
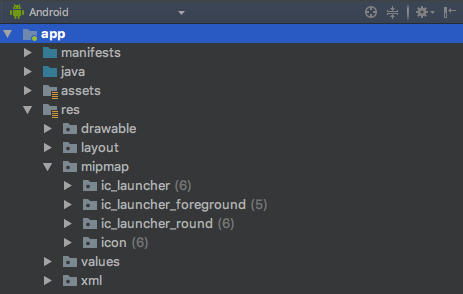
npx cap open androidThe icons that will be used in your project will live inside of the mipmap folder, which you can find at app > res > mipmap:
To generate a new set of icons, you should right-click on the res folder and go to New > Image Asset:
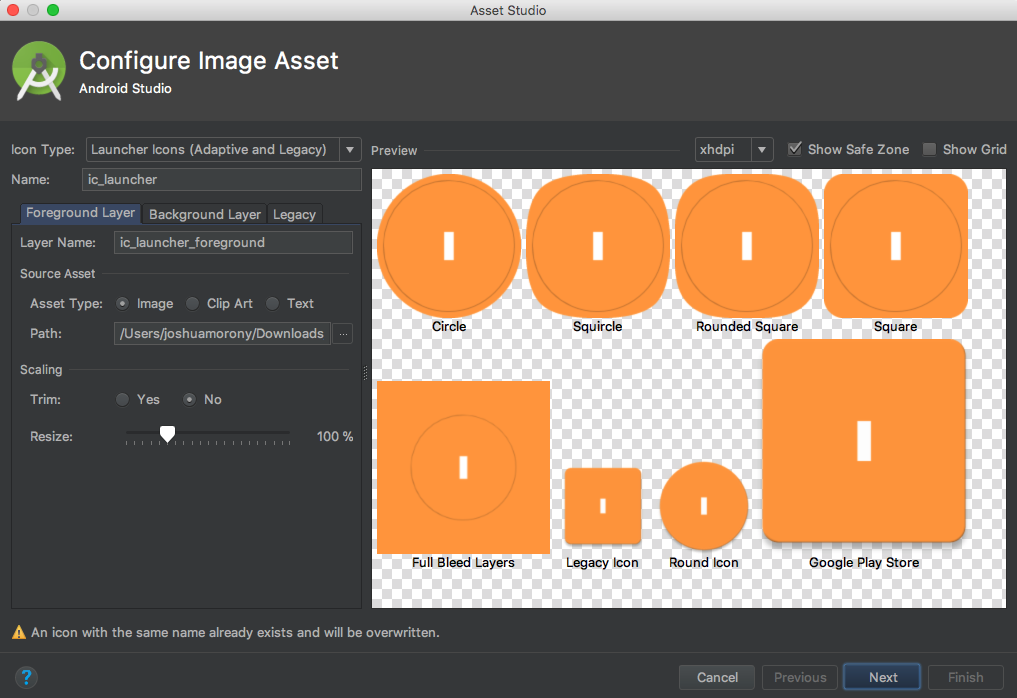
All you need to do is select the Image option and then select your icon (which should be at least 1024×1024 pixels). Once you have chosen your icon, click Next and then Finish. I have just used an ugly icon as an example, but if you are interested in learning more about how Google recommends you design your icons, you should read this.
Android Splash Screen
The last thing we need to do is update the splash screens for Android. You can find the default splash screens that Capacitor sets up at app > res > drawable > splash. If you right-click on the drawable folder and choose Reveal in Finder you will be able to see folders for all of the various resolutions available:
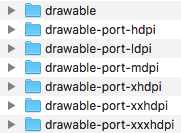
You will need to replace the splash.png file in each of these drawable folders with your own. If you have used a generator that automatically generates this file structure, you may be able to just drag and drop them all in at once rather than doing it one by one.
Summary
Creating icons and splash screens is usually tedious work that is done right at the end of your project when you’re eager to get everything wrapped up and submitted. However, you should take some time with this to make sure you get everything right. You don’t want an ugly low-resolution icon, or the incorrect icon, to be the first thing a new user sees when using your application.
I suspect that this will all be neatly integrated into the Ionic or Capacitor CLI in the future, but for now, there is a bit of manual work involved. With the help of a variety of tools that are available, it’s not too bad!