

Among the many useful JavaScript components Ionic offers, the tabbed view is perhaps one of the most commonly used user interface elements.
Tabs can sit either at the top or bottom of your application and allow the user to switch through different views. Here’s a tab view I’ve implemented for an app I’m working on now:
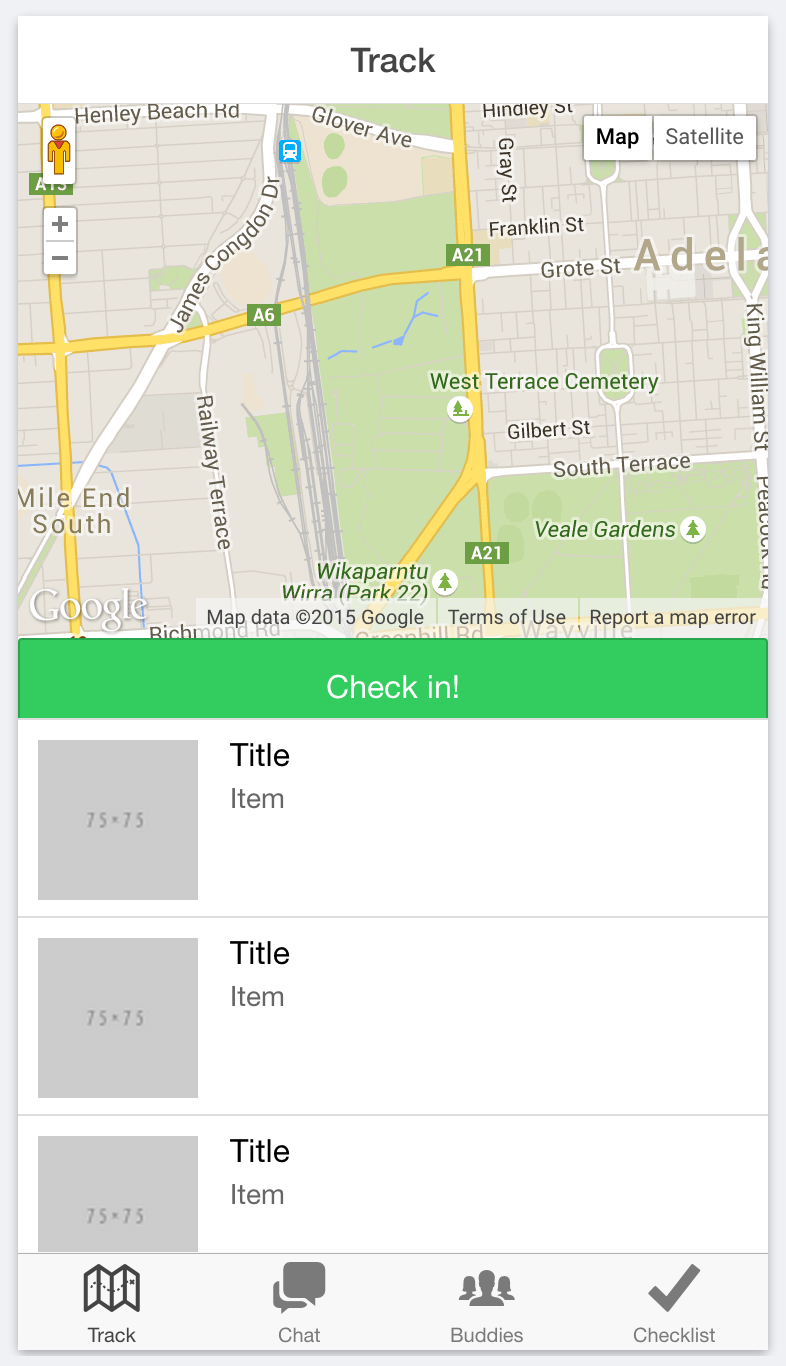
and this is how you might create that with Ionic:
<ion-tabs class="tabs-stable tabs-icon-top">
  <ion-tab title="Track" icon="ion-map">
    // Tab content goes here
  </ion-tab>
  <ion-tab title="Chat" icon="ion-chatboxes">
    // Tab content goes here
  </ion-tab>
  <ion-tab title="Buddies" icon="ion-ios-people">
    // Tab content goes here
  </ion-tab>
  <ion-tab title="Checklist" icon="ion-checkmark">
    // Tab content goes here
  </ion-tab>
</ion-tabs>
Each of the tabs are declared as <ion-tab> inside of the <ion-tabs> directive, and then the content for each tab goes inside of <ion-tab>. This is pretty straightforward to create and you can certainly do it this way, but a problem will quickly arise with this structure. Since we have to define the content of the tab within <ion-tab> this one file would contain the structure of just about my entire app. That is going to be one very big, and hard to maintain file.
In general, it is good practice to separate your code into different files to keep your application organised and make it easy to maintain. I would much rather have the tabs for my tab view defined across several template files like:
- track.html
- chat.html
- buddies.html
- checklist.html
instead of lumping everything into one file. Fortunately, there is a reasonably easy way to create “sub views” or “nested views” in Ionic applications. In this tutorial I’m going to show you how to modify this tab view so that we can separate each tab out into its own file and how to set up routing so that each tab has its own navigation stack (this means that each tab will maintain its own history, and you an switch between them without affecting that).
Setting up Routing for a Tabbed View
If we consider the basic tab example I listed above, the routing for that might look something like this:
$stateProvider.state('main', {
  url: '/main',
  templateUrl: 'templates/main.html',
});
To use a nested view structure we would change that to something like this:
$stateProvider
  .state('main', {
    url: '/main',
    abstract: true,
    templateUrl: 'templates/main.html',
  })
  .state('main.track', {
    url: '/track',
    views: {
      track: {
        templateUrl: 'templates/track.html',
        controller: 'TrackCtrl',
      },
    },
  })
  .state('main.chat', {
    url: '/chat',
    views: {
      chat: {
        templateUrl: 'templates/chat.html',
        controller: 'ChatCtrl',
      },
    },
  })
  .state('main.buddies', {
    url: '/buddies',
    views: {
      buddies: {
        templateUrl: 'templates/buddies.html',
        controller: 'BuddiesCtrl',
      },
    },
  })
  .state('main.checklist', {
    url: '/checklist',
    views: {
      checklist: {
        templateUrl: 'templates/checklist.html',
        controller: 'ChecklistCtrl',
      },
    },
  });
There’s a couple of things to note here. You will be able to see that each of the tabs has been defined as main.subview and we have also provided a views object as well as the url. The views object contains the name of the view we are defining (more on this later) and an associated template and controller.
We also set the abstract property on the main state to true. An abstract state is basically a state that is never actually viewed, it is just used as a parent for the sub views. If you tried to switch states to main it would not work because it is abstract, instead you should go directly to one of the sub views main.track, main.chat etc.
Setting up the Parent Template
Next we will need to modify the existing template, which is now our parent template, to make use of this new routing structure we set up. The final structure should look something like this:
<ion-view hide-back-button="true">
  <ion-tabs class="tabs-stable tabs-icon-top">
    <ion-tab title="Track" icon="ion-map" ui-sref="main.track">
      <ion-nav-view name="track"></ion-nav-view>
    </ion-tab>
    <ion-tab title="Chat" icon="ion-chatboxes" ui-sref="main.chat">
      <ion-nav-view name="chat"></ion-nav-view>
    </ion-tab>
    <ion-tab title="Buddies" icon="ion-ios-people" ui-sref="main.buddies">
      <ion-nav-view name="buddies"></ion-nav-view>
    </ion-tab>
    <ion-tab title="Checklist" icon="ion-checkmark" ui-sref="main.checklist">
      <ion-nav-view name="checklist"></ion-nav-view>
    </ion-tab>
  </ion-tabs>
</ion-view>
Now we’ve given each tab its own <ion-nav-view> which gives each of them their own navigation stack. We tie each of these to the routing by specifying the name attribute on <ion-nav-view>. For example this:
<ion-nav-view name="chat"></ion-nav-view>links up to this:
views: {
        'chat': {
          templateUrl: 'templates/chat.html',
          controller: 'ChatCtrl'
        }
      }
We’ve also added ui-sref to each of the tab definitions, we use this to define which state the tab should link to – without this nothing will happen when you click on the tabs.
Create the Sub Views
The only thing left to do now is create the templates for each of the tabs, e.g:
- templates/track.html
- templates/chat.html
- templates/buddies.html
- templates/checklist.html
Each of these templates will look something like this:
<ion-view title="Whatever">
  <ion-content> //Content goes here </ion-content>
</ion-view>
Once these views have all been created you should be able to boot up your application and navigate through each of the tabs. It won’t look any different than the way it did when you started, but now you will have a scalable and maintainable structure set up for your application. You can use this same concept for nesting views in other circumstances as well, not just tabs.