

Like most other tools and frameworks around these days, Ionic uses the command line interface to perform a lot of its magic. The command line interface can be a little intimidating if you’re used to a GUI (Graphic User Interface) approach, but it’s really super simple once you get the hang of it and you can do some crazy cool stuff.
This tutorial is for two types of people:
- People who are comfortable with using a command line interface but are new to Ionic
- People who avoid using the command line interface at all costs AND are new to Ionic
If you’re either of those two people then you should probably keep reading, if not then… maybe you should check out some more advanced Ionic CLI magic.
The one command you need to know
This one is for the people completely new to using a command line interface. There’s a bunch of useful commands you can use in either the command prompt in Windows or the Terminal in Macs, but there’s one universal command that you’ll need to know:
cdIt means “change directory” and it changes your current working directory – it’s how you navigate to different locations on your computer through the interface. You can use:
cd MyFolderto change your working directory to MyFolder and you can use:
cd ../to navigate one level up from where you are currently. Even if you have complete command-line-phobia, you can use Ionic just fine by knowing this command and about two other Ionic commands.
Installing Ionic
Before we can use Ionic we need to install it, and to do that we need to use the command line interface. Before we install Ionic though, we’ll need to install Node.
- Head over to the Node website and install node
This will give us access to npm (Node Package Manager) which allows us to easily install a bunch of useful stuff through the command line.
- Once you have npm installed run the following command:
npm install -g cordova ionicThis will install Ionic for you (and Cordova which you will almost certainly want to use as well, it’s how you build native versions of your HTML5 apps).
Generating a new Ionic Application
To generate a new Ionic project, first change your working directory to wherever you want the project to be created and then simply run:
ionic start MyApp blankThis will generate a new Ionic project with all the files you need to start creating your Ionic application:
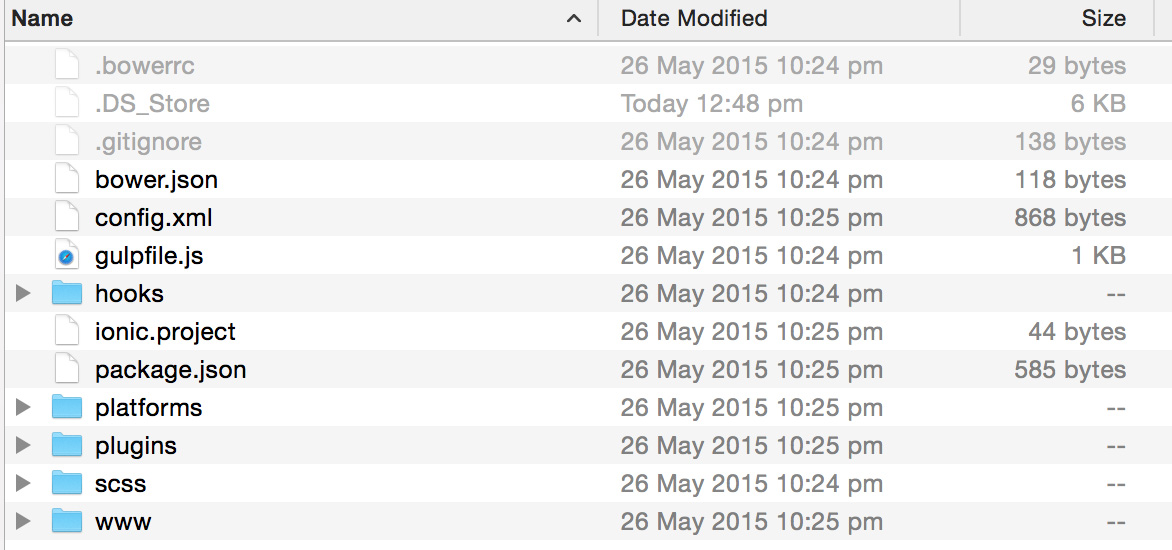
You will have the basic default template to work with if you run this command, but you can also generate your Ionic application with some prebuilt application templates. You could use:
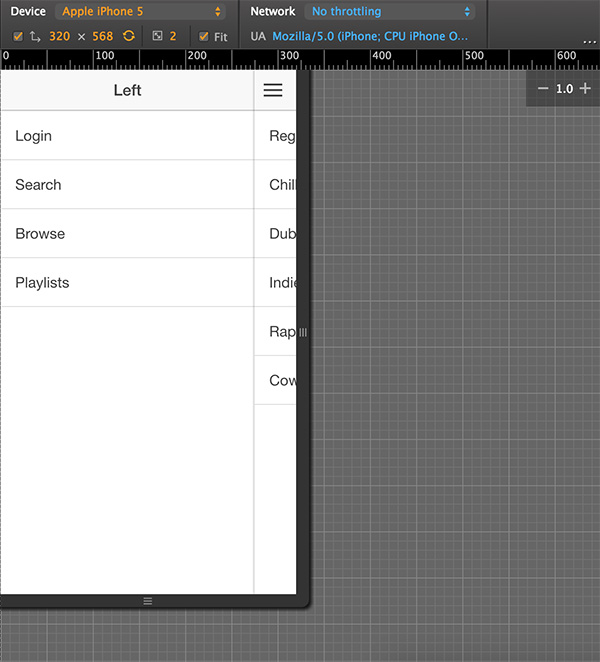
ionic start MyApp sidemenuto create a project with a sliding menu (along with some other dummy data) already built in:
or you could use:
ionic start MyApp tabsto create an application with tabs built in _OR _you can even create your app from custom template on codepen.io. Just simply link to one of the Ionic templates like this:
ionic start MyApp http://codepen.io/ionic/pen/AjgEBSetting up SASS in an Ionic Application
I won’t spend time explaining what SASS is and what it’s capable of, I highly recommend reading more into it but essentially all you need to know is that it allows you to edit your scss/app.scss file and have a new .css file generated from it that will be used by your Ionic application.
To set up SASS in your newly generated Ionic project, first change your working directory to the new project:
cd MyAppand then run:
ionic setup sassIf this doesn’t work, you may first need to run:
npm install -g gulpRunning your Ionic Application
You can view your application live through your browser simply by running:
ionic serveAs soon as you make any changes to your app the change will be reflected immediately. To stop ionic serve, just hit Ctrl + C.
Viewing your Ionic Application on a Device
You can use the Ionic View app to quickly view your Ionic application on a real device. Simply download the Ionic View application, and then run the following commands:
ionic loginThis will allow you to log in with your ionic.io account (if you don’t already have one, you should create one). Once you have logged in you can run:
ionic uploadWhich will upload your application, making it available through the Ionic View app. Then you can just open up Ionic View on your device, log in and find the application you uploaded.
Emulating a Native Device
You can also easily emulate your application on your computer. To emulate an Ionic application on iOS you can run the following commands:
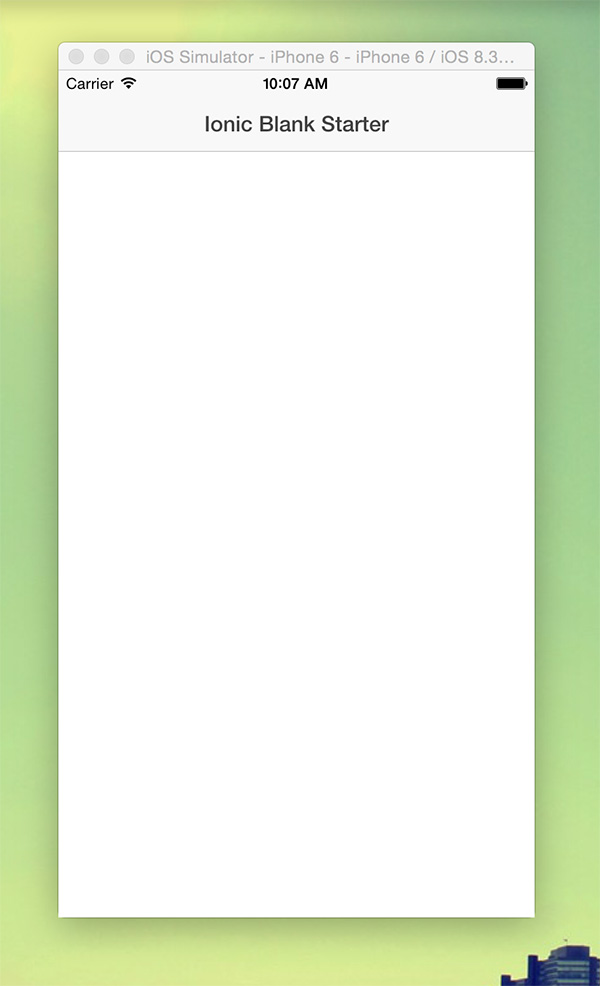
ionic platform add iosionic build iosionic emulate iosThis will add the iOS platform with Cordova, build the application and then launch the emulator with your application loaded into it:
You may first have to run:
npm install -g ios-simif you have not already installed the iOS simulator.
NOTE: If you don’t have a Mac you won’t be able to use the iOS Simulator (you can still build iOS applications however!)
To learn how to emulate for Android, take a look at this tutorial.