

I’m certainly guilty of using the default fonts in games just because it’s easier, and they certainly don’t always look out of place, but in general a custom font can add a lot to the look and feel of your game. Take a look at the before and after of this tutorial for example:
Before

After

I think the custom font has a much more “gamey” feel to it. The problem is that it’s not that simple to add custom fonts to a Phaser game – you might think you could just include an @font-face statement in your CSS file but you would be wrong.
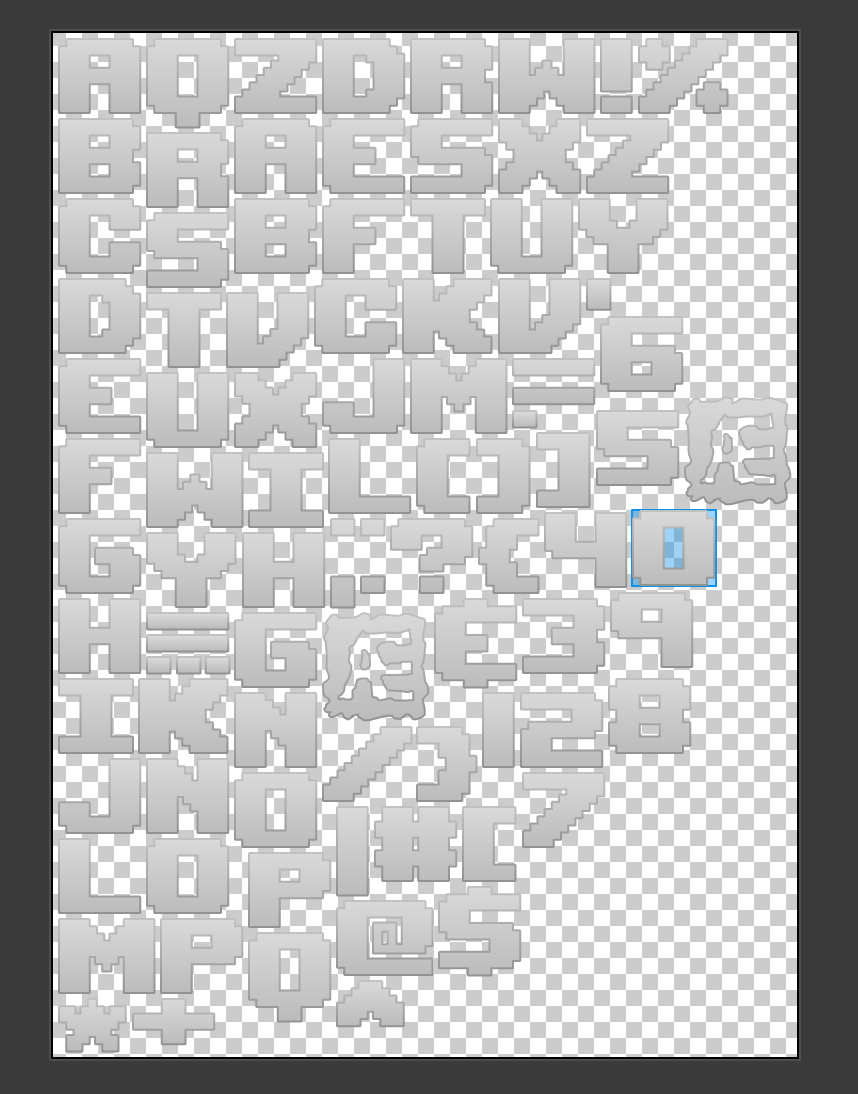
What you need to do is create a bitmap version of the font, which will essentially be a spritesheet containing each character you want the font to support. I’m going to show you how to do that in this tutorial.
Before We Get Started
To give us a bit of a base to work from, I’m going to be building on top of the example I built in this post on building animated scoring in Phaser. If you’d like to follow along you can download the source code for this application below, but you can also just set this up directly in your own game.
1. Choose a Font
Of course, before we can do anything you will need to have a custom font in mind that you want to use. Keep in mind that some fonts require a purchase to use and some don’t, so make sure you check the license before using it in your game.
One site that’s great for free fonts is dafont.com, not all the fonts on this site are free but you can just keep a look out for the 100% Free tag to the right of the font.
In this tutorial we will be using the Upheaval Font, so make sure to download that font or another of your choosing before continuing on to the next step.
2. Generate the Bitmap Font
There’s a great free tool for generating bitmap font files from normal font files called Littera.
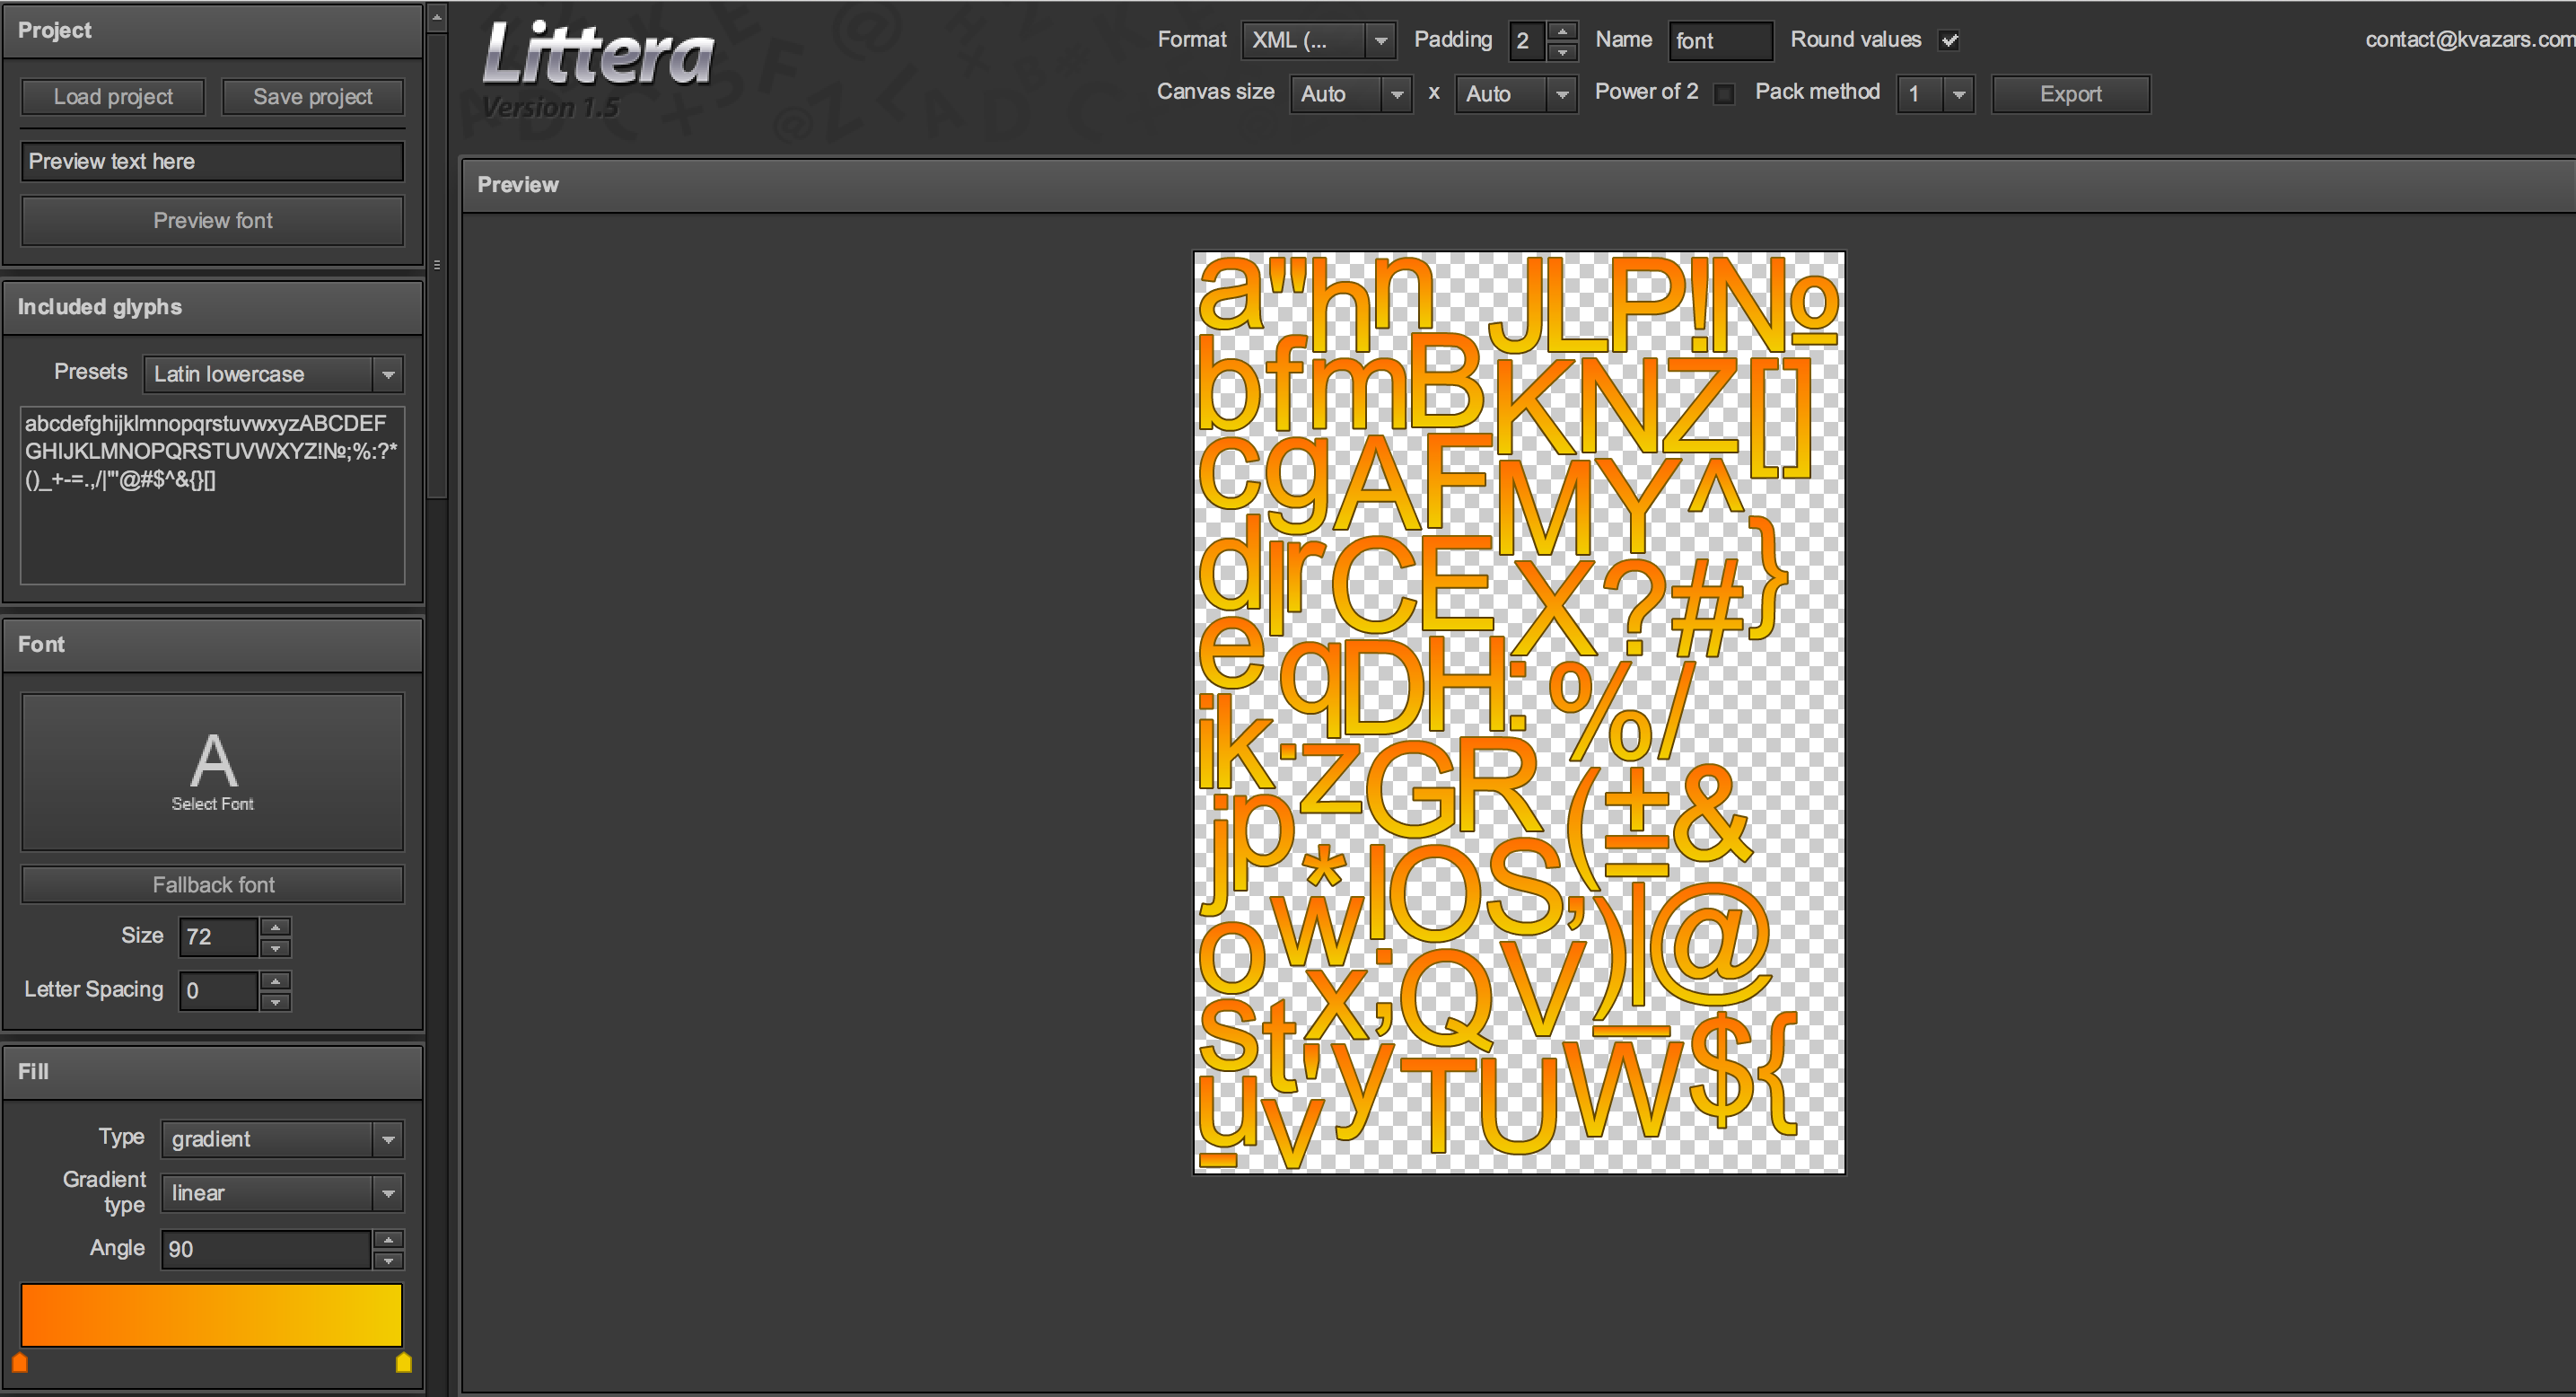
All you have to do is upload the font you downloaded in Step 1 by clicking Select Font and then set the styling using the options on the left. This is what my font looked like before exporting:
Once your done, just hit the Export button at the top and you should be able to download the files for your bitmap font.
NOTE: Make sure all of the characters you want included in the bitmap font are listed in the Included Glyphs box on the left. You may need to manually type out some characters that you want.
Generate your bitmap font files and save them as assets/font/font.png and assets/font/font.fnt
3. Load the Custom Font
Before the font will be available to use in your game, you will need to preload it just like your other assets.
Add the following line to the preload method in preload.js:
this.game.load.bitmapFont(
  'myfont',
  'assets/font/font.png',
  'assets/font/font.fnt'
);
4. Use the font
Now all that’s left to do is include the new font in the game. To do this we can use the bitmapText method, which will allow you to specify the the custom font you just created as the font.
Modify me.scoreLabel in main.js to reflect the following:
me.scoreLabel = me.game.add.bitmapText(
  me.game.world.centerX,
  50,
  'myfont',
  '0',
  128
);
If you refresh the game in the browser, you should now see your custom font added:
Summary
It can be pretty confusing to figure out how to add custom fonts to your Phaser game, but it’s a pretty easy process once you know how to do it. It’s a little bit of leg work when compared to just using a default font, but in a lot of cases I think it’s well worth the effort.